As I mentioned in an earlier post, I am in the process of fixing and modifying my 2008 Triumph Bonneville after an accident which resulted in a broken left ankle for myself.
One of the pieces that was damaged and will need to be replaced is the original plastic left side cover. I was able to purchase a good used one online from Rubber Side Up. Now I am in the process of modifying both side covers to personalize them for my bike.
In some of my other recent posts I’ve been sharing how I have developed a theme for the bike based upon my Joker Machine headlight ears, which feature a series of round holes. In keeping with this style, I’ve modified my chain guard, front sprocket cover, and gear shift lever.
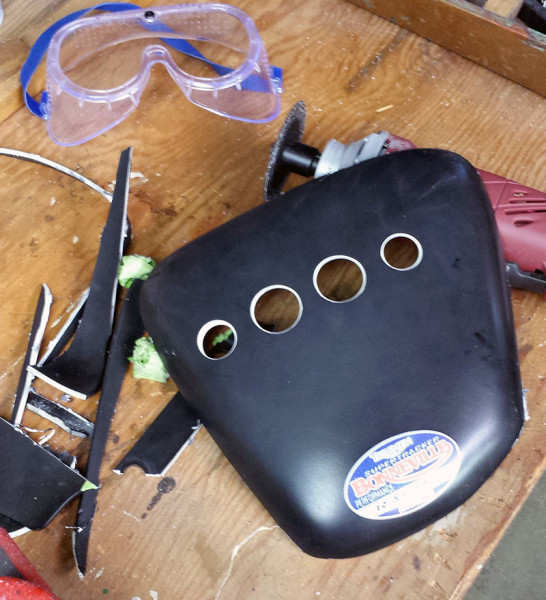
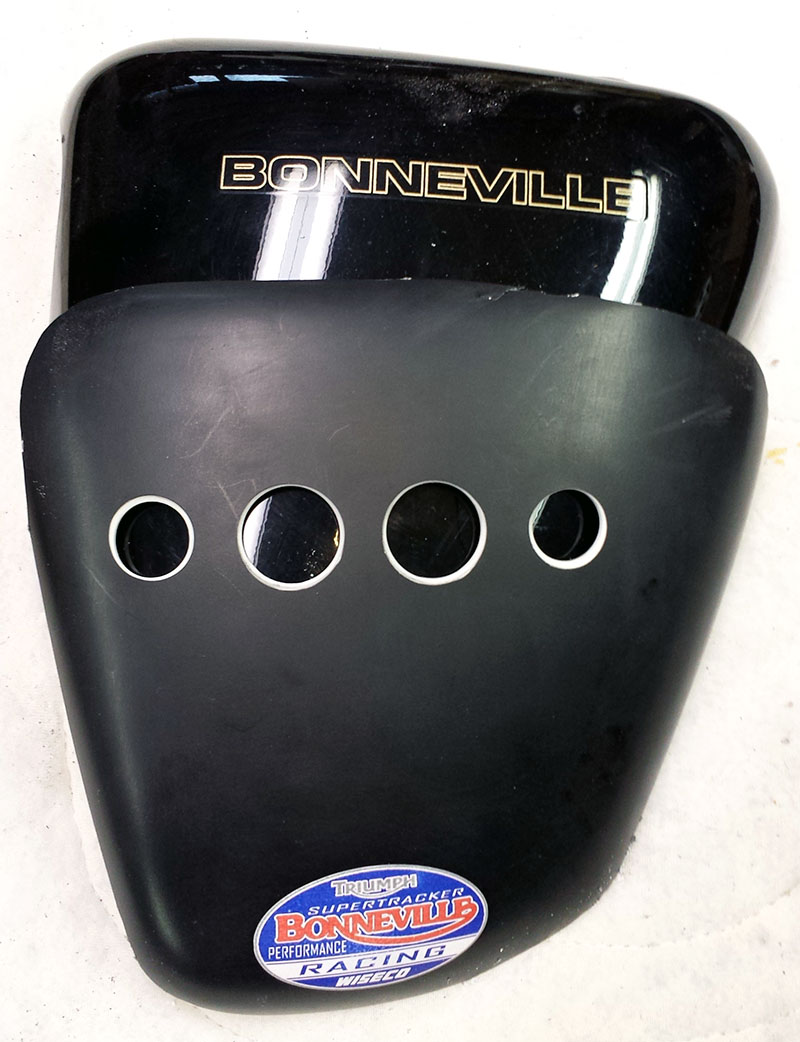
I have now also completed the process of deciding what I am going to do to my side covers. I used the old damaged left side cover to develop a pattern. I laid out a series of holes on it in pencil first, then when I achieved the look I wanted, I drilled out these holes. You can see that it follows the pattern I came up with for my front sprocket cover.

Left side cover with new holes drilled.
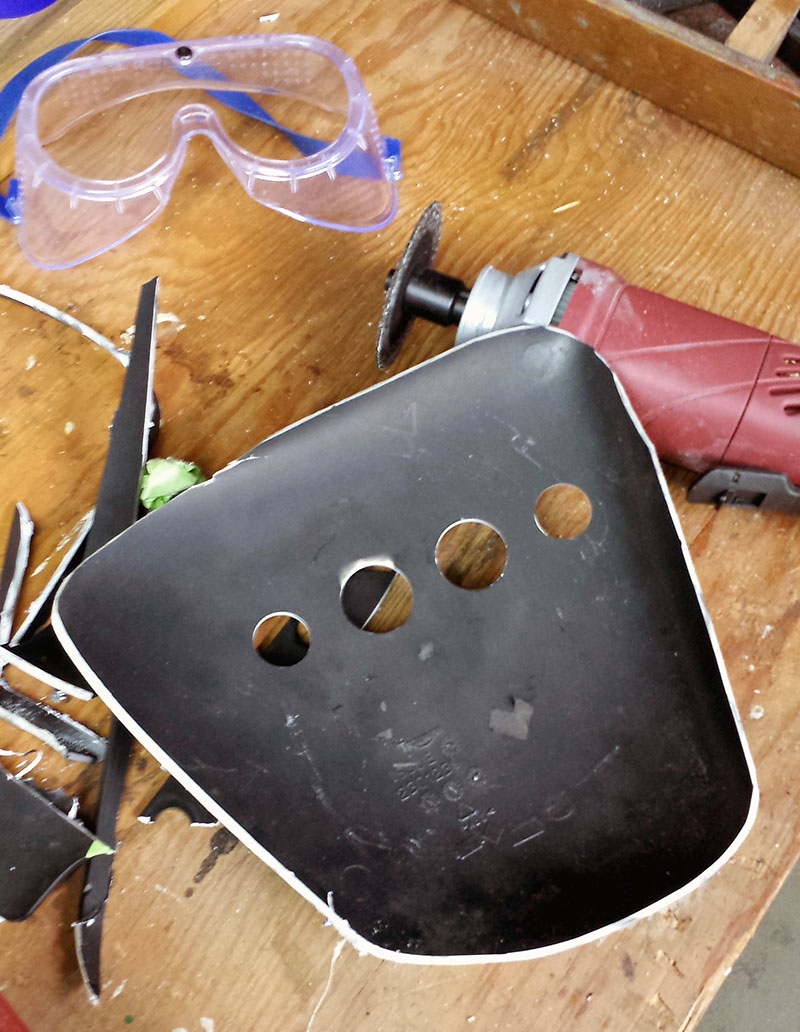
Left side cover showing inside, and extra wrap around plastic removed.
After drilling the holes, I then used a 3″ cut-off tool I purchased from Harbor Freight Tools to cut away yhe extra side pieces of the cover, so that I can lay it on top of the new one and locate the holes to match.
How I plan to use the damaged old side cover as a pattern and template for locating and drilling the new side covers.
January 26, 2014 Update
Today I sanded both side covers, inside and out to remove stickers and labels, to prepare them for priming and painting. I used am orbital hand sander to help me get the decals off, then hand sanded the rest, inside and out.
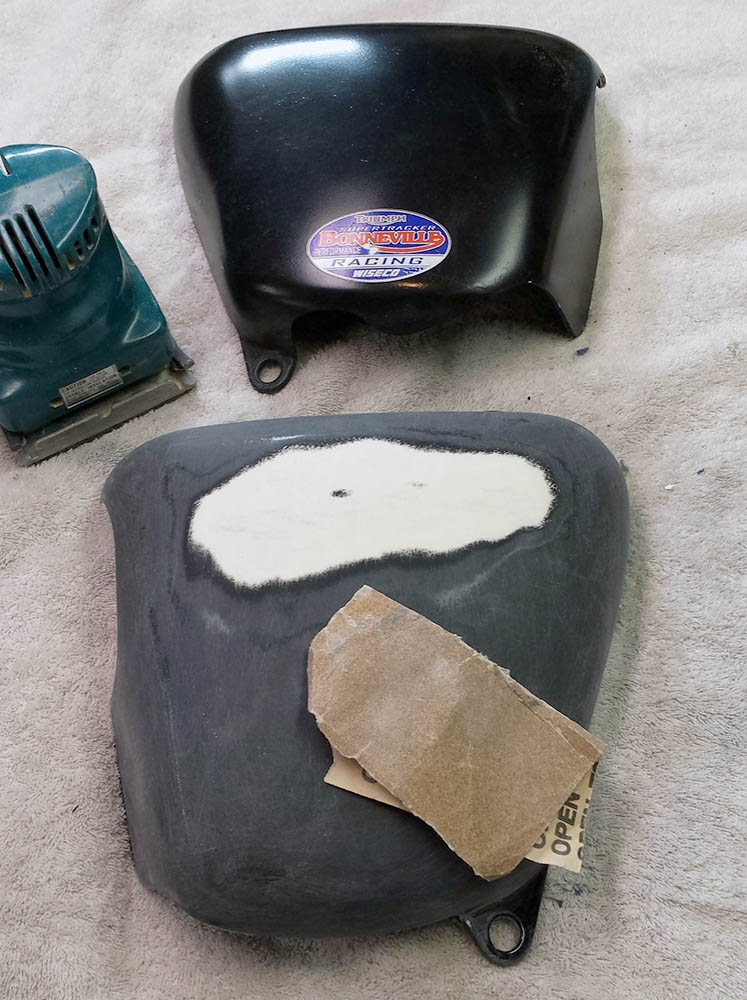
Side covers – outside
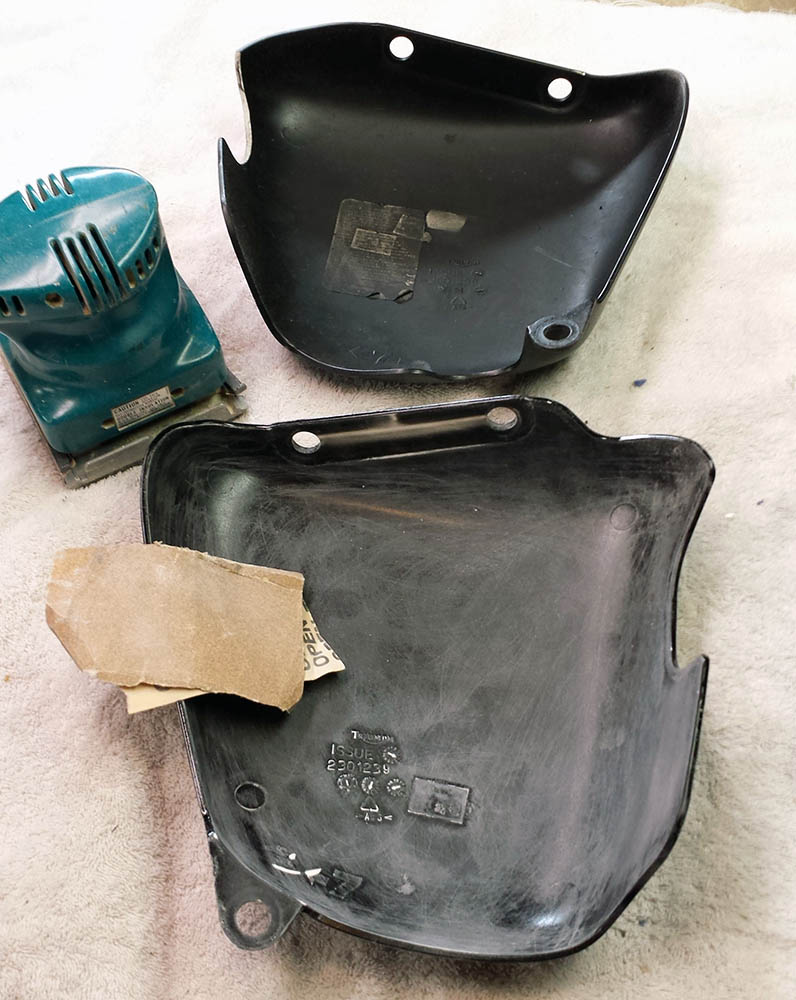
Side covers – inside
I also started making the layout of the holes I will drill based upon the template I made.
What kind of drill bit did you use? I’ve been considering drilling holes on the stock air box side cover in a different pattern and then installing mesh to cover the inside of the holes. I’ve heard drilling plastic can be risky with a high chance of the plastic cracking.
Glenn,
Thanks for your comment and question. I used a stepped style titaunium-nitride drill bit from Harbor Freight Tools in a hand held drill. http://www.harborfreight.com/2-piece-titanium-nitride-coated-high-speed-steel-step-drills-96275.html The stepped bit can be seen in this post: http://triumphbonneville.org/front-sprocket-cover-modifications/
I started by laying out the placement of the holes and drilling a very small pilot hole first in the center. I did clamp the covers in a vise to help steady them during drilling. By being careful, I was able to avoid any cracking or over-drilling.
Hope this helps.
Randy
Randy, what size holes did you drill and how far apart did you center them?
Jeff,
I just measured my side cover holes. The are 1-5/8″ center to center, and the diameters are 3/4″, 1″, 1″, 3/4″
Hope that helps.
Randy
Eric: If you happen to visit this site, please send me an email at I would like to either print one (or more) of these befituaul pictures out and hang it in my own house, or purchase a print from you. Thank you very much for your stunning work.