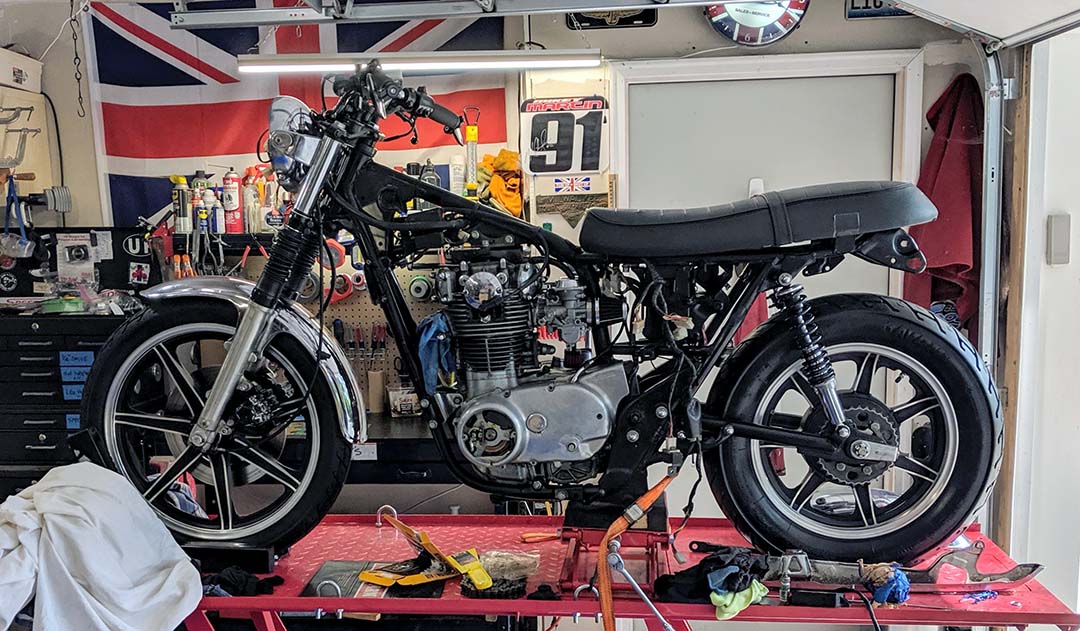
1981 Yamaha XS650S - SOLD!
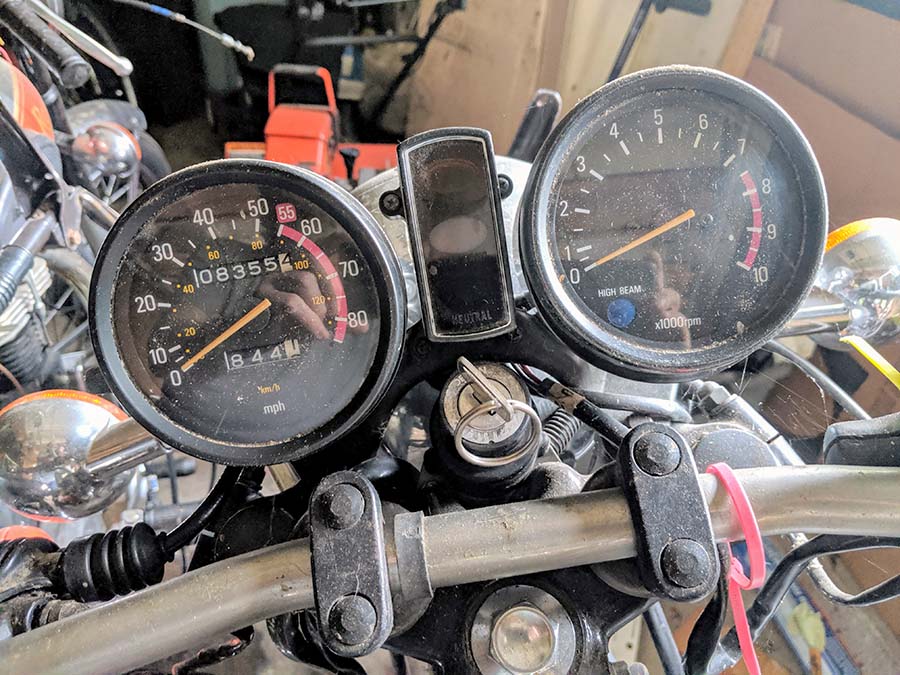
650cc - Project Bike 5 - 8355 Miles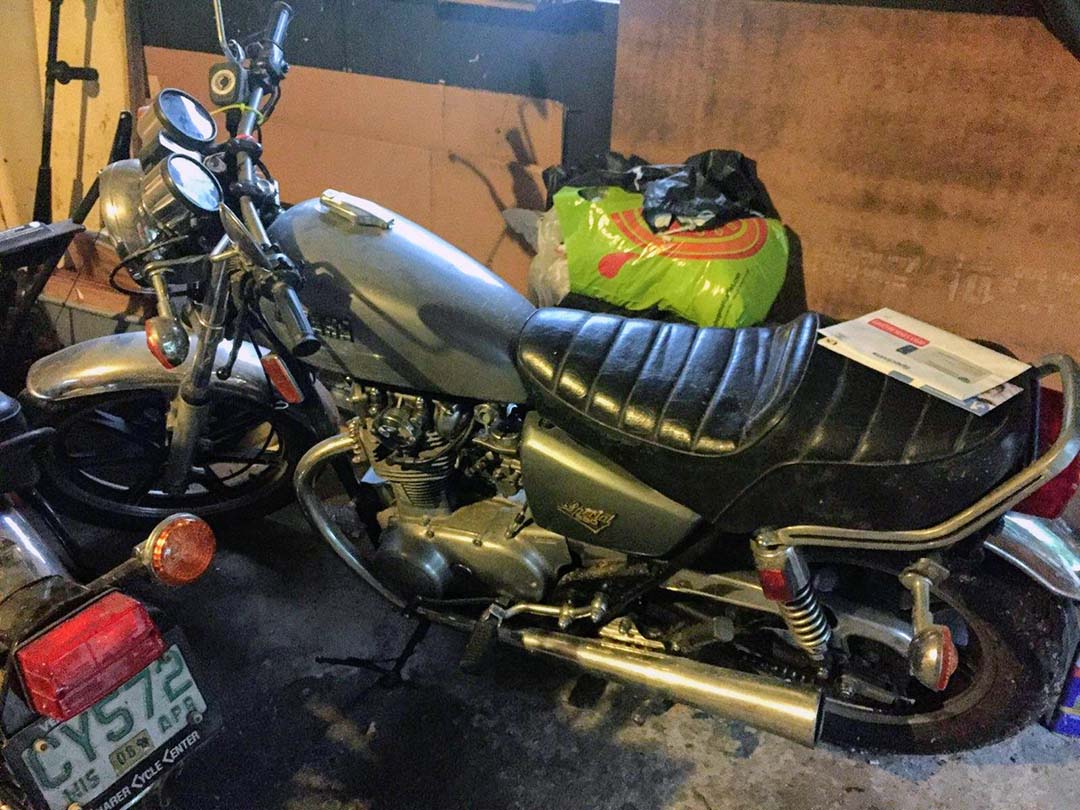
How this bike looked when we first saw it!
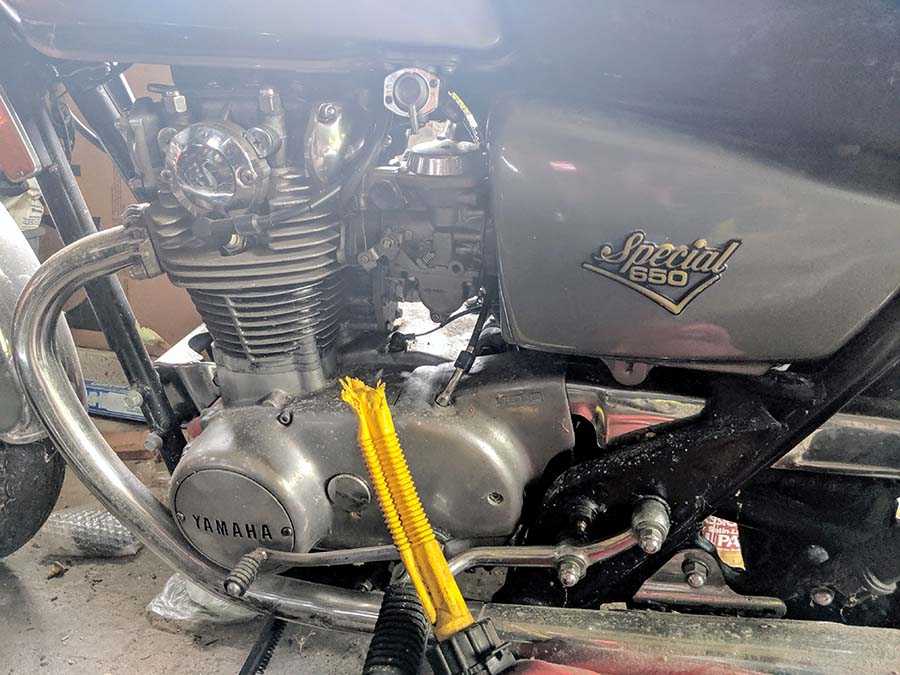
Closer up view of left side engine
The bike has not been ridden since 2002.

Close up of engine right side
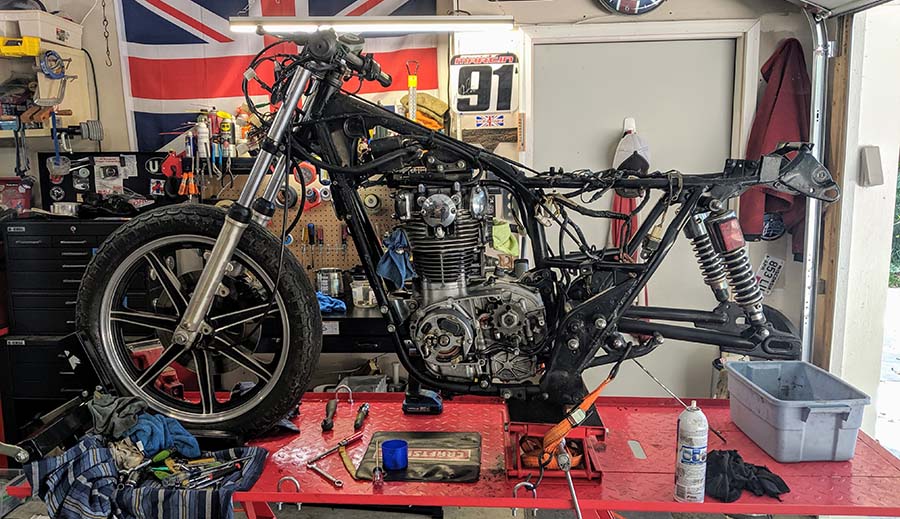
August 2019 – Deconstruction
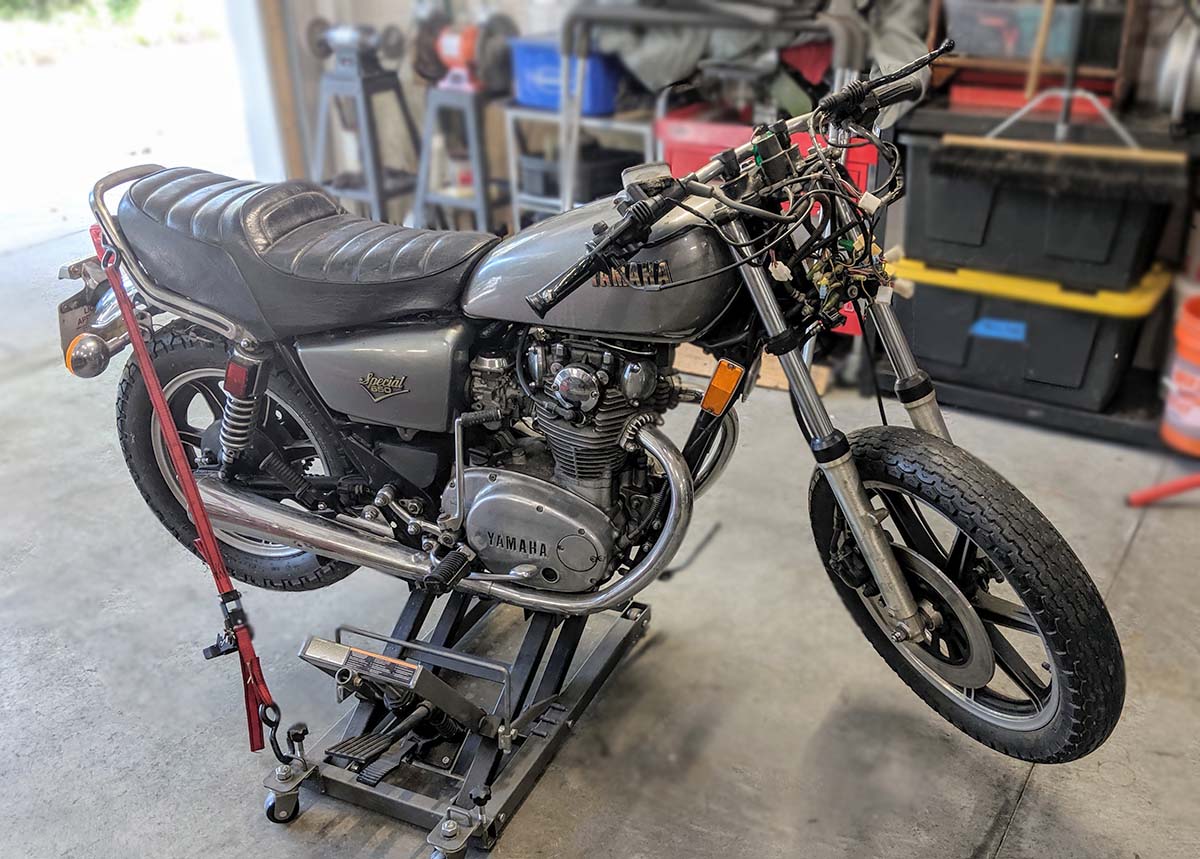


August 2019 – Modification and Reconstruction

I know that I don’t want to use this very ugly seat!

Used left front caliper from eBay
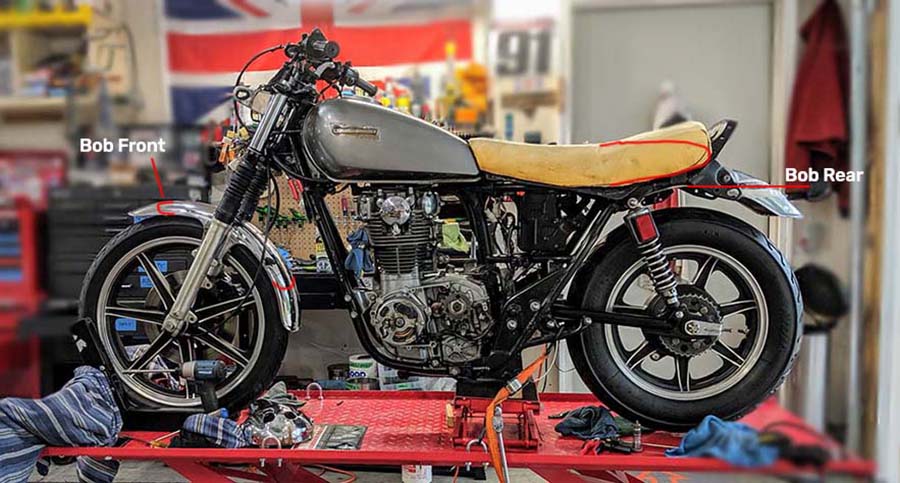
Here I mocked up how I might cut down and reupholster the stock seat, and maybe bob the fenders.
I discovered that a spare Triumph Bonneville seat might be made to work on this bike!
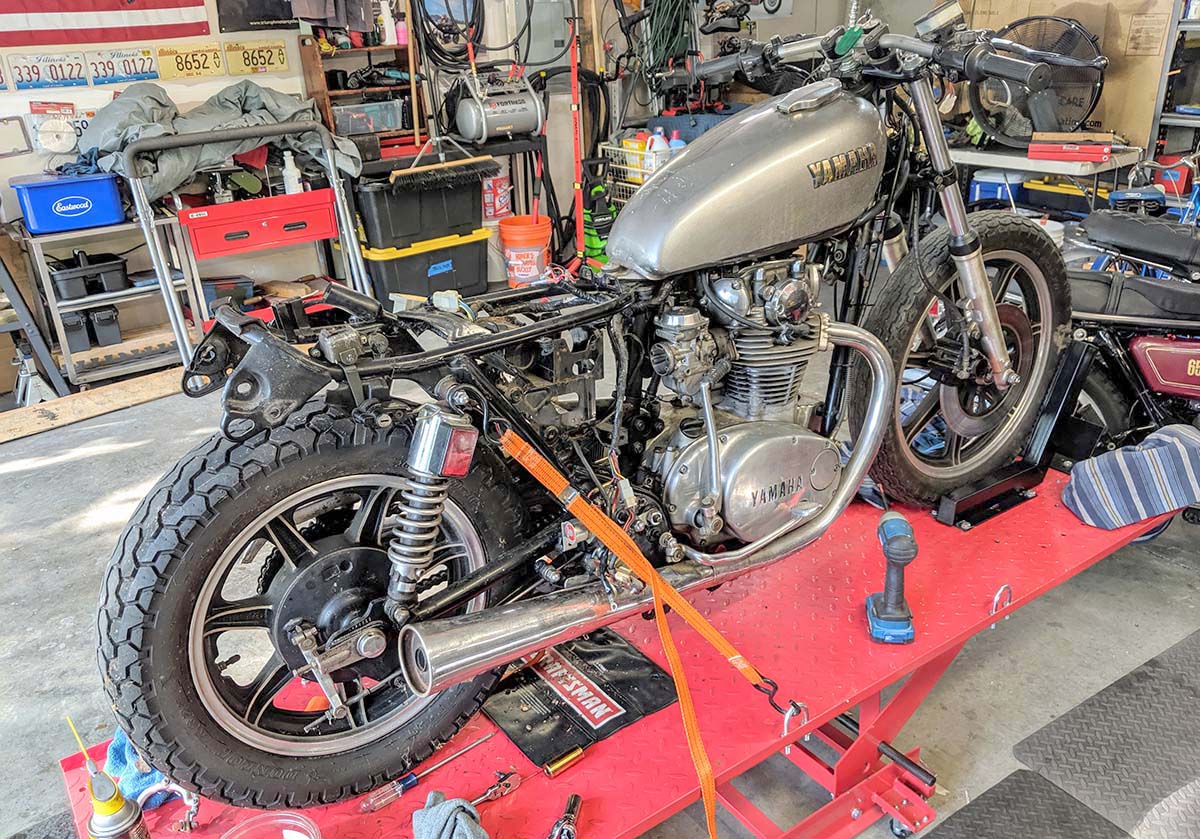
Side view with new shocks mounted, and left front caliper
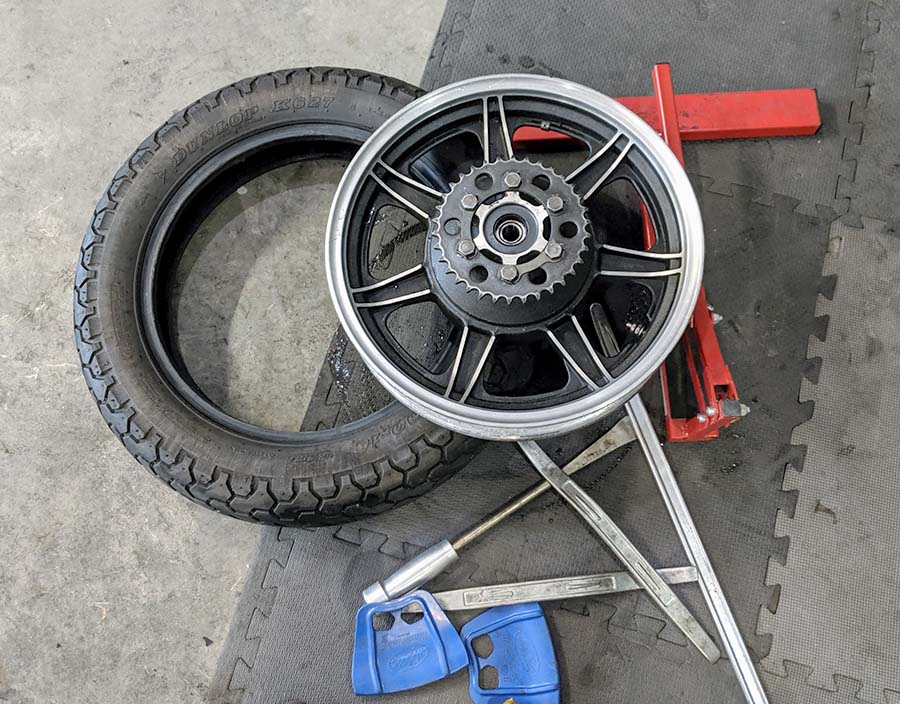
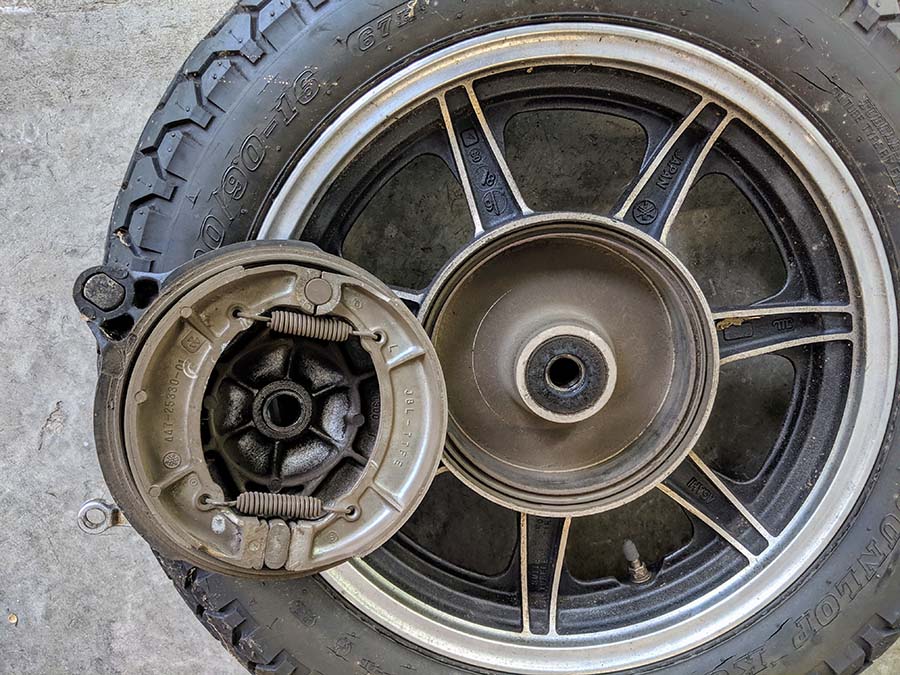
New Avon Roadriders mounted – first “tubeless” experience for me!

New Ikon rear shocks, add 1″ to rear height.
Exhaust System – August & September 2019
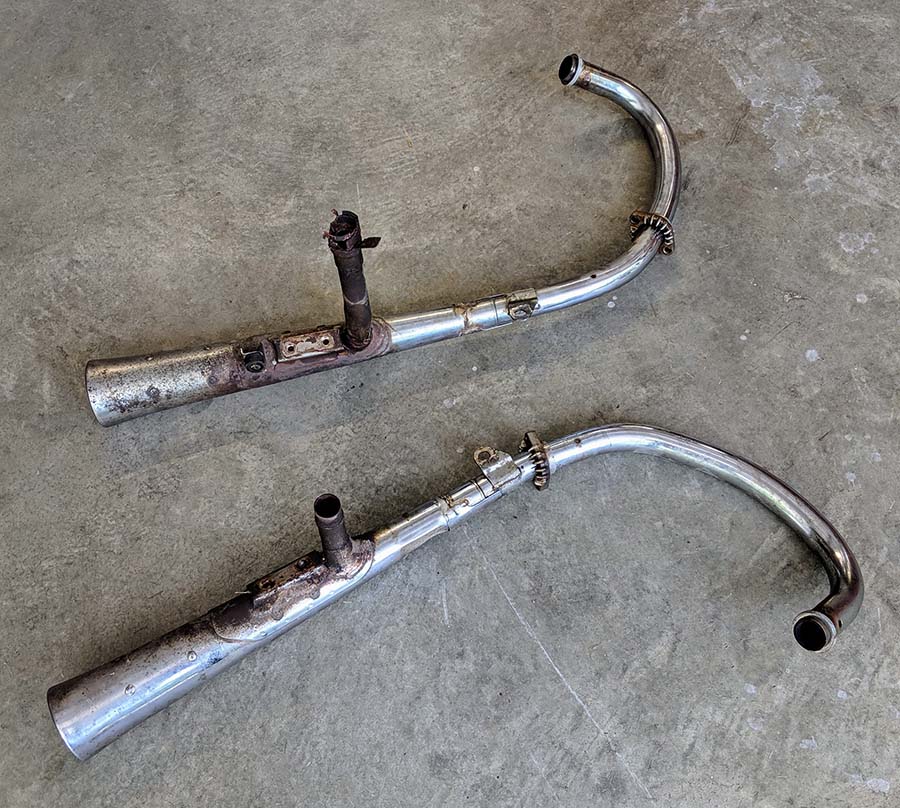
The original 1981 Yamaha XS650S exhaust system was rusted out and beyond repair. Based on my previous experience with the 1977 Yamaha XS650D, I wanted to use a stainless system dual exhaust, with upswept silencers for a more cafe racer look. I found what I thought would be a good solution made by MAC Performance. It was called the MAC-TT-Y650 – Yamaha XS650 Chrome 2-2 TT-Pipes with Reverse Cone Mufflers. I placed the online order directly from them on August 10, 2019. I never heard back from them, even after repeated attempts at email and phone calls and finally was able to cancel that order in September.
Doing some more research, I found that Niche Cycle Supply had the system in stock, so I placed an order with them. After it arrived and I began to pre-fit the system, I discovered that the mufflers with their welded-on brackets would not line up or fit any potential mounting place on the frame. After repeated photos and emails with Niche, they agreed to take the system back.
I gave up on the idea of a dual exhaust with upswept mufflers and decided to go with a 2-into-1 exhaust that I found at Dime City Cycles. It was stainless and appeared to be well-designed and well-made. It arrived and fit the frame well.

MAC Performance exhaust system header fitted

MAC Performance exhaust system muffler fitted to header

MAC Performance exhaust system uses shims at the head flange connection

Delkevic Exhaust System fitted on frame

Delkevic Exhaust System – stainless steel – 2-into-1 design

Delkevic Exhaust System large exhaust outlet on muffler comes with removable baffle.
Seat – Late 2019
The original 1981 Yamaha XS650S seat was not a design that I liked. It had a double rider look to it, plus an ugly wrap-around alloy grab bar, and an ugly side dip that I just couldn’t stand. So, I began to think about alternatives. I explored sources that claimed to recover and reshape the OEM seat pan. I found sources that replaced the entire eseat. I found short “cafe-racer” or “brat” style seats that required some frame modifications.
I had a few seats laying around the shop left over from previous projects and one day I threw a stock Triumph Bonneville seat on the frame. Wow! It looked pretty good and made the Yamaha look much more like a Bonneville which was its inspiration. After some additional study, it seemed like it might actually work with some mounting modifications.

The original Yamaha tiered seat looked bulky, and had an ugly grab bar!

I toyed with the cafe racer – brat style short seat look, which would require some frame mods.

A random Triumph Bonneville seat fitting looked like it might work.

The final Triumph Bonneville seat was reupholstered, modified for mounting to the Yamaha frame, and an LED taillight strip integrated into it.
July 2020
After a long lull not working on this bike project due to Covid-19 and other circumstances, I’ve been able to get back at it. I have a friend who is interested in buying it as his first motorcycle, and he is wanting to help get it finished, and to learn about the bike and motorcycles in the process.
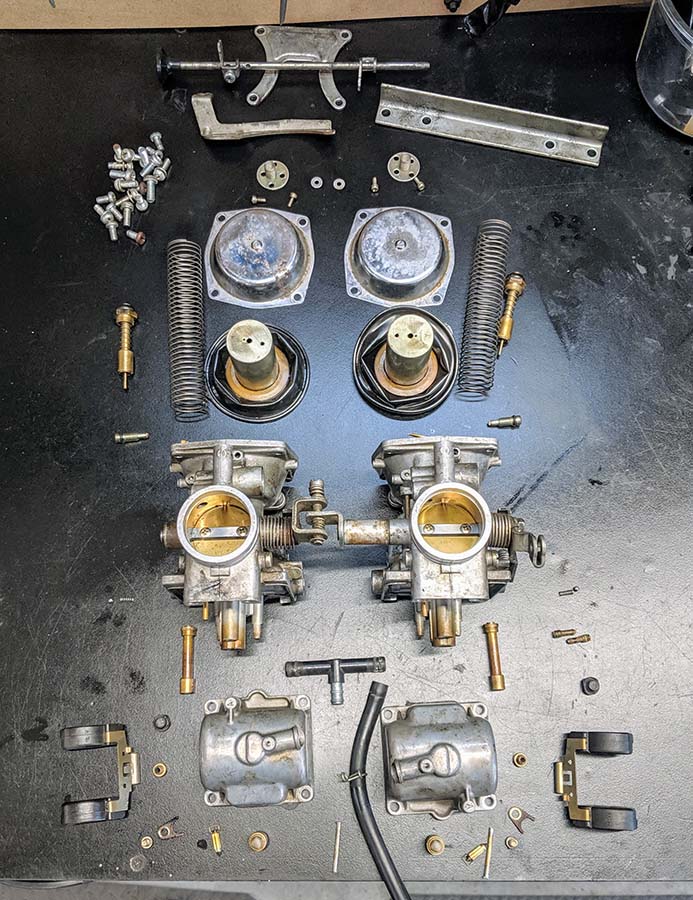
The first night of working together on it, we were able to install the carbs, new fuel lines, clean and rebuild the petcock, and fully tighten up the exhaust system.
The second evening we started attacking the electrical system by wiring in the flexible LED rear tail-light and signals strip along with the Flexible LED front turn signals and running lights. You may recall that I used these on the 2004 Bonneville Cafe Racer project bike. Unfortunately, we discovered that the rear LED taillight purchased from Dime City Cycles was defective. The left turn signal bank of LED lights was completely dead. They would not light up in any mode: running, left turn or brake. So, I contacted DCC to find out how we can get a replacement ASAP and they have issued an RMA and we should get a replacement in the near future!
We were able to connect the front LED turn signals and get them working except for the flashing function. So, I suspect the flasher unit is dead and so we have ordered a replacement, along with the additional brake lines required to finish off the front double-caliper “European” brake setup.

Dead LED from Dime City Cycles
AUGUST 2020
This is the month I hope to finish the XS650S and deliver to its new owner – Harrison.
- I ordered the extra brake line and connector for the front “European” double brake setup, and installed it.
- The flasher unit appears to be dead, so I am working on replacing that.

Hoping to get a new flasher unit operational – going from three-prong to two-prong.

New double banjo-bolt installed.

New left side brake line, and hand fabricated hose bracket installed.
SEPTEMBER-NOVEMBER 2020
I spent a number of evenings with the future owner – Harrison – teaching him about the bike, and working together on buttoning it up.
- Rebuilding the master cylinder
- Installing and bleeding the new front brake lines
- Installing and wiring replacement rear tail-light LED strip on back of seat
- Wiring up the new instruments, and front LED turn signals in the headlight bucket
- Finding and fixing the correct float levels to prevent fuel overflow
- Installing new fuel tank petcock
- Re-adjusting exhaust system to not leak at the heads.
First run since 2002 on November 18, 2020

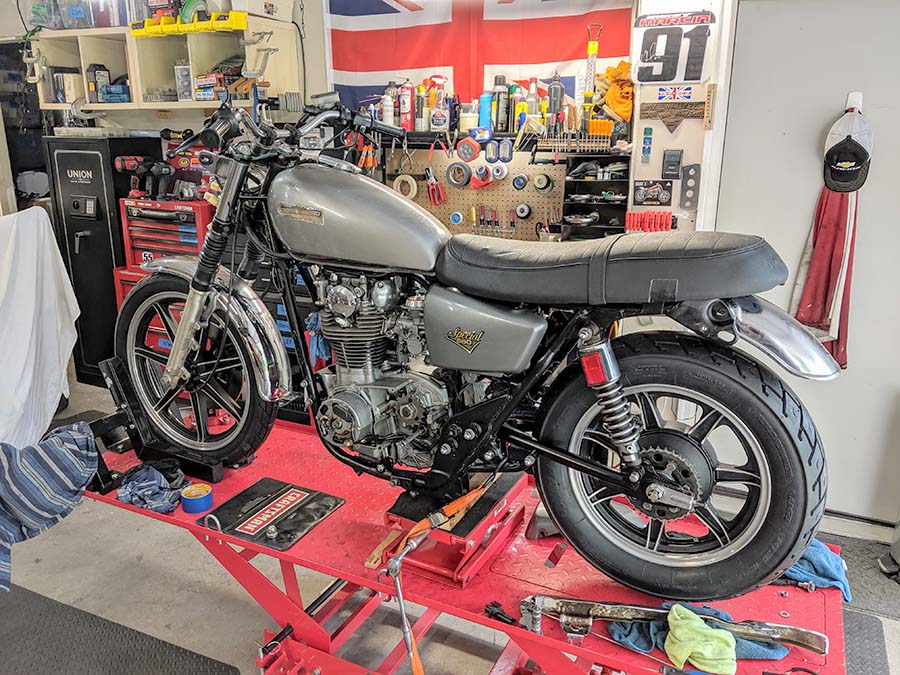
View of Yamaha XS650S after first short shakedown ride on November 20, 2020
MAY-JUNE 2021
The pandemic is over, I’m fully vaxxed, and the world is opening back up. I’ve been in the garage working on finishing several project bikes including this one because it is sold and the new owner will be picking it up as soon as he finishes the title transfer and has his plates. I’ve completed a list of final tasks to finish this project:
- Replace clutch and brake levers, rubber guards, and left handlebar switch block with reproductions from Dime City Cycles, tested all lights and switches
- Installed inner tubes on both wheels to stop the slow leaks.
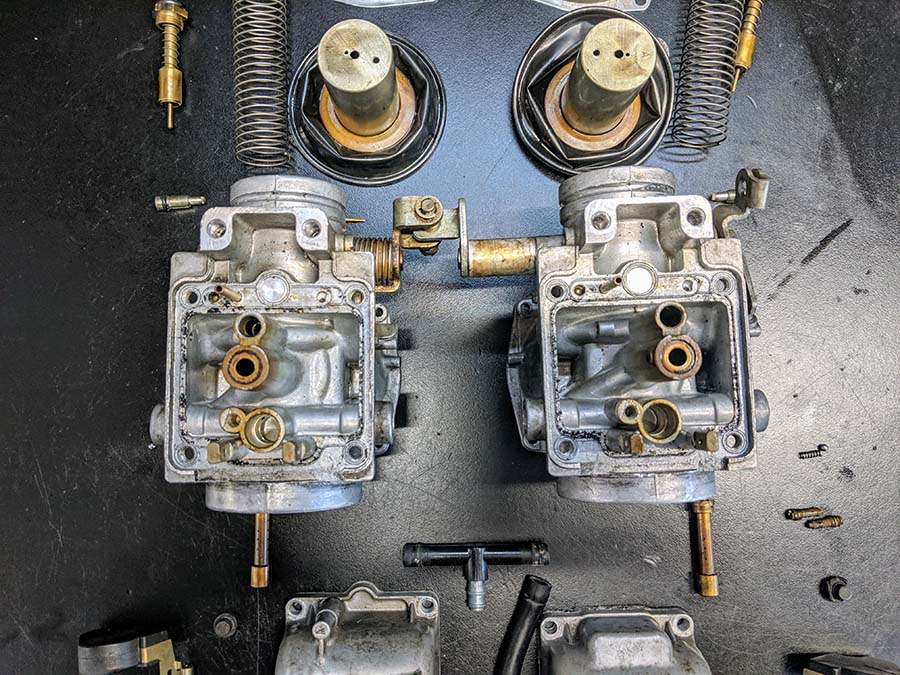
- Removed carbs, and cleaned out float valves that were gummed up from gas over the winter, then sync’d carbs and adjusted idle.
- Re-gapped spark plugs to .035″
Purring like a kitten…
July 4th Update
Harrison came over yesterday to ride his new (old) bike. When we started it up (cold) I could tell it was not running right again. So, we tore down the carbs, recleaned and checked all the jets and valves, checked and cleaned the plugs, and it still was running only on one cylinder. Then we decided to check the spark and could barely see anything jumping across from the plug wires. So we removed and inspected the coil. It seemed to be within specs.
Then I checked the (new) battery, and it was reading below 12 V! I threw a charger on it, and within 30 min. it was reading back up above 12V. When we started it again, it kicked into running smoothly on both cylinders! The rest of the morning, it ran great and the charging system kept the battery above 12 V. So, we may have a bad battery. I’ll keep checking it as it sits on the motorcycle stand, to see if it slowly loses its charge. We may have a small battery power drain or a bad battery.
Finished Project Photos
