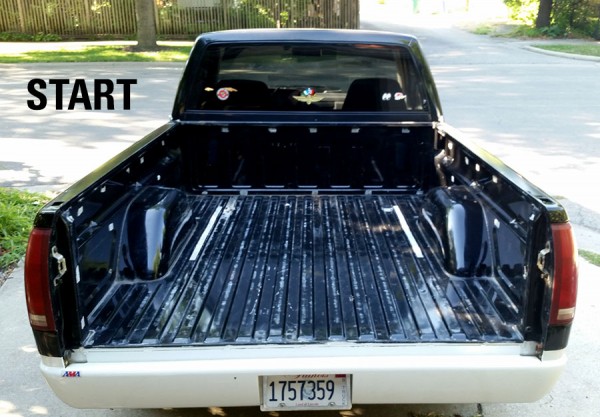
In April 2015 I purchased a 1993 Chevy Pickup as a daily driver and part-time hauler for my Triumph Bonneville motorcycles. I recently used it to transport my 2012 Thruxton to the Motoworks Track Day at Gingerman Raceway in South Haven, Michigan. It handled the job great! However, on the way home I rode through a thunderstorm and realized that the “Bedrug” truck bed carpet lining that the previous owner had installed would not cut it for my uses. The carpet was of course soaked and had to be dried out before putting the bed cover back on. I realized that a carpet is a moisture magnet and would eventually lead to rust and other problems.
This lead me to do some online research and discovery of a Do-It-Yourself truck bed lining product made by Herculiner. It comes as a kit complete with the tools you need to do a 6ft. pickup truck bed. I purchased my kit through Amazon for less than $100. The only additional item I needed was the specialized thinner for it called Xylol or xylene, which I picked up for less than $20 at a big box hardware store.

Herculiner truck bed lining kit
First Phase – Tailgate Test Case
After reading the instructions and looking at a number of YouTube videos I set out on my project. First I removed the tailgate and decided to use it as a test case first.
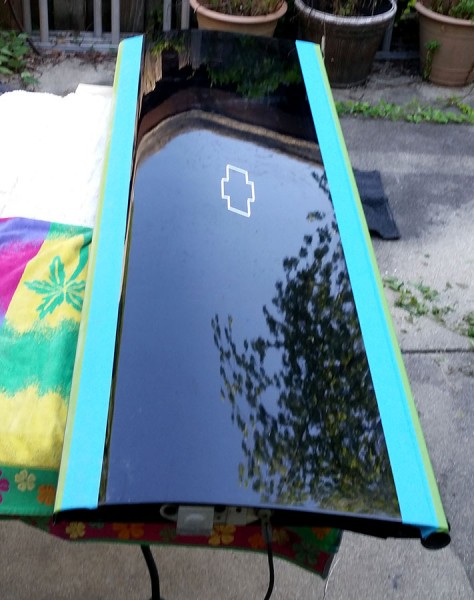
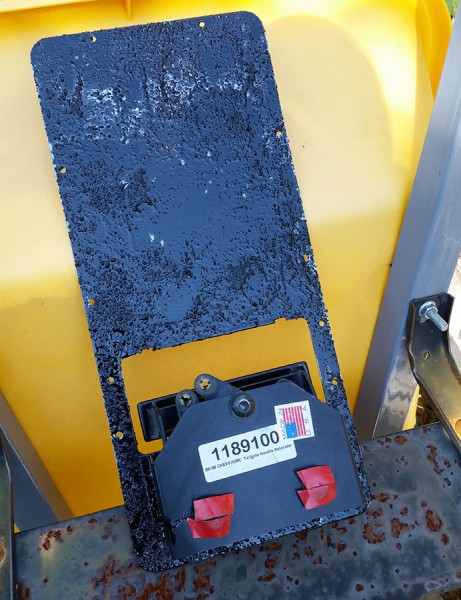
First I masked off the good outside of the tailgate!
Next, I removed the inside tailgate latch assembly because it was showing signs of rust.
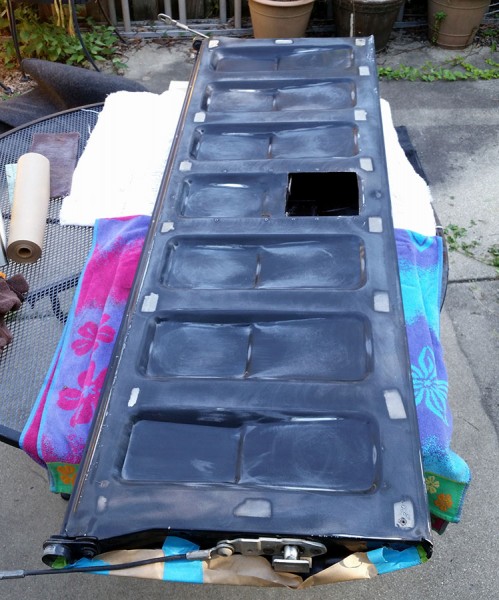
With the tailgate latch assembly removed, I sanded and scuffed the inside of the tailgate per the instructions.
The latch assembly needed it own special attention. I sanded and ground off the rusted areas and prepped it for coating with Herculiner.
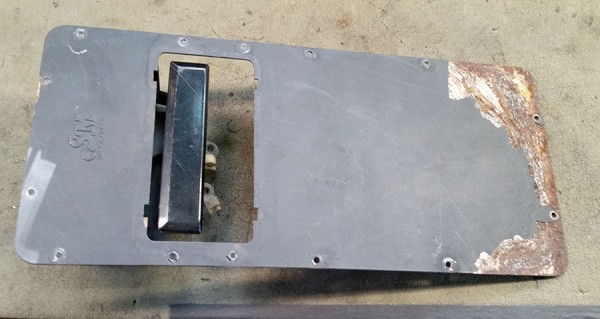
Interior latch assembly removed – showing surface rusted area

Other side of latch assembly
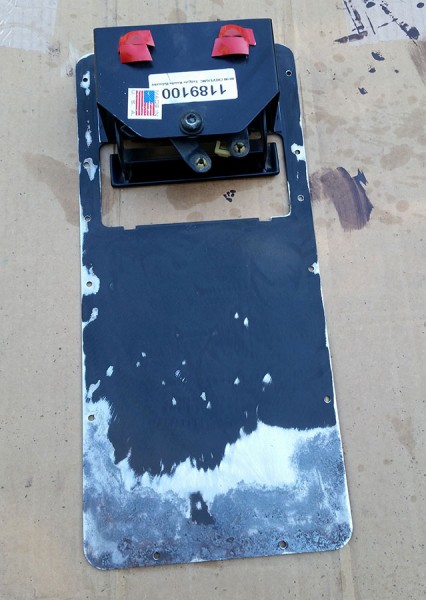
The latch assembly prepped and ready for Herculiner coating
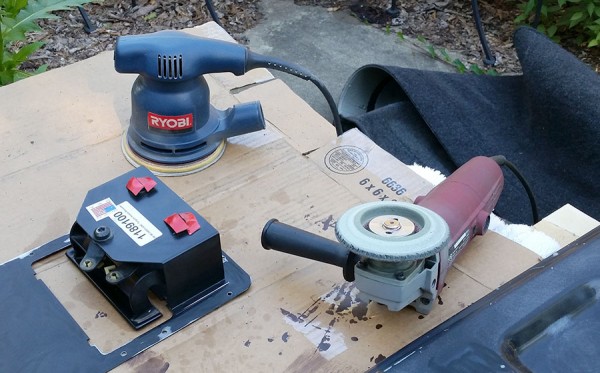
Here are a couple power tools I used to help in the process. An orbital sander to scuff the larger flat areas, and an angle grinder with a 600 grit wheel to remove the old carpet velcro adhesive!
Latch assembly with first coat of Herculiner applied.
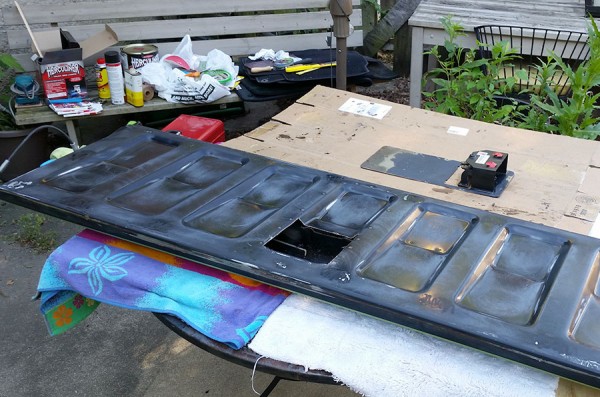
Tailgate sanded and prepped and ready for first coat of Herculiner.
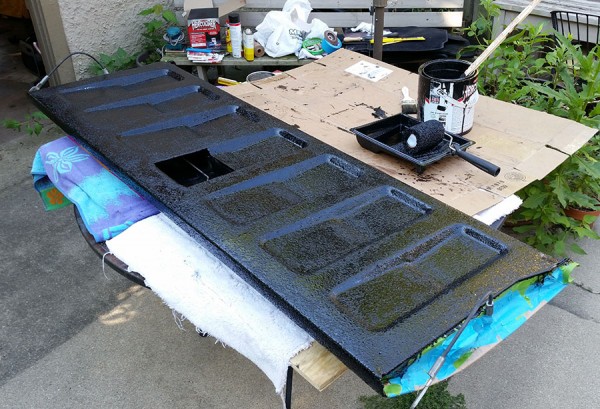
Tailgate with first coat of Herculiner applied. Note the roller I used… this comes with the kit and produces that evenly textured finish.
Second Phase – Pickup Bed
Here’s the pickup bed with the carpet removed and cleaning out the velcro adhesive spots.
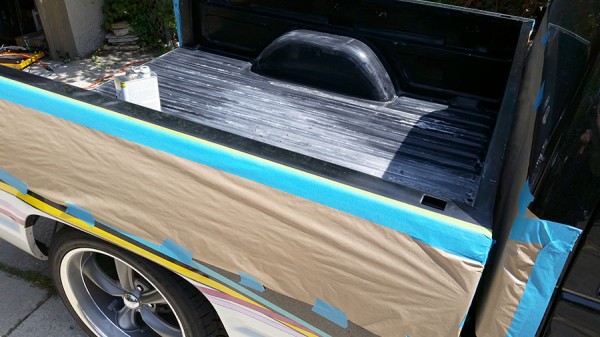
Next, I masked off both side of the pickup bed as well as the front section to keep the Herculiner coating off of other painted surfaces.
Masking the drivers side. I used the Xylene as a prep/cleaner for the surfaces before coating.

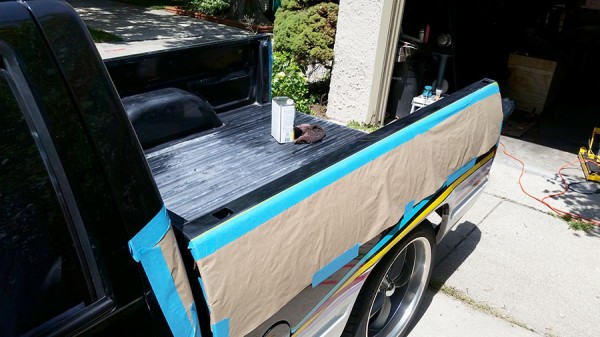
Pickup bed fully masked and surfaces prepped for coating with Herculiner.
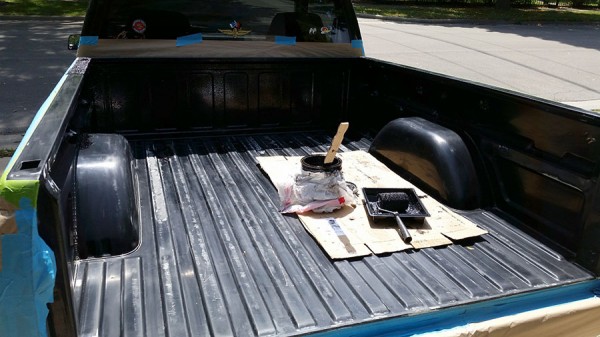
I started at the front of the bed. using the 2″ brush provided in the kit to do the corners and hard to reach places, then using the roller to fill in the larger and flatter areas… slowly working my way from front to back.
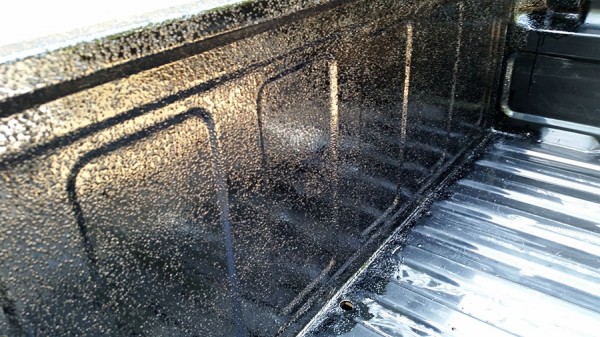
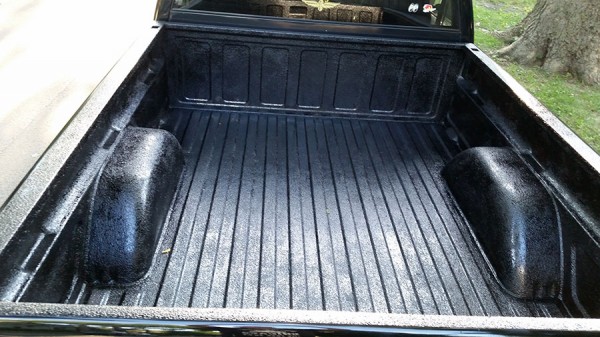
Here’s a close up view of the inside front panel of the bed after the first coat of Herculiner was applied.
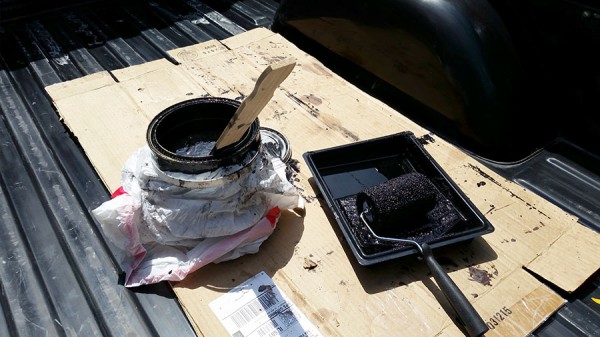
Here’s a close up view of my tools used in coating the larger areas of the pickup bed with Herculiner.
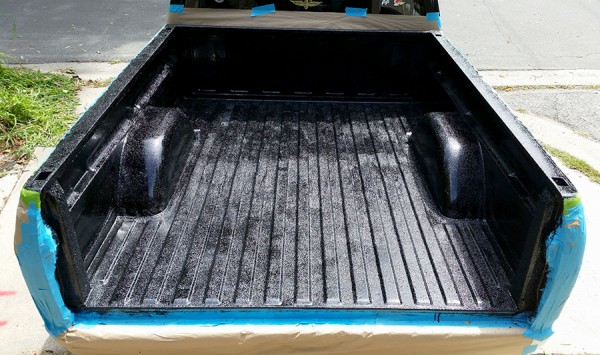
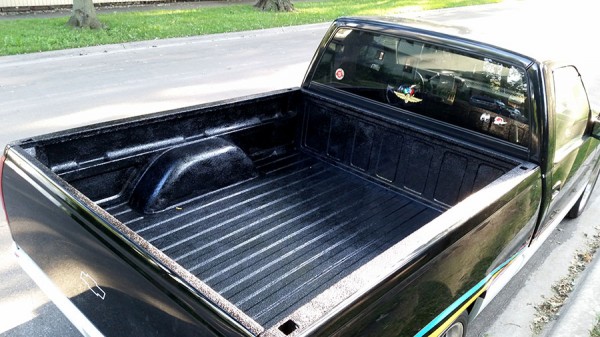
Herculiner first coat completed!
After waiting a few hours for the first coat to setup in the hot sun, I coated everything again in the same order and process. After waiting a few more hours I was able to remove the masking and put the tailgate back on. I left the truck this way overnight to setup completely.
Drying the Herculiner overnight.
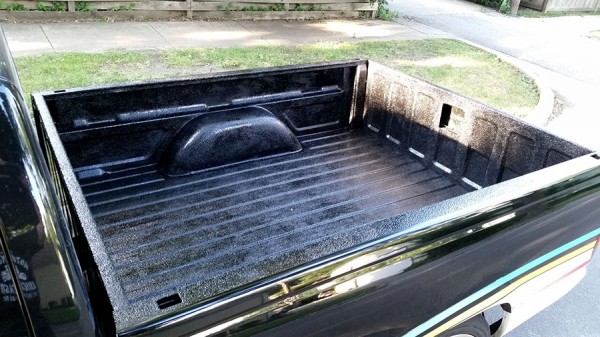
The next morning, the Herculiner was setup and hard enough for me to walk and crawl on it. I then installed the Tonneau cover rails and cover to finish the job.
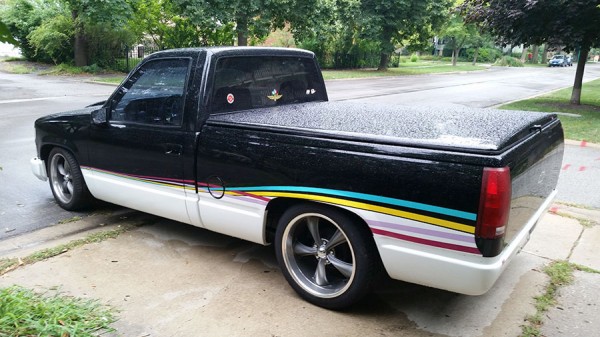
Finished just in time for a Sunday morning rain shower!
Summary
I am very pleased with how this DIY project turned out. It appears to have saved me a ton of money compared to other spray on systems and products. The Herculiner product gets rave reviews online. Time will tell how it holds up and performs for me, so I’ll report back on that as time goes on.