So, why would I want to do this in the first place?
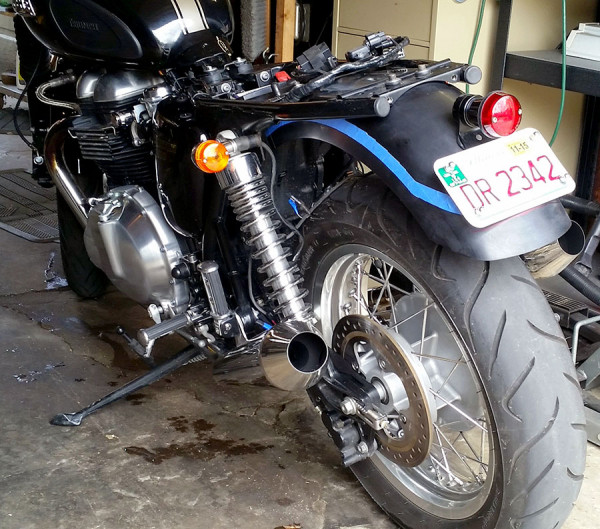
Many Thruxton owners prefer the look of the Triumph Thruxton with the rear fender completely removed. I am one of them. When I bought my 2012 Thruxton, it had this kit on it.
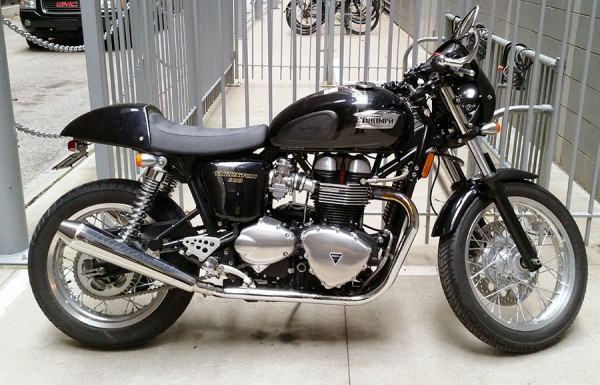
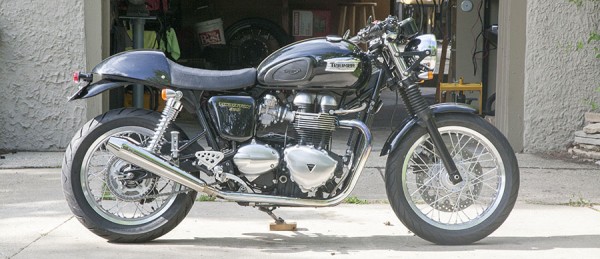
2012 Thruxton with British Customs Rear fender Eliminator Kit – Lucas style
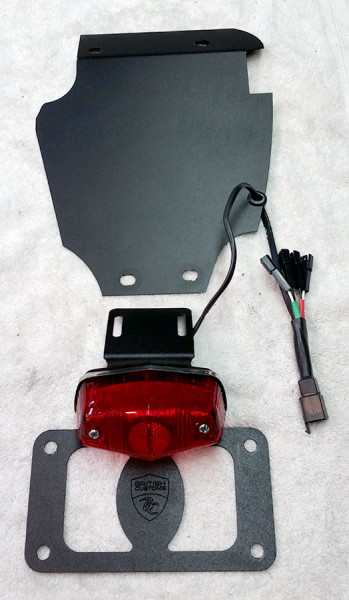
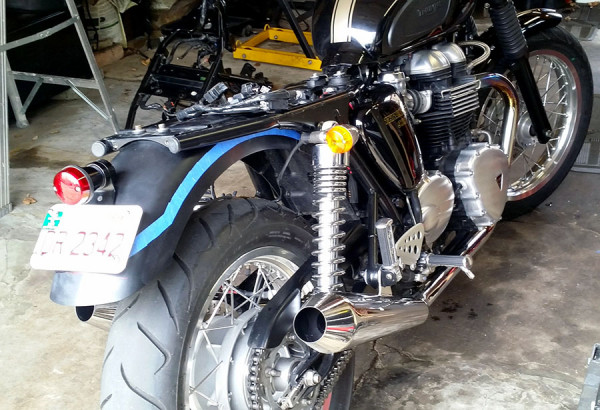
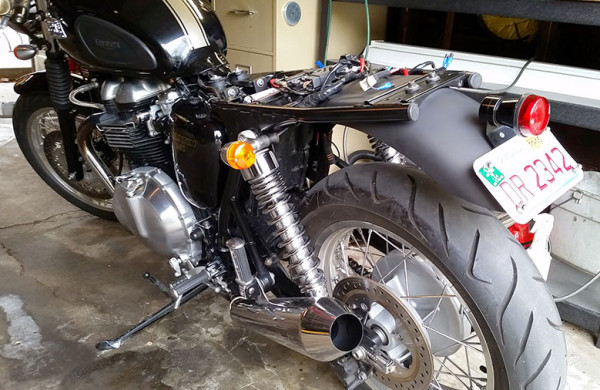
The BC Kit after removal from the Thruxton
A number of online aftermarket retailers supply popular rear fender removal kits:
- BC Lucas Rear Fender Eliminator Kit – (Above)
- BC Cateye Rear Fender Eliminator Kit
- Bellacorse Rear Fender Tidy Kit
- NewBonneville Rear Fender Eliminator Kit
- I’m sure there are more out there…
However, for some of us who ride year round in places like Chicago, or who are not averse to riding or road trips in less than optimal conditions, the experience of having dirt, mud, tar and all other forms of road crap thrown against our wonderful 865 twin engine, or on our butt and back… eliminating the fender does not seem like such a good or practical idea.
But, I do agree that the stock OEM Thruxton fender looks too heavy and bulky for the bike, especially if you are after that more classic “cafe racer” look. So, I had this idea to cut the rear fender down so that it achieved 2 purposes:
- A more faithful “cafe racer” look
- Protection from road crap
Step 1 – Purchase a Rear Fender
One would not have to do this as you could use the one that came on your Thruxton. I chose to look for one online to experiment with and found one at Rubber Side Up for $35. That way, if I messed it up, I could put the original one back on!
Step 2 – Mark & Tape Off Your Trim Guide Lines
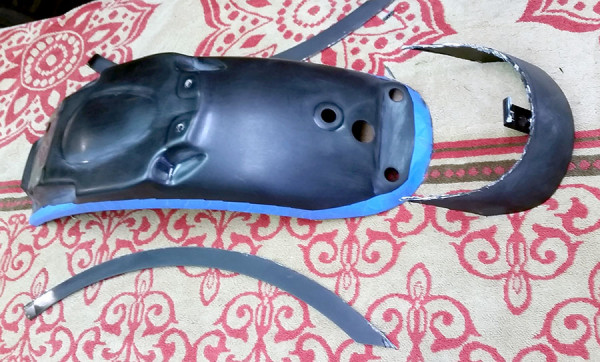
In my case I chose to take 1″ off the side of the fender, and several inches off the back end. To do this, I set a compass at 1″ and traced a pencil line following the edge of the side fender curve, like this:
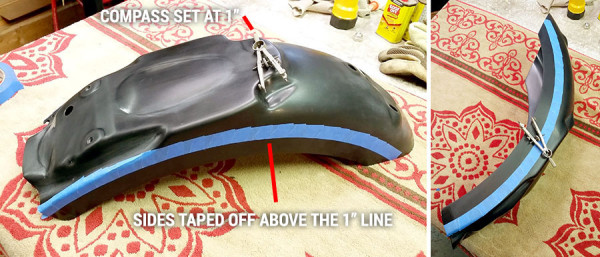
Marking and taping off the side guidelines to be used for cutting.
Next, I put the fender on the bike and market where my rear fender taillight and license plate ended. I decided I wanted the fender to end right at the bottom of the license plate.
With fender mounted on the Thruxton, I marked where the license plate would end.
Using the curve of the stock fender end, I drew guidelines for the end of the fender, then taped it off to meet the side tape guides. Once it was all trimmed and back on the bike, I had a pretty good idea of how it would look.
Left side rear view
Right rear side view
Step 3 – Cut Off the Parts You Don’t Want
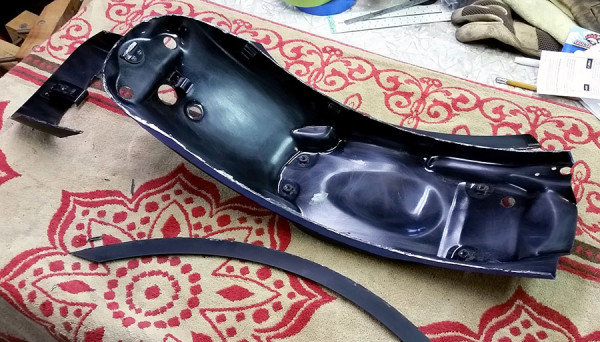
Today I cut away the metal I didn’t want to see anymore! I clamped the rear fender to my shop bench using 2 wood clamps.
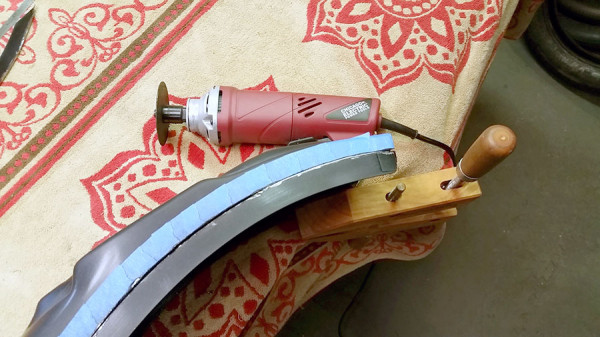
Using my 3″ cut-off tool I started cutting away the 1″ strip along the sides.
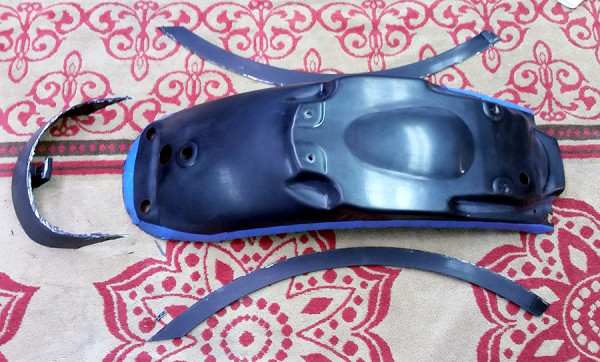
The sides and tail piece cut away.

Another view of the sides and tail piece cut off.
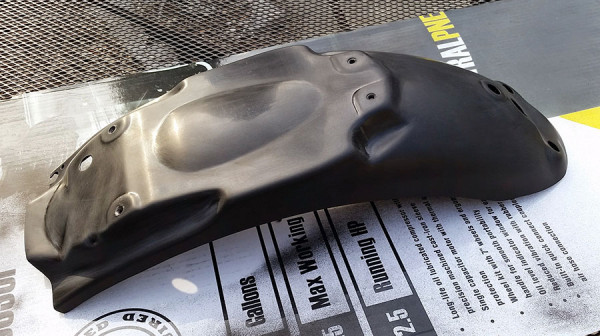
A view of the rear piece cutaway.

Here’s what the underside looks like. I’ve got a lot of edge filing to do!
I like how it looks on the bench… I know I’ll like it on the bike even more!
May 1, 2015 Update
So, next I used my angle grinder with an 80 grit sanding wheel to grind off the edges that I had cut and clean up the stray metal filings. I also removed the blur guide tape and wiped everything off with degreasing agent / paint prep. I used Eastwood heavy flat black primer in a spray can to coat the fender before fitting on the Thruxton.
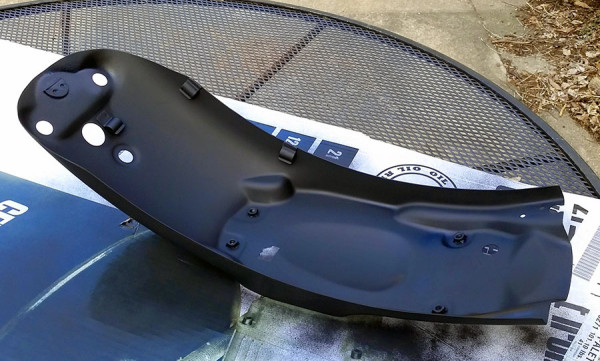
First I sprayed the inside of the fender and gave the edges a coat of primer.
View of underside of primed fender.
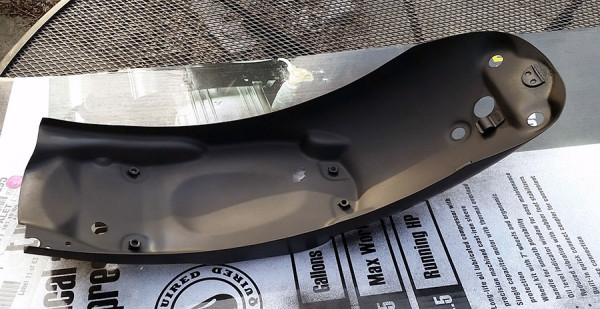
Next I cleaned and sprayed the outside with a coat of primer and let dry.
Finally for the stage, I fitted the bobbed read Thruxton fender on my 2012 Thruxton for visual fit and feel.
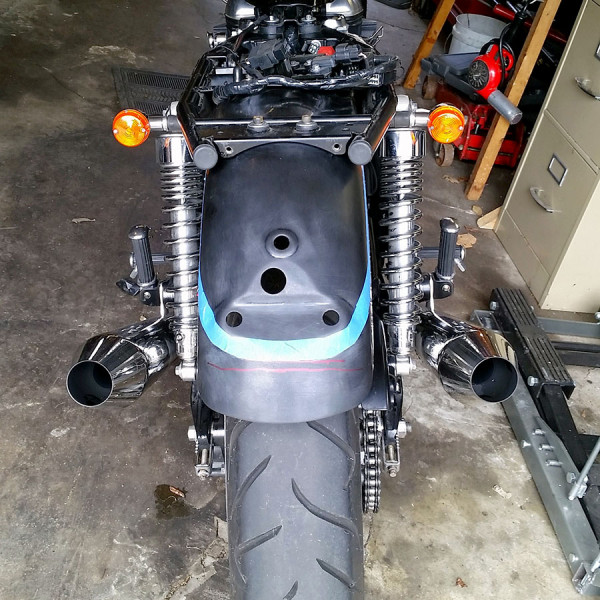
Rear side view of bobbed rear fender on the Thruxton.
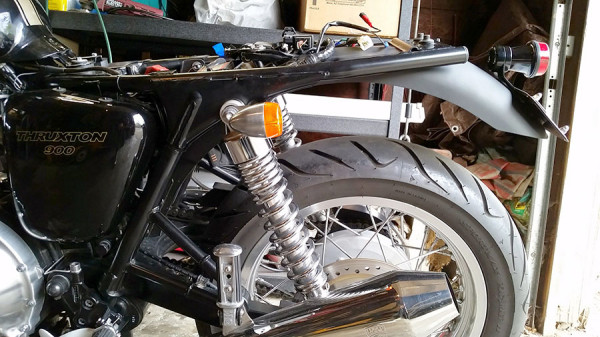
You can see there is a lot more air between the tire and the bobbed fender. I am liking how this looks!
Update – Memorial Day, 2015
After living with the bobbed and primed fender for a few weeks, I saw another Bonneville with a rear fender I liked at the Team Triumph open house on May 16, 2015.
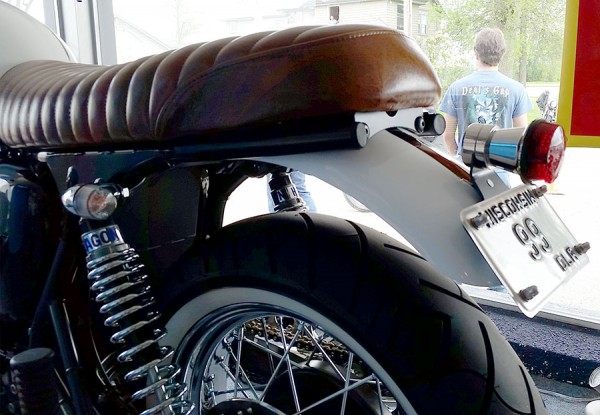

2012 Thruxton Rear Fender Bob, left side
2012 Thruxton Rear Fender Bob – right side