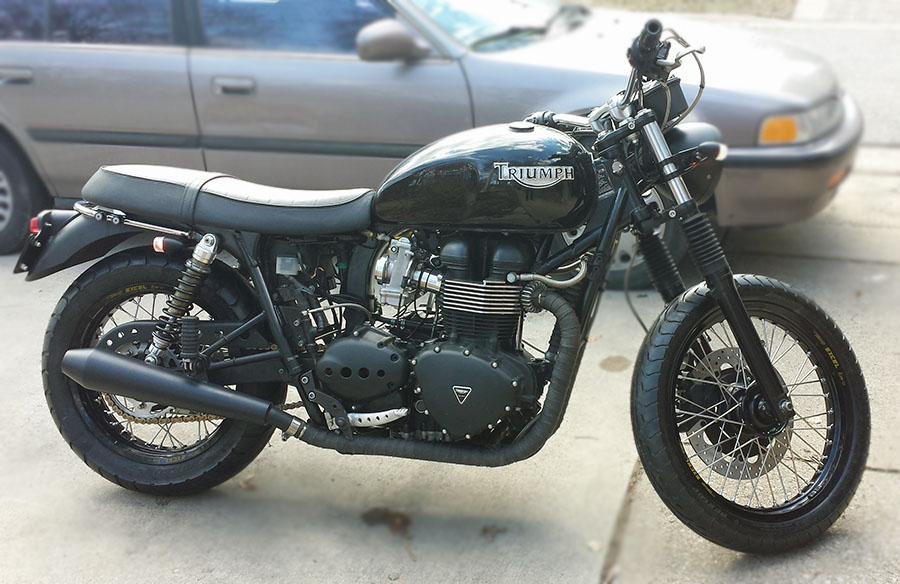
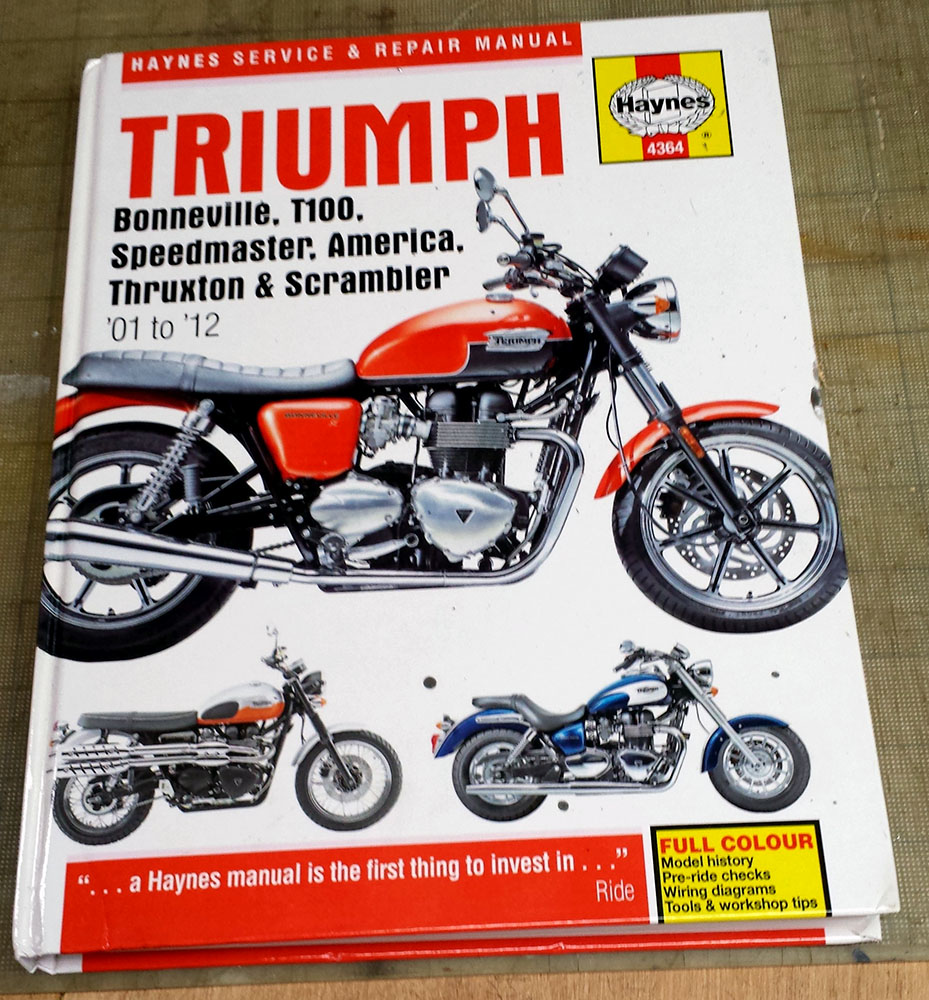
Haynes Shop Manual – don’t leave home without it!
Remove Exhaust Headers
Since my slip-on exhaust mufflers were already removed, all that was involved was to:
- Remove the right side read brake lever assembly (a pin and 3 bolts)
- Loosen and remove two bolts holding the read section of each header to the frame
- Loosen the clamp on the crossover section of the exhaust pipes
- Loosen and remove the 2 bolts on each side of the engine cylinder blocks that hold the pipes into the cylinder exhaust ports.
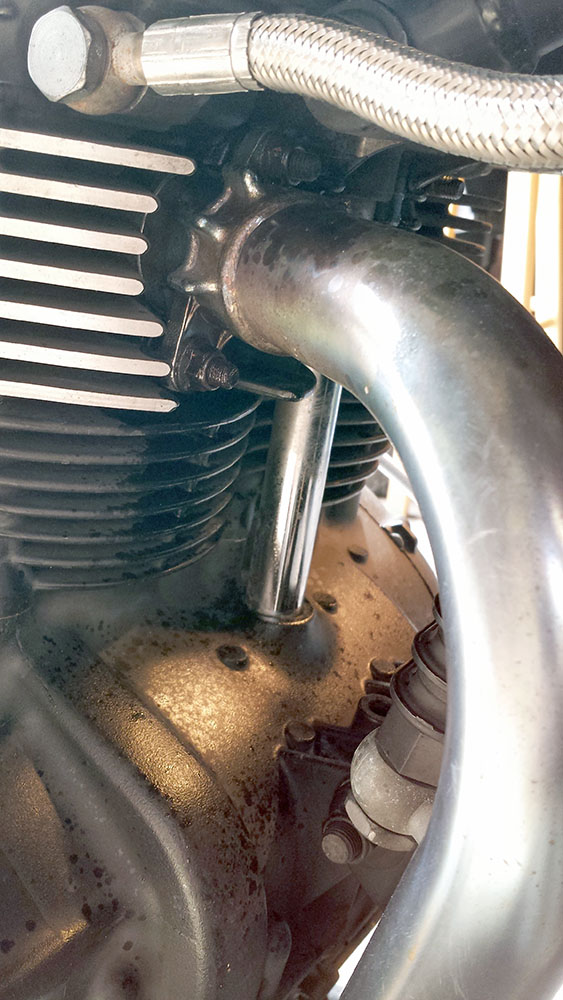
2 bolts at each header cylinder port
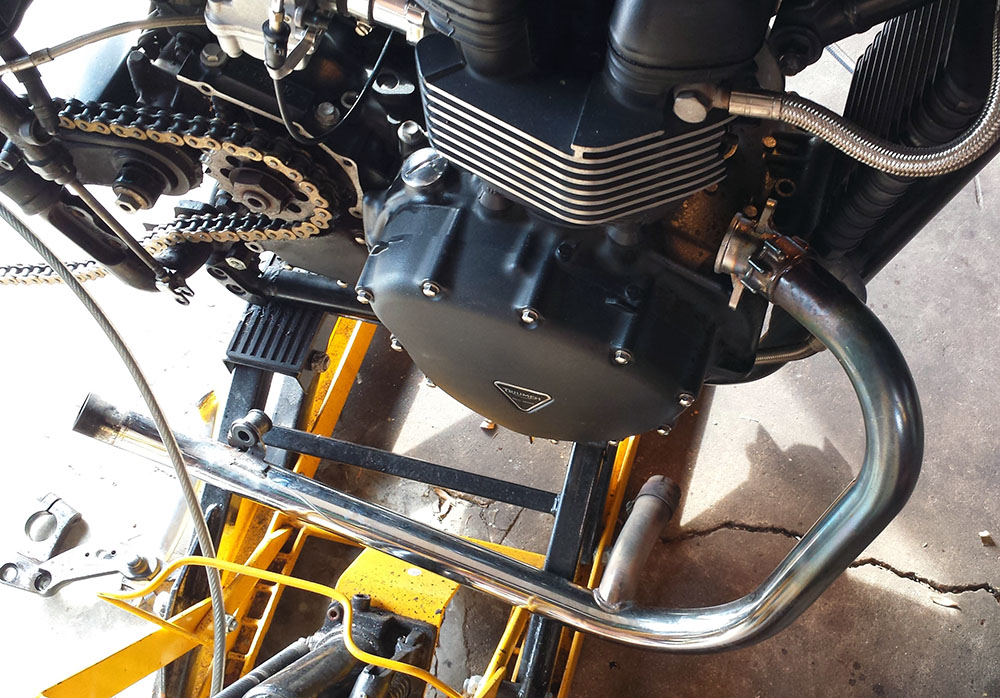
Right side header removed
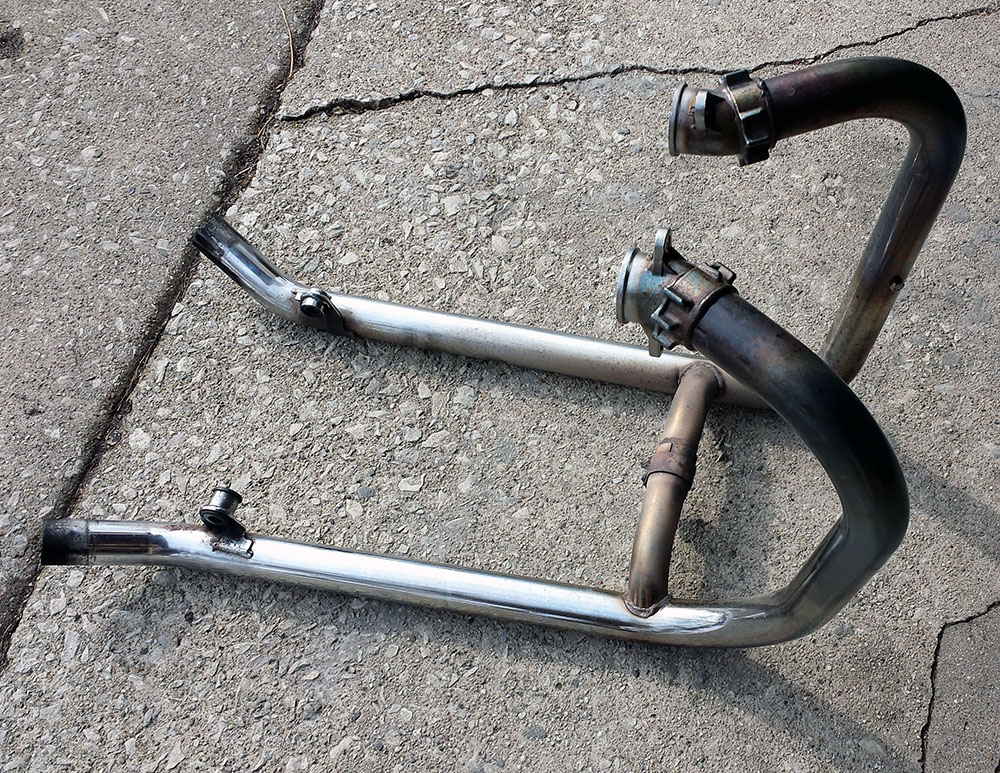
Fully removed header assembly
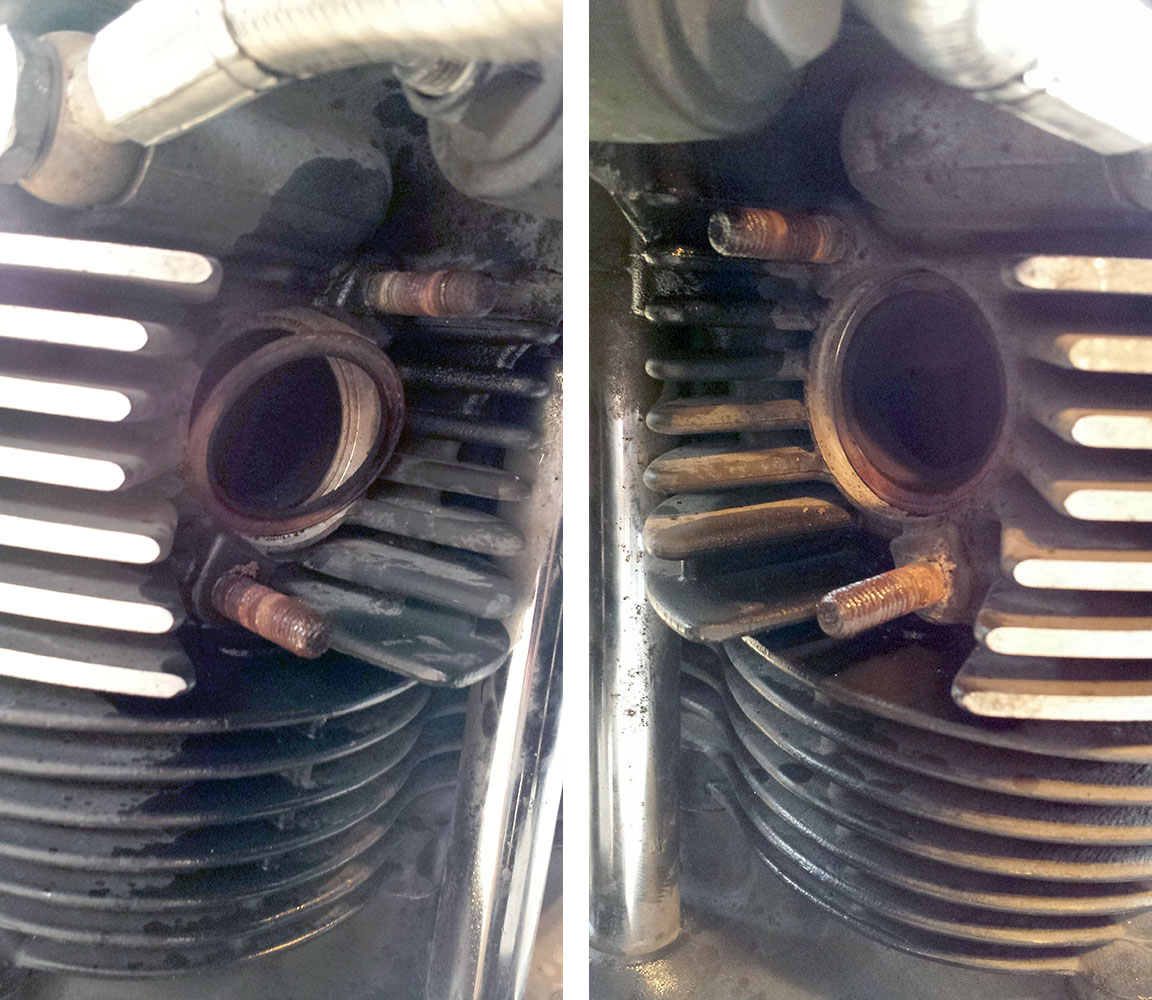
Exhaust ports on each cylinder. There is a copper seal ring that needs to be replaced when re-installing.
Maunde Speed Shop – Finned Exhaust Clamps
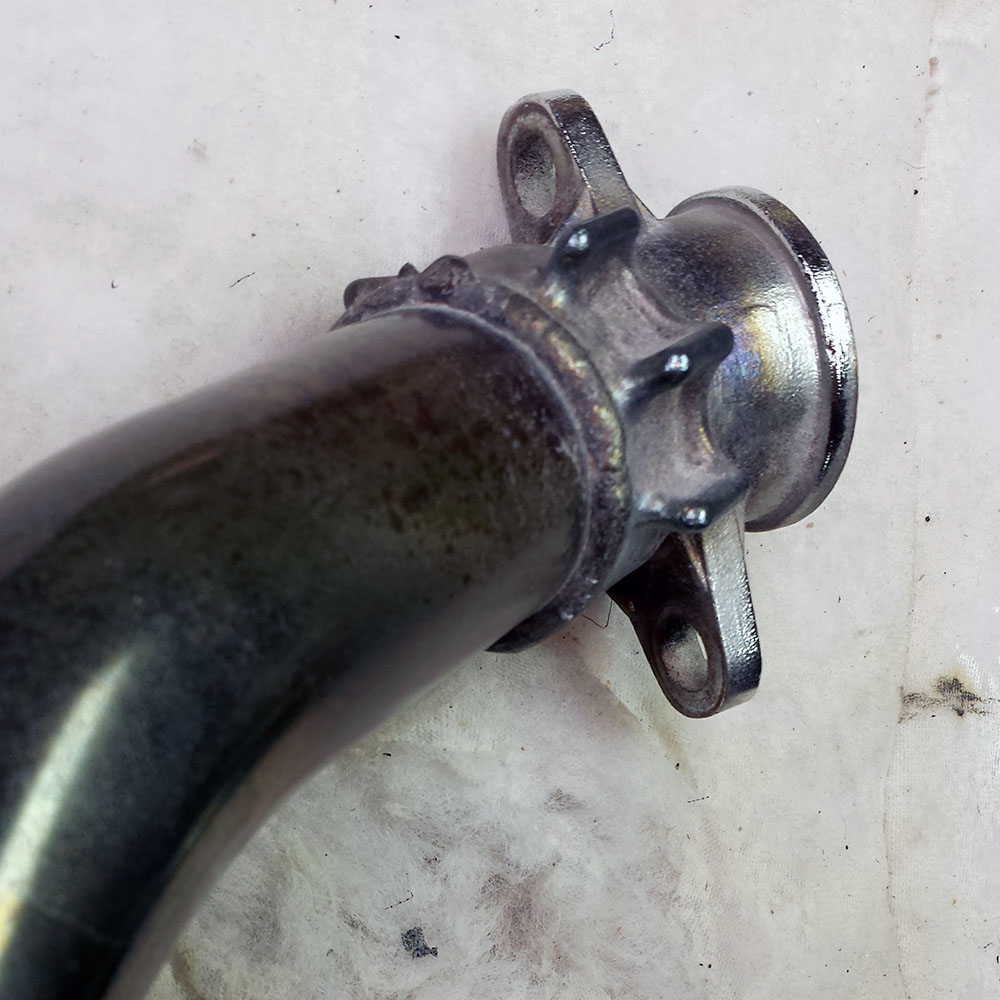
In the course of researching this modification, I ran across a great little product by Maund Speed Shop in Pasadena, California. They call them their “Finned Exhaust Clamps.” Basically these are cast aluminum fins that clamp over the stock exhaust pipe as shown below. They cost $120 for a pair.
Stock header fins

Maunde Speed Shop – Finned Exhaust Clamp

Maunde Speed Shop – Finned Exhaust Clamp
These look much more like the original Triumph Bonneville’s of the 1960’s and 70’s. I plan to use these to clamp the heat wrap tape at the cylinder port end of the pipe. I plan to use stainless wire or a clamp at the other end.
Sunday, March 2, 2014 Update – Wrap Headers
I first studied a number of YouTube videos on the topic and picked up a few pointers. I’m using a graphite black insulating wrap product made by Thermo Tec called Cool It. 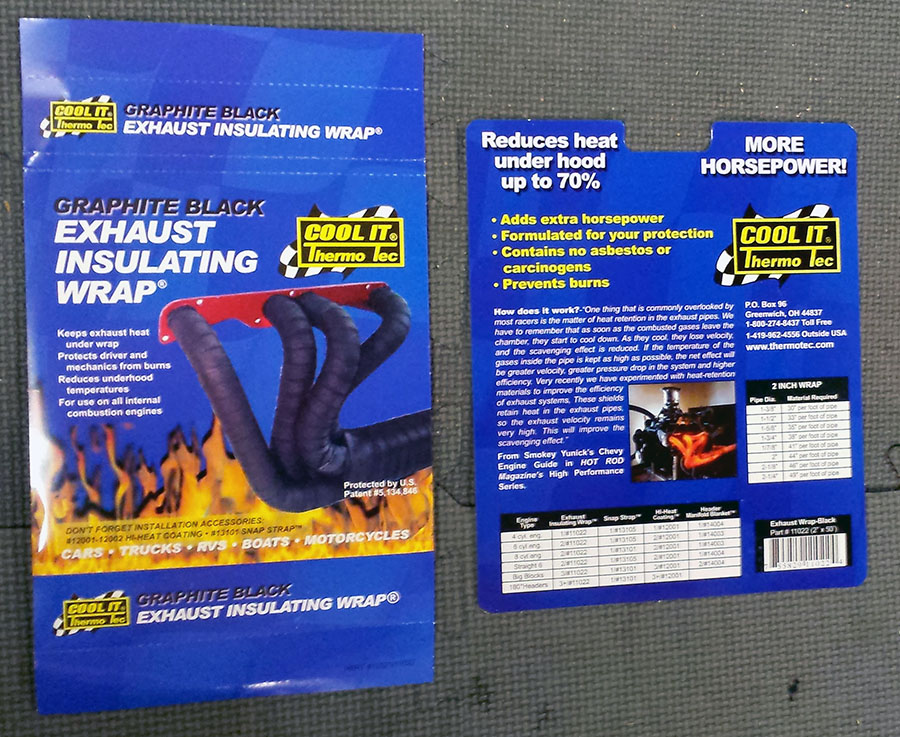
1 – Cleaning
I cleaned each header thoroughly with rubbing compound and Gunk parts cleaner.
Cleaning the headers

Gunk brand brake and parts cleaner
2 – Preparation
Next I prepared the exhaust tape by soaking it in a pail of water for 10-15 minutes. This makes the tape more flexible and easier to work with.

Soaking the tape in a pail of water.
I also gathered some of the tools I would need and had them close at hand.

Preparing tools: latex gloves, stainless steel ties, and scissors
3 – Wrapping
I put one header in a vise to free my hands to concentrate on the wrapping. I started at the exhaust end (a tip I learned from YouTube, so that the tape seams face the rear of the bike, and don’t catch dirt and moisture as easily). After I got the tape started a few turns, I clamped it in pace with a stainless steel tie I purchased at an O’Reilly auto parts store.
Leave space at the end for the slip-on muffler and clamp.
I worked my way up toward the front of the pipe, overlapping about 1″ or half of the tape on each turn. I had to do some fancy wraps to cover around the rear mount, and the crossover pipe.

Wrap toward front and end just shy of the stock cooling fins.
Once I reached the top, I ended the tape just shy of the stock cooling fins, cut off the tape, folded the end under about 1/2″ and the applied the Maunde Cooling Fin as a clamp to hold it in place. I also added a stainless tie to hold the front edge of the tape down.
Maunde Cooling Fin Clamp close up – They come in 2 halves with bolts to clamp them tight around the header.
I repeated the process on the other header.
Completed second header
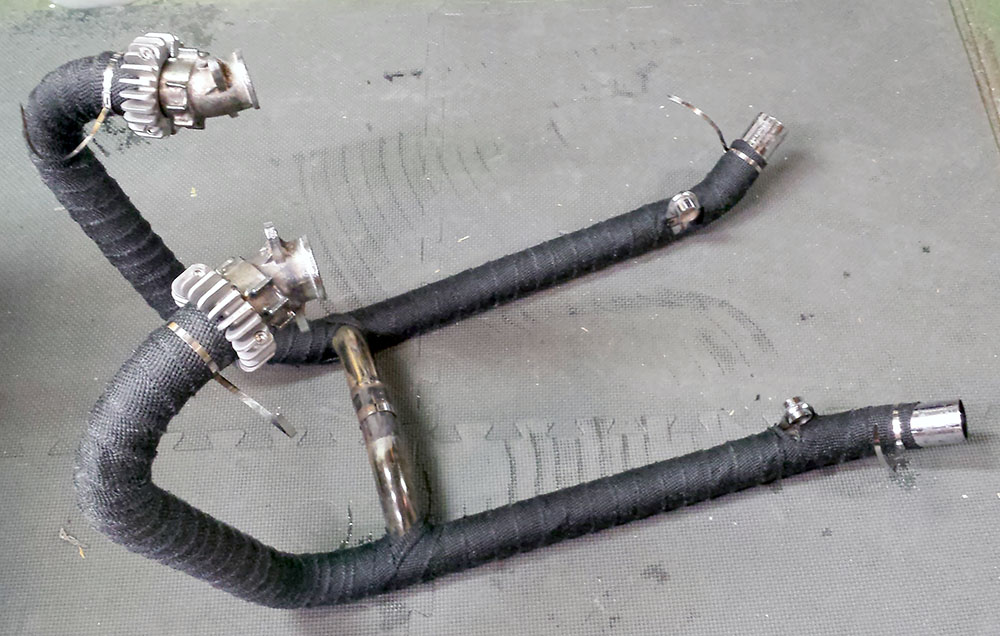
Wrapped headers
I slipped the completed header set together so it would stand on its own and put it in a warm place to dry. I used some more time to clean the clamps and bolts that will be used to mount everything back on the Bonneville. I’m very pleased with how these are looking.
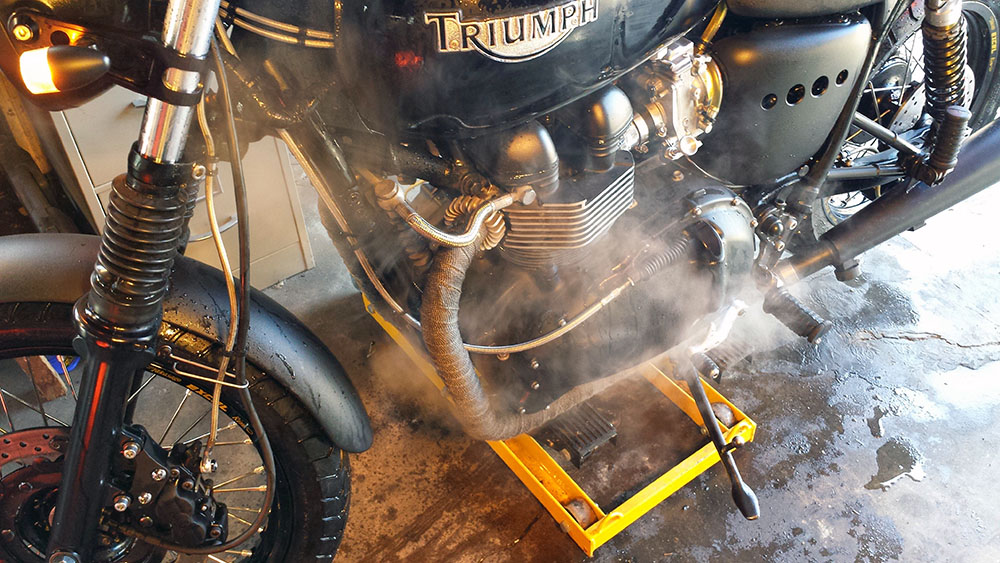
The header wrap will smoke up really good at first – so make sure you do it in a well vented area!
I mounted the pipes back on the bike and ran the engine while the bike was on the jack to cure it with the heat from the pipes. Most of the smoke is gone in 30 minutes, but I am still getting a whif every now and then days later.
NOTE! I have it from a trustworthy authority that it is never a good idea to leave your engine idling for extended time while a Bonneville is parked on the side stand. The crankshaft on the right (high) side does not get enough oil in this position and you can burn out your engine doing this! It is also advised to run a fan on the engine while it is idling on a level jack or center stand.
Hi Sir,
May I know how do you install the header clamps?
Regards,
Hooi
Hooi,
If you mean the Maunde fins, they each come in 2 halves with threaded bolts to clamp them together. After wrapping and installing my headers, I put the 2 halves over the wrapped tape, as near to the exhaust manifold as possible, and clamped them there.
If you mean the stainless steel straps, they install very much like a nylon tie… the flat end wraps around the pipe and then inserts into the end with the clamping mechanism. You continue to pull the flat end through until you make the clamp tight around the header and tape. I used a needle nose pliers to get it as tight as possible. I then cut off the excess with a heavy duty wire cutter.
I hope this helps…
Randy
Hi,
I was wondering, how much you needed to do both pipes? Was a 50ft roll enough to do them both?
Thanks for the article – very useful!
Matt
Matt,
Yes a 50 ft. roll is enough to do both headers with some left over.
Randy
Just curious, I know you need to replace the header gaskets, but is there a gasket or sealant on the pipe connecting the headers underneath the frame?
Philip,
You can see the product I have used for the header to silencer connection on this post: http://triumphbonneville.org/headers-exhaust-wrap-and-predators-for-daniels-t-100/
It’s made by Permatex and comes in a copper tube. You need very, very little. You also need to be careful not to get it on your heat wrap because it will not come off.
Randy
Hi Randy,
What are the torque settings for the bolts removed to perform this mod? Also, do you know if i can find the header gaskets at a local auto shop?
Thanks in advance.
Thanks for the nice and detailed post. Wondering where did you buy the replacement copper sealing ring in exhaust ports?
Mike, thanks for your comments and question. I’ve purchased replacement copper exhaust sealer rings from a variety of sources over the years. You can buy OEM Triumph parts online at a number of sites including bikebandit.com and partzilla.com you can also buy aftermarket rings at sites like https://bellacorse.com/shop/oe-style-copper-exhaust-gaskets/ or https://www.ebay.com/i/223232075488?chn=ps&norover=1&mkevt=1&mkrid=711-117182-37290-0&mkcid=2&itemid=223232075488&targetid=858124925229&device=m&mktype=pla&googleloc=9004351&poi=&campaignid=6470636529&mkgroupid=81597519750&rlsatarget=pla-858124925229&abcId=1140476&merchantid=6296724&gclid=CjwKCAiA-P7xBRAvEiwAow-VadLiJA6NOA6RH8ua6sDP9nS0PssXdyDJ7wIyRwxsUJjWz0PthdBMXhoCK8UQAvD_BwE and https://www.ajcyclesny.com/product/triumph-exhaust-header-gaskets-pair-t2200229/
Hope that helps! – Randy
Did you use a torque wrench on any of the bolts when re-mounting the headers/exhaust?
Michael, Yes, I generally do use a torque wrench on anything connected to the engine block because it is softer alloy metal. I have several sizes that I picked up a Harbor Freight Tools and if memory serves correct, I think I used the 3/8″ drive version that I have. Here is the one I used: https://www.harborfreight.com/38-in-drive-click-type-torque-wrench-63880.html Here is another post I did on torque settings: https://triumphbonneville.org/triumph-bonneville-torque-specifications/ – Randy
Do you know if the tips can be wrapped? I’ve got chrome ones and want them all black. Figure it would be cheaper to wrap them all versus buying black tips? If they can be wrapped would you suggest more than 50’ to wrap both sides and the tips? Or is it possible to spray with a powder coat of some sort? Thanks!
Steven,
I never wrapped the exhaust muffler/silencer part of the exhaust system before, nor have I seen it done. I think one problem might be how to secure the end of the wrap depending on the shape of your mufflers. I’ve not heard of a DIY solution for painting the exhaust mufflers. If they are chrome-plated, you’ll need to scuff up that surface before applying a high-temp paint or coating of some kind. I don’t have much hope for that to work long term, but you could try.
The best solution would be to purchase black ceramic-coated exhaust silencers.
Randy
Hi Randy, thanks for this post. I saw few posts on triumphrat that motone fins do not fit well (I know you put Mound ones). I have a similar heat wrap on my 04 Bonnie as well. I’m just worried if the mound or motone fins be too tight to fit over the wrap? If so, any tips? (Looks like you put’em over the wraps). Thank you
& would it technically be ok (too heavy/not enough space etc) to place both mound & motone big fin together on a header? (Mound for engine fin match & motone big fin as an extension of the look?
I hope I’m not attempting for something very stupid, going ask triumph community & laws of nature 🙂 Unorthodox ok with me 🙂
Do you have O2 sensors on yours? And if so, did you remove them to complete the wrap?
Rich, all the Bonneville’s that I have wrapped have been carbureted, without O2 sensors. Still, in my opinion, you will get a much better outcome if you remove the headers to wrap them, than if you try to do it with them on the bike. I know it is more work, but it will look much better.