While my Bonnie was disabled due to the carb malfunction and I was waiting on the parts to fix it, I decided to rebuild my front forks again.
I had ordered some new parts from Bellacorse that were waiting to be installed:
- Adjustable Fork Preload Caps
- Short Gaiters for Superbrace
- Gaiter Clip Clamps
- Fork Tune & Groom Kit
- All Balls Racing Low Stiction Fork Oil Seals
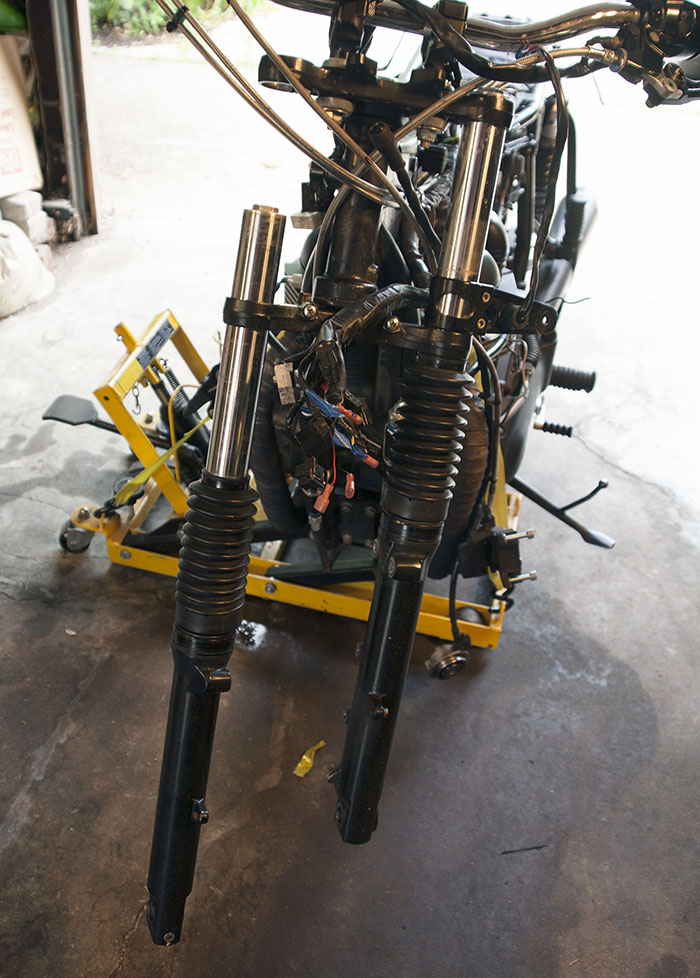
So, while my Bonnie was up on the floor jack, I removed the headlight, instrument panel and wiring, front wheel, fender and brackets, brake caliper and then the fork tubes from the triple trees. Things then looked like this:
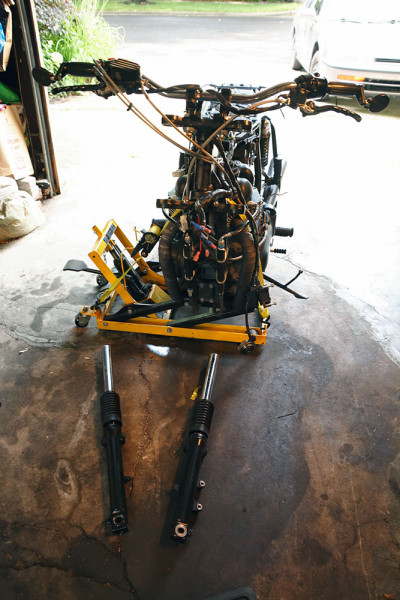
2008 Bonneville with front wheel, fork, headlight and wiring disassembled.
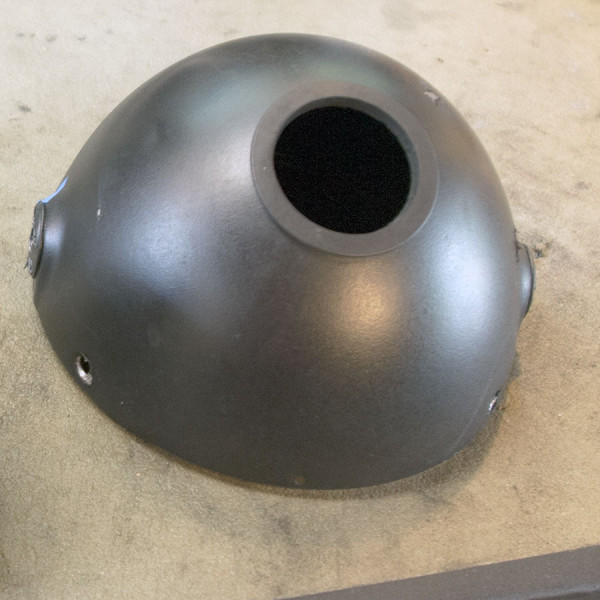
Next, I decided to change the finish of several parts. I ground off the black Plasti-Dip from the headlight bucket and trim ring with a wire bench grinder and decided I liked how the chrome looked like that, and decided to leave it that way for now.
Headlamp coated with black Plasti-Dip – you can see where it was wearing off at various spots.
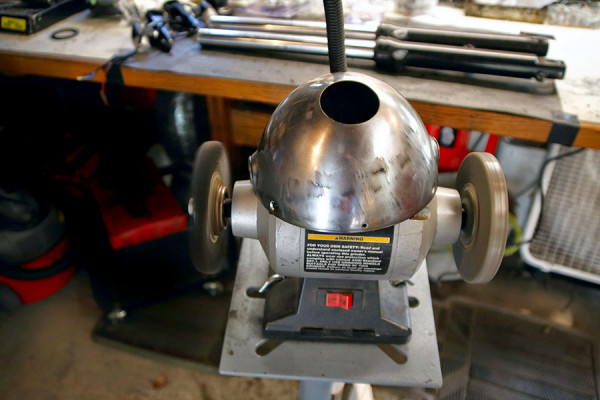
Removing the Plasti-Dip from my headlamp bucket using a wire wheel on a grinder.
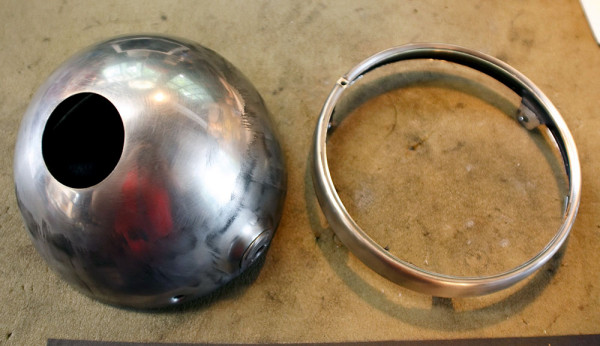
Headlamp bucket and trim ring with Plasti-Dip removed
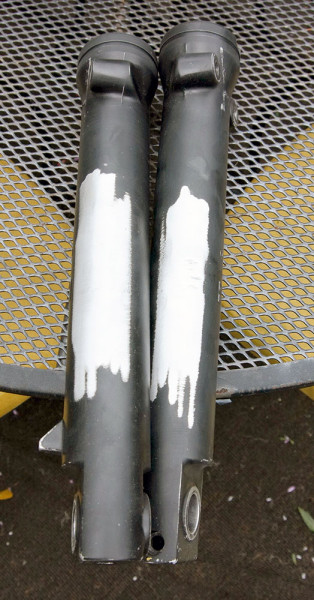
I also decided to grind off the fender mounting stubs on the stock lower fork casings since I no longer need those with my bobbed front fender.
Lower front fork tube fender stubs being ground off
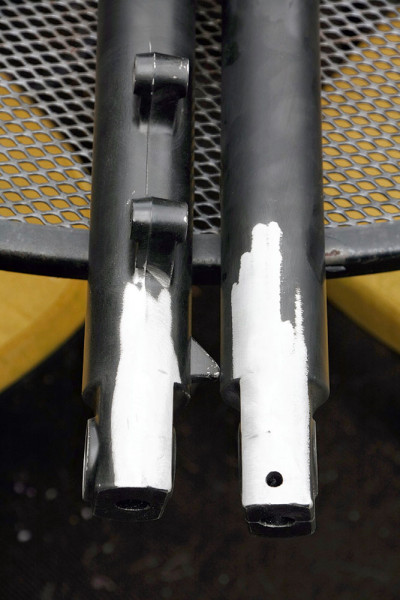
Closeup of grinding process
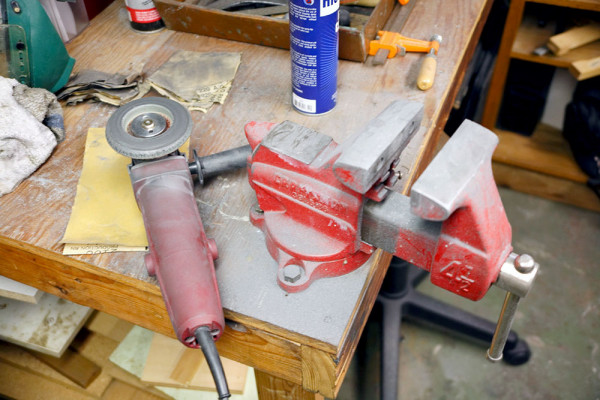
I created a lot of fine gray dust doing this!
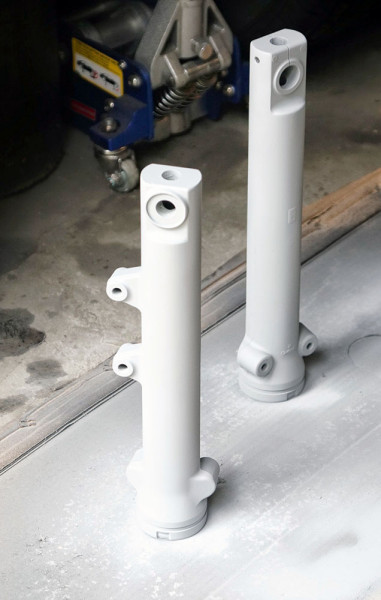
Then I primed the lower fork tubes
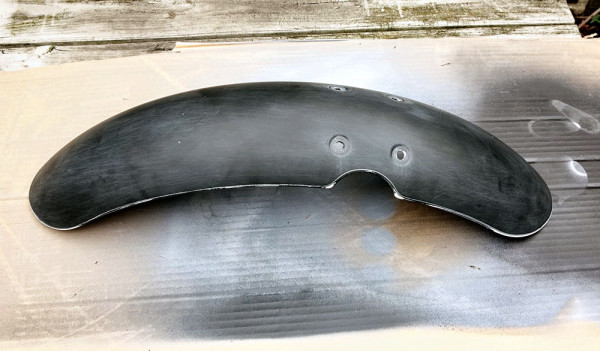
I decided to remove the Plasti-Dip from the front fender and repaint it flat black as well.
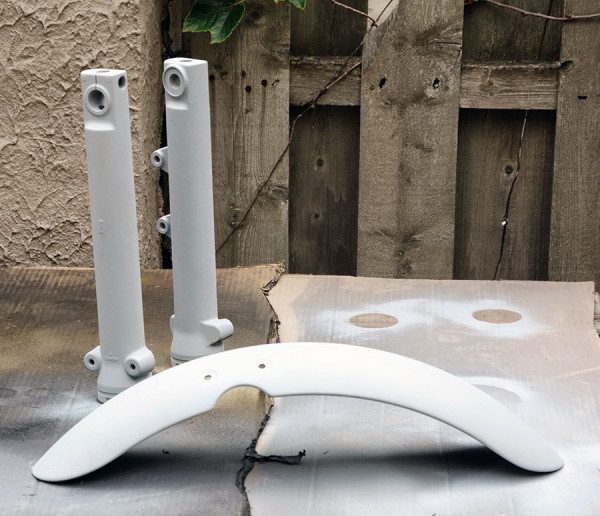
Fork tubes and front fender primed.
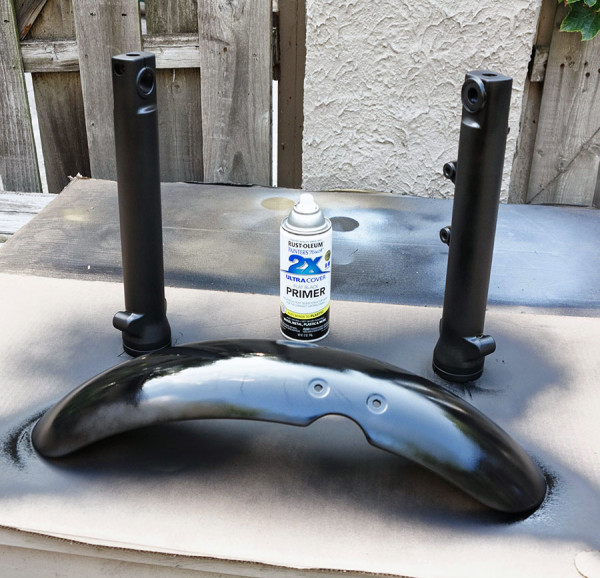
Then I switched to flat black primer.
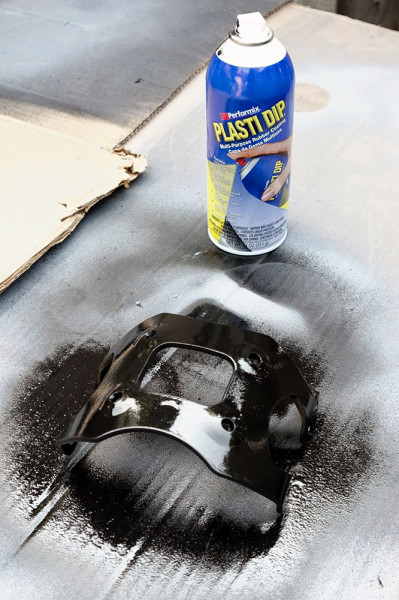
I also decided to coat the front fender bracket with Plasti-Dip thinking it would protect that metal longer than just the stock black paint finish from Triumph.
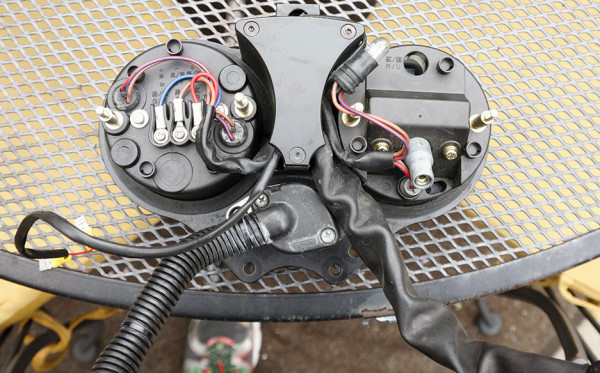
While I also had the instrument cluster removed, I replaced a burned out bulb on the top of the speedometer, and just cleaned up some of the wiring.
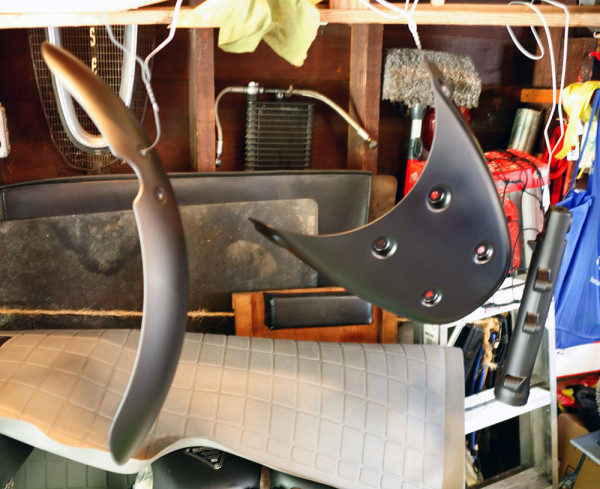
Finally, I sprayed the final layers of flat black enamel and hung the parts to dry in my garage.
Rebuilding the Front Forks
I followed the process in the Haynes manual to remove and disassemble the fork tubes. Here’s what they look like all taken apart.
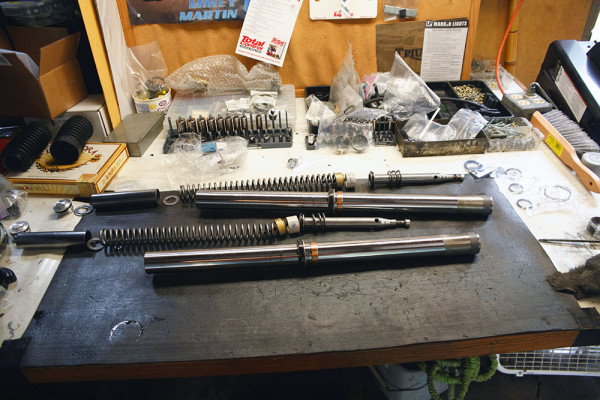
Inside parts of the front fork tubes disassembled. My setup includes the RaceTech Suspension springs, Gold Valves and spacers.
I replaced the upper and lower bushings, the copper seals, the upper seals and fork oil using Spectro SAE 15, recommended by Racetech.
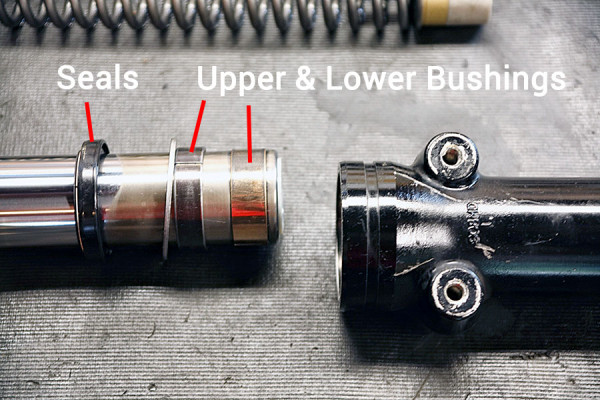
Upper and lower fork bushings and seals that I replaced.
For the preload adjusters, I measured the difference height from my stock fork caps and the new preload ones set in their middle position. This told me how much shorter I needed my spacers to be… turned out to be 1/2″ – so I went ahead and cut those down, filed them off and put them in with the new preload caps.
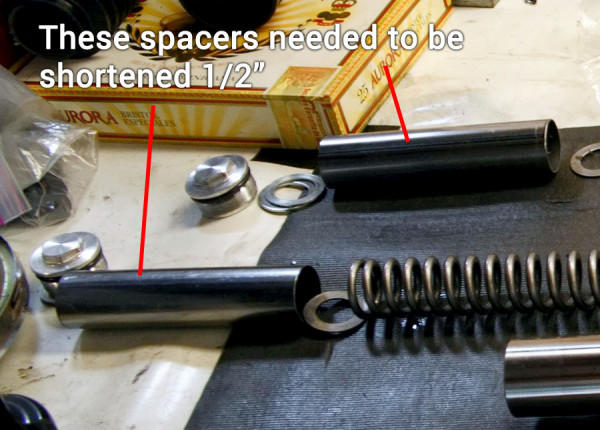
The spacers that needed to be shortened 1/2″
Stock fork caps
The shorter gaiters designed for use with a Superbrace.
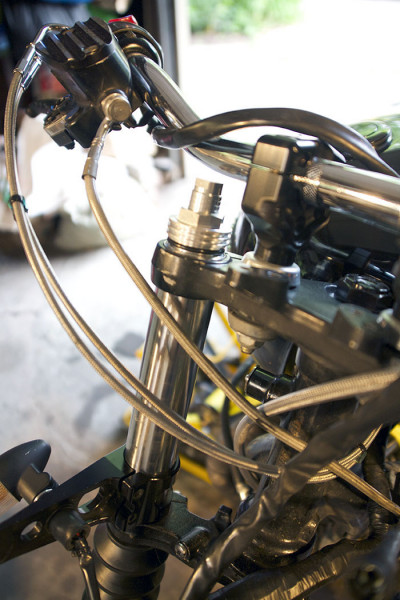
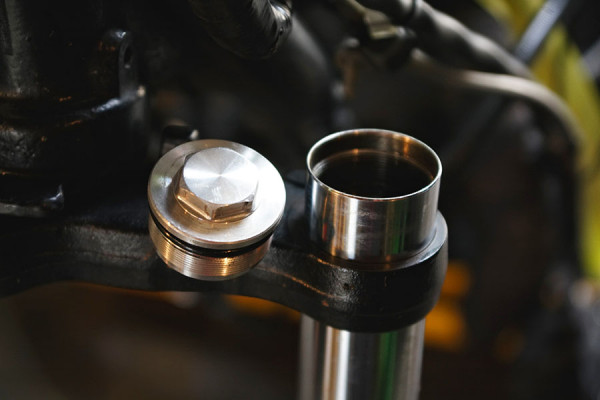
The new pre-load adjuster caps installed.
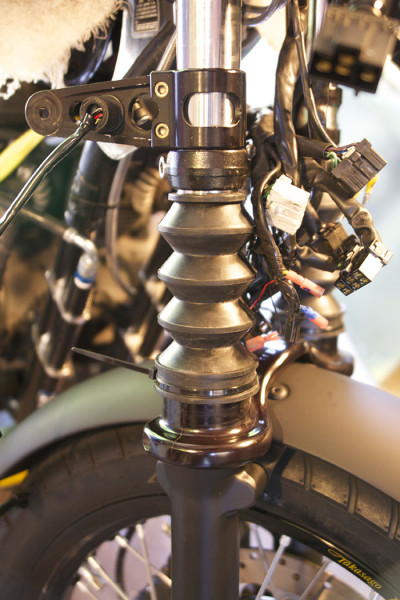
Final Results
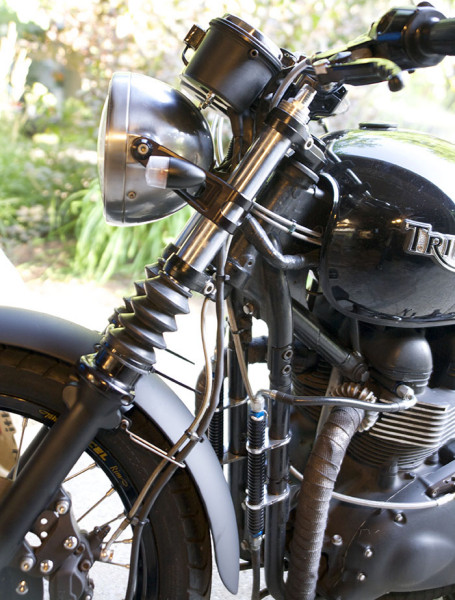
Here’s how the front fork with all my modifications turned out… not too bad!
Test Ride to the Peoria TT on Sunday, August 17, 2014
I have to say that with the new fork oil and modifications to the front forks and the new seals in my Mikuni carbs, the Bonnie has never run or handled better. I rode it from Chicago to the Peoria TT and back yesterday, and it performed fantastic.
I am looking to upgrade my forks in a few months, are the $120 pre-load adjusters worth it for a bike that is mainly a commuter? Also if I replace my fork springs should I also do my oil, my Bonnie only has 6,300 on the OD so the maintenance on that is still a ways off. Thank you,
JT
JT,
Thanks for visiting triumphbonneville.org and for leaving your comment and question.
If you are happy with the suspension and ride of your Bonnie and use it basically for commuting, you do not need the pre-load adjusters. Those are primarily for fine-tuning suspension for various types of riding, including Track Day type events. Upgrading the springs and rear shocks will definitely improve the ride and handling for daily riding… you will notice it. You would not need to replace the oil with only 6300 miles… you could wait until the recommended service interval to do that.
You should be able to perform the spring change without removing the forks from the bike. You may need to remove the handlebars in order to access the springs to pull them out, and replace with the new ones. Your spring manufacturer should provide step-by-step instructions.
Let us know how it goes!
Randy
I am definitely not happy with my front end, I am actually a little north of you in Round Lake and moved from California with the bike. I didn’t realize how bad the roads were here and that really demonstrated the cost cutting that went into the suspension. I am running Hagon shocks on the back and that helped a lot so I am trying to fix the front end too. Plus like you I am a bit of customizer/tweeker and can’t keep my hands off the bike. I will definitely let you know how is goes when I do the swap.
Joshua
JT,
FYI – My friend Lee, who wrote the post on “Visit to a Weird Bracket-Revisited” has installed the Hagon rear shocks, and replacement springs on the front of his 2013 Bonneville… and really likes the improved outcome. He purchased his setup from Mike Selman at Bellacorse.com. If you want any pointers on the process, I’m sure Lee would be happy to connect with you.
Randy
where can I purchase the shorter gaiters for use with superbrace ??? thanks GF
Greg,
You can purchase them at Bellacorse here: http://bellacorse.com/shop/body-styling/shorter-gaiters-for-superbrace/
Randy
I had the Bellacorse short gaiters as well and had to remove them. Found them too short with my Superbrace and 17″ Mag wheels. I have a center stand and every time I put the bike up on the stand, the gaiters strain and fall down as they are too short with the front wheel off the ground. I’m also Canadian and with Bellacorses “special handling” charges needed to purchase them in Canada, they were “way” over priced! Wont buy from Bellacorse again… nice people but poor deal for Canadians with exchange rate, special shipping, customs and other duties. The gaiters just aren’t long enough. Will go and purchase Triumph originals… at least in they are too long, they will do the job of protecting the forks from rocks and other debris. JM Canada.
Jon,
Sorry to hear about your experience as well. I didn’t have your problem with the gaiters being stretched… the rubber just seemed to disintegrate like it was rotten after a year or so. The composition of the rubber seemed different from OEM gaiters from the beginning. I’ve gone back to the euro style gaiters.
Randy
Hello, do I need a special tool disassemble the Bonneville fork? The seal is leaking and I have to replace them. Thanks
Vincent, no I don’t believe so. A normal range of shop tools should be all you need, especially for just the seal. – Randy