UPDATE: 5/2/2017
Just back from the Duluth trip. After 5 days of cold temperatures, rain and even some rain mixed with snow, plus your basic horizontal prairie rain storm, the panniers stayed bone dry. They also stood up well to an accidental bike drop. Very happy.
Introduction
I’m an adventure spectator. I like watching the videos of the back country discovery routes, I’ve watched Ewan and Charlie ride “The Long Way Round” and I will probably watch their second series, “Long Way Down” (Scotland to Africa).
I’ve driven ’round Newfoundland and envied the riders on their ADV bikes (Triumph Tigers, mostly) from my rental car. I’ve read “Jupiter’s Travels”. I listen to the Adventure Rider Radio podcast (and have spent a small fortune on their sponsor products). A lot of these dreams will probably stay dreams. But, it’s healthy to dream.
I’m working my way toward longer touring, in small steps. Duluth and Lake Superior are my next steps, this coming spring. I’d like to see what I can do to change my Bonneville’s status from commuter bike to something a little bit more ADV-ish.
So, after reading about some folks who are traveling the world on a couple Bonnevilles and a Yamaha, I became interested in the panniers they were using. They’ve chosen some made by an firm in Poland, called Holan. Before releasing their own pannier design to market, Holan had been a manufacturer for Touratech. As they broke off on their own and expanded their design portfolio, Holan added designs for the Bonneville to the normal stable of pannier designs for Triumph Tigers, KTMs and BMWs. The folks from Earth Roamers chose Holan’s pannier for their Bonnevilles and, after two years of constant travel, they seem to be holding up quite well.
Now, my Bonneville a) is a mag wheel version, which is smaller than the Earth Roamers’ T100s and b) has slightly upswept exhausts, where the T100’s are more of a straight line. My exhaust will interfere with the square, stock pannier design — which is quite tall. Holan recently came out with a design to accommodate this type of exhaust: the Racer Pannier. I liked the look of it well enough to give it a try. So, I ordered a pair.
The experience of working with Holan
Well, it can be a bit of a challenge. They don’t tend to be very communicative. You place your order, you see it enter a status of “Payment Accepted” and then you watch it stay that way for about a month. Or more. Then, one day, suddenly the order is marked complete. There was no intermediate “In Production” stage. You do not get a tracking number, as the shipment is sitting in customs, in Germany, for however long customs wants to take with it. After it clears customs, if you ask Holan, they will get you the UPS tracking number. But, they will not simply send you the tracking number as a matter of course.
Now, when all was done, I did not come out of the experience feeling in any way dissatisfied. But, be forewarned, you will not find it like ordering from Amazon, or RevZilla. It takes more work than that. If you can handle that, please read on.
The Pannier Frame
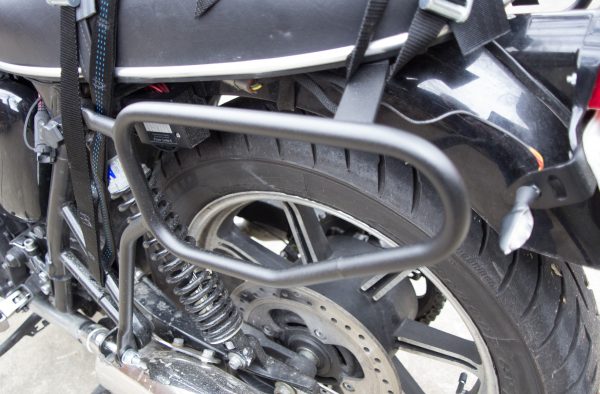
The Holan Racer Pannier Frame
Last fall, I ordered Holan’s frame and installed it. It’s a solid piece — really heavy duty. A couple years ago, I converted some ammo cans into panniers and mounted them on some very wobbly frames, for a weekend trip. These are much sturdier.
Ideally, the frame should probably be off the bike to facilitate fitting the mounting hardware as tightly as possible. In a case where you order the frame and the panniers together, this will probably be how you do this project. But, since I had already installed the frames, I decided to leave them on the bike and trace the profile onto the boxes, before fitting the mounting hardware. You’ll see the details in a minute.
Arrival and Unboxing
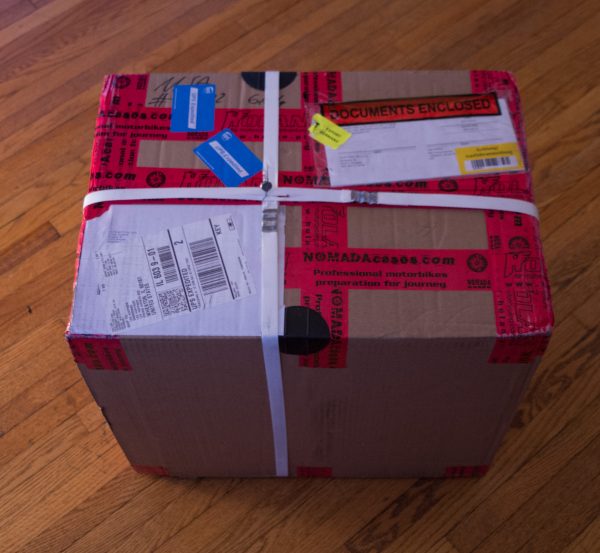
A box from overseas! 🙂
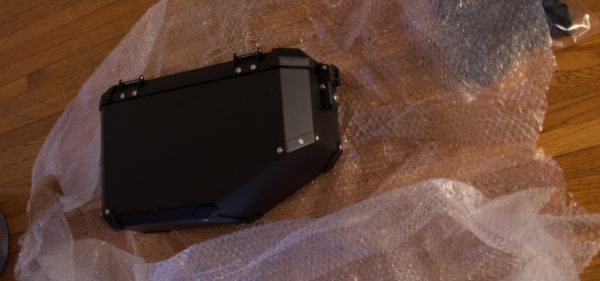
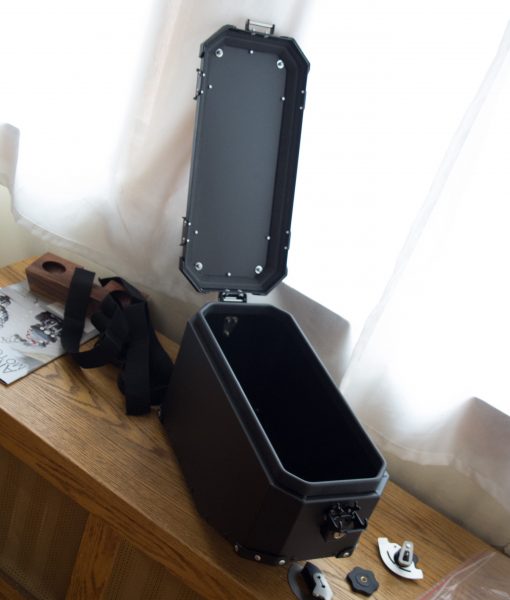
…with a couple pretty black boxes inside.
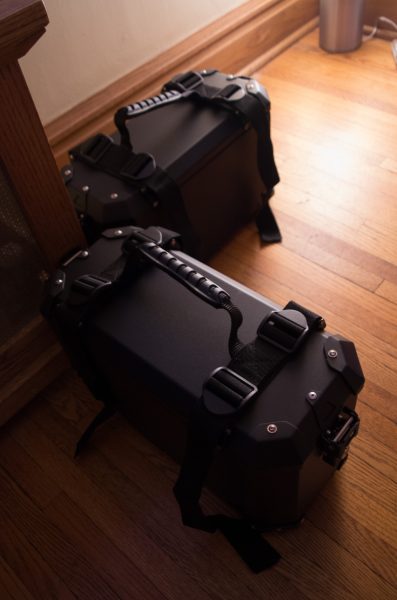
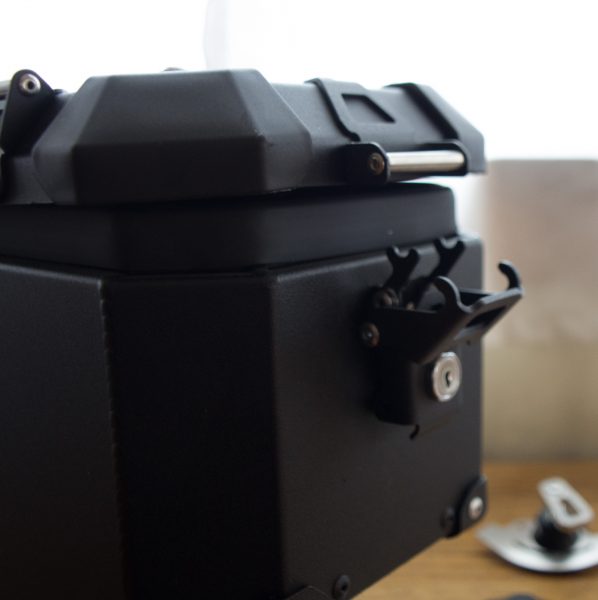
Featuring optional carrying handle.
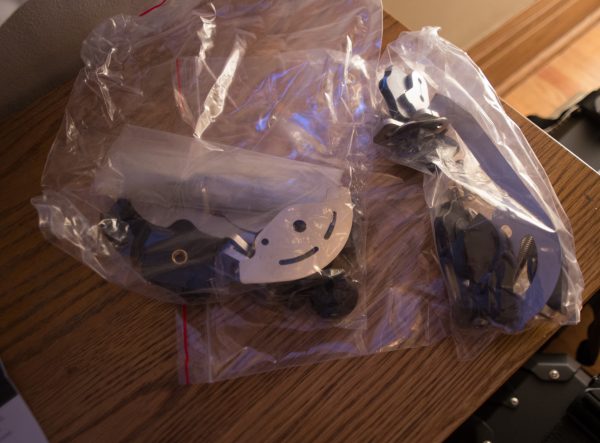
Mounting hardware. You have to mount this to the pannier yourself.

One other point on the experience — there are no instructions for installing the mounting hardware. Now, I knew about this from a video where Ron West installed Holan panniers on his BMW, so I expected this. But, it was still a bit of a disappointment that the only instructions are on Holan’s site in the form of a CAD illustration of the finished product — that’s it. So, you have to be inclined to figure it out for yourself. I generally am. But, the realization that you can drill a hole in the wrong place (leaving you with a NOT waterproof pannier) can be a little nerve wracking.
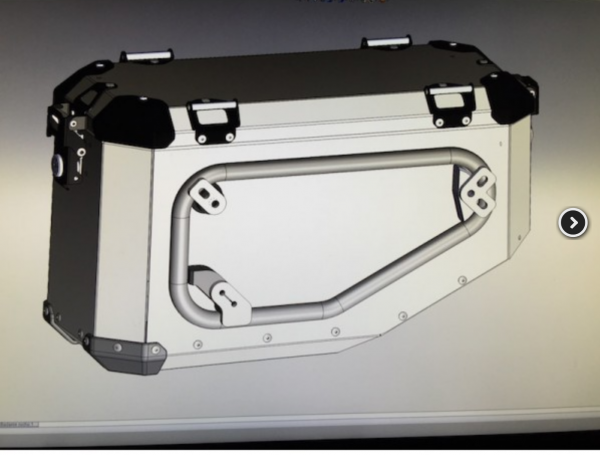
This is all the instruction you’ll get. It’s enough for some, I suppose.
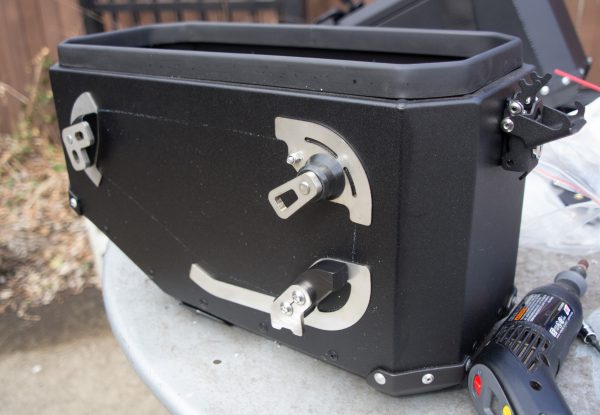
Product Overview
Taking a close inspection of the pannier, I was very pleased with the workmanship. I may have been disappointed with the lack of instructions, but I was not at all disappointed with the build quality.
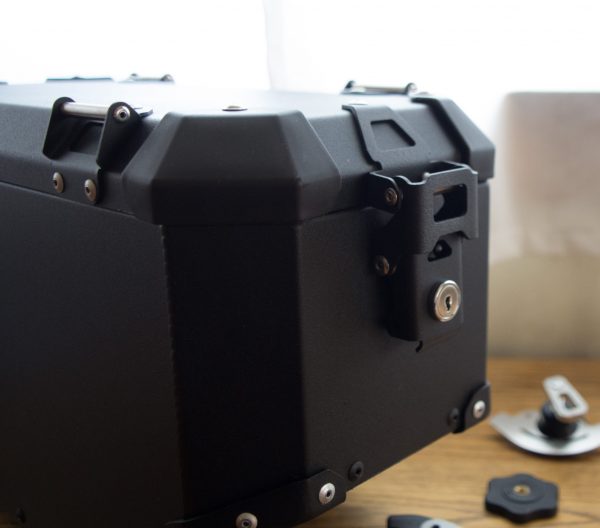
I chose the optional matching keyed locks for these. They are very good locks.
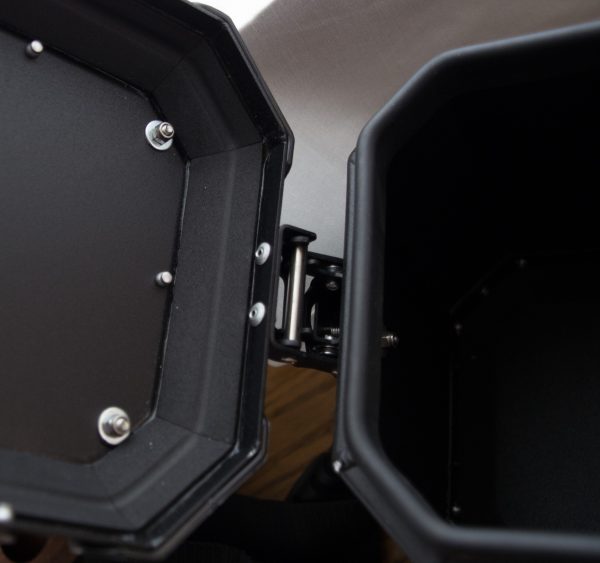
The locks serve as hinges, as well. This is a detail of the lock on the opposite side of the pannier. The lid is pivoting open on this lock.
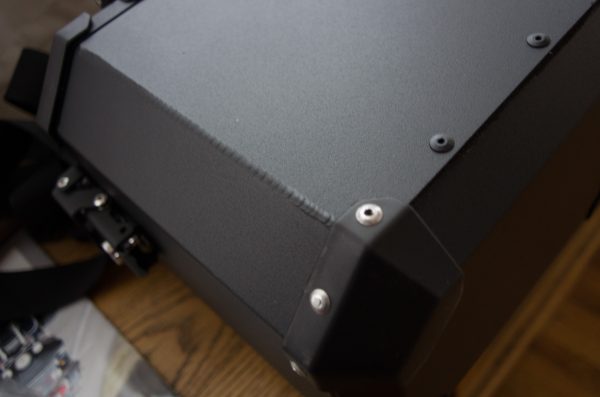
There is some really nice welding that goes into the construction of these. The black powder coating is nicely done, too.
Assembly
As I said, earlier, I positioned the panniers along the installed pannier frame and traced the outline on the pannier box. This can be a little inaccurate, so if you follow the same process, you should check your work as you go. I found that it’s best to install two of the three mounting points and then check how it’s fitting. Doing that will help you get the best position for the third mounting point, and the best overall fit when the pannier is mounted to the frame.
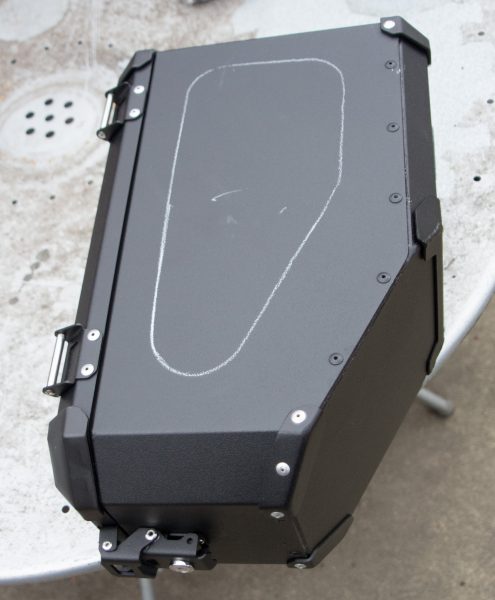
Tracing the inside circle of the frame onto the pannier.
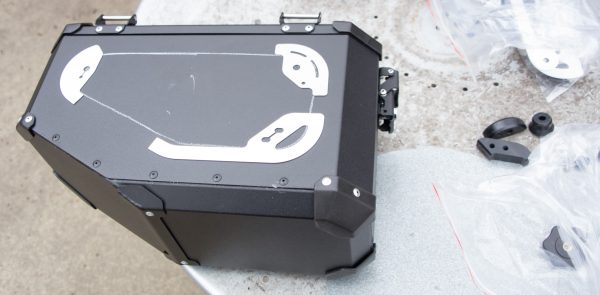
Aligning the brackets to the outline.
You will need three drill bit sizes for this project. The main bolts involved are 8mm and 6mm. In addition to that, there are two stabilizing fasteners — one is a lag screw and the other is a bolt and nut combination. These are both 2mm. (All measurements taken with caliper and quoted from memory.) My drill bits didn’t cover the two larger sizes, so I had to buy some. Of course, my local Ace only had SAE — no metric. The ones that come closest are shown below.
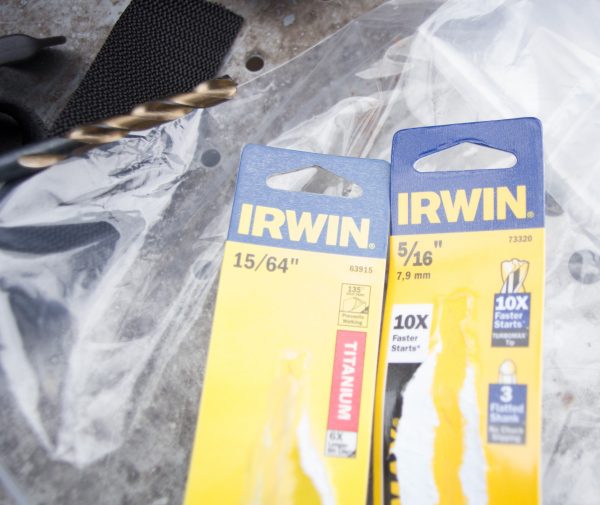
The nearest equivalent to 6mm and 8mm.
Ad-Hoc Instructions.
From this point on, I’d like to treat this write-up as a fill-in for the instructions that I would like to have received. These will be somewhat informal, so I hope you’ll indulge me. I’ll try my best.
We’ll start with what I’m calling the anchor point, or “Bracket A”.
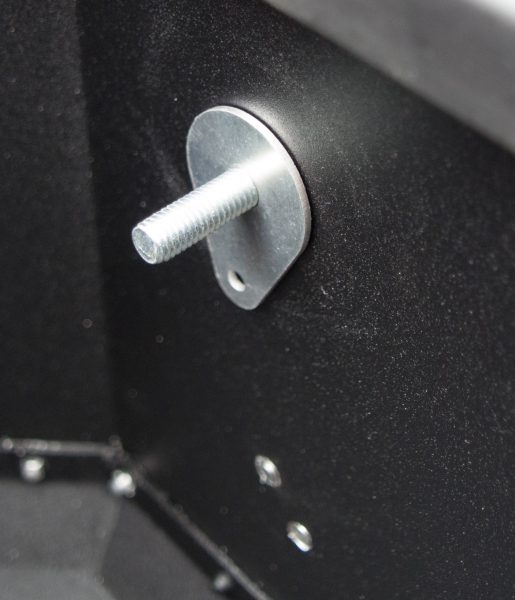
Bracket ‘A’: the anchor point. This is the part that grabs the frame first. (2 x 25mm M6x1.0 allen head bolts.)
NOTE: the photo shows an incorrect mounting. The external metal bracket is threaded. If I had thought it through better, I would have realized that the bolt heads should be inside the pannier box, with the tail end of the bolt grabbing the threads in the bracket and securing the whole thing from within. I didn’t catch on yet, before taking the photo. You should take note.
“Bracket B” is located directly above Bracket A. In addition to the primary bolt, this bracket is stabilized with a secondary stabilizing bolt and nut. You’ll see the hole for it in the interior picture, below.
Bracket B.
Bracket B, inside the pannier. The second, smaller hole is where you drive through a small stabilizing bolt and secure it with a nut.
It’s at this point that you should take the pannier to the frame and check the fit of the two mounting points you have just installed. Bring the hardware for the third and final mounting point along with you, and mark where you should drill the holes for it, taking into account how the first two points are lining up with the frame.
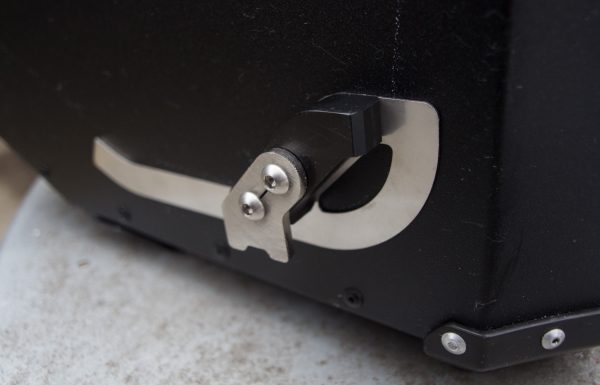
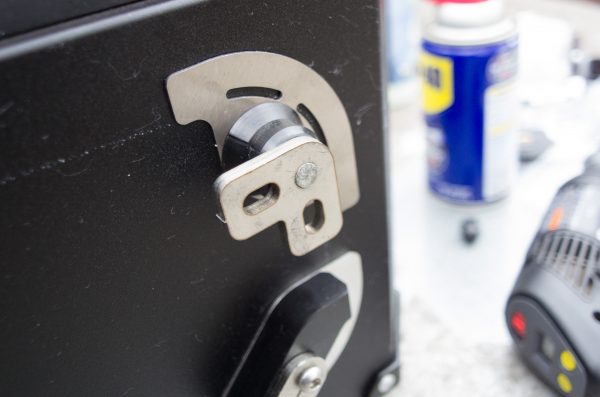
This last mounting point is “Bracket C” — the corner bracket. It consists of a primary bolt, which secures a V bracket over the pannier frame, using tension. In addition, this mounting point is stabilized through the use of a lag screw, which is driven into the plastic puck from inside the pannier box, using a T20 torx bit.
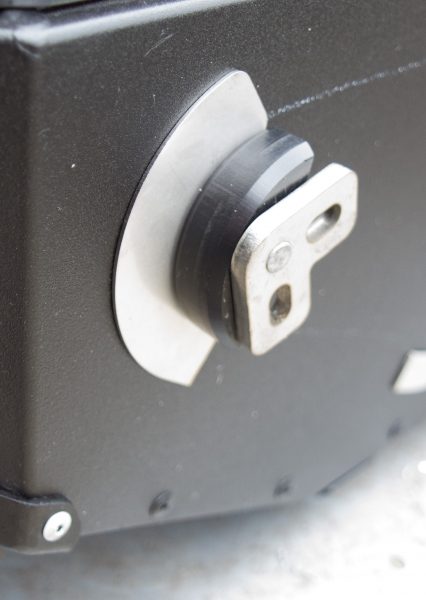
Bracket C.

Stabilizing lag screw, for bracket C.
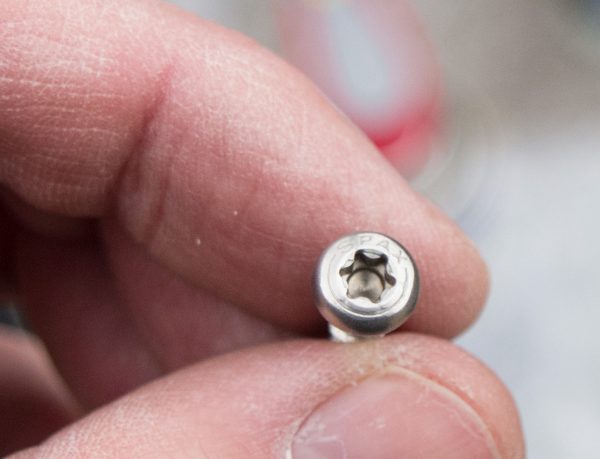
Stabilizing lag screw for bracket C will require a T20 torx bit, to drive it in.

Bracket C inside the pannier. It is stabilized with the previously shown lag screw, which threads into the plastic puck, on the outside of the pannier.
Both Bracket B and Bracket C have tension adjuster knobs screwed onto the main bolt, on the interior side of the pannier wall. The bolt threads receive a black nylon end nut as a cover for the thread ends.
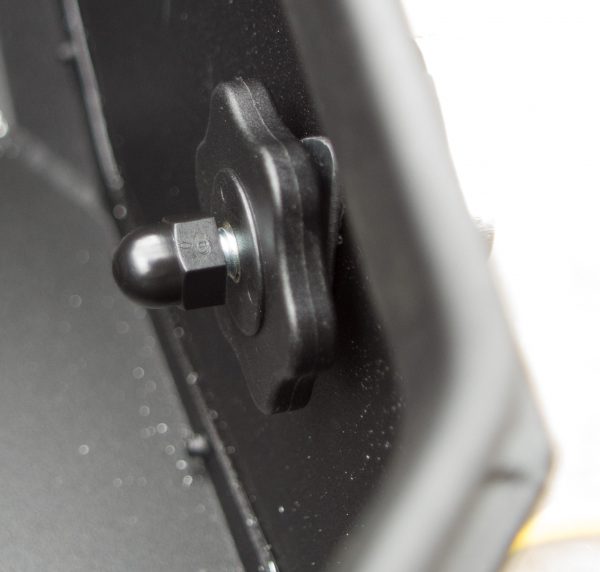
Tension adjuster knob and nylon cap. (Bracket C.)
All brackets in place. Ready to fit the pannier to the frame.
“Wait: so, what about Bracket A?”, you may ask. After all, mounting those bolts backward can’t possibly have provided anything like a solid fastening — there were no nuts! Exactly so. That’s why I ran to the hardware store and bought 2 M6x1.0 bolts that were 5mm longer (30mm), along with some M6x1.0 nuts. Those are what you see in the photos, doing what the Holan designers intended the 25mm bolts to do when driven in from the inside of the pannier. I will probably change it within the next week.
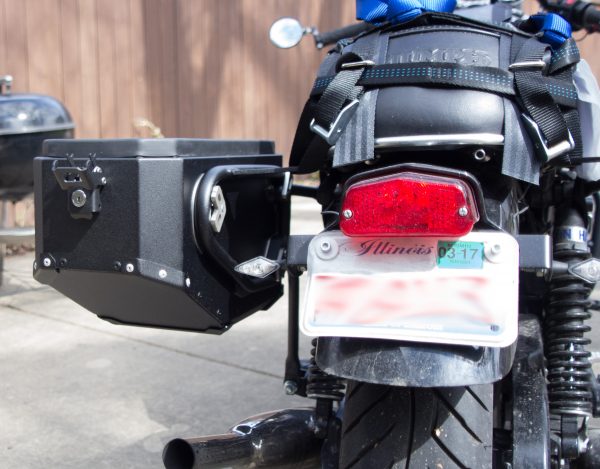
Mounted!
Reverse and repeat.
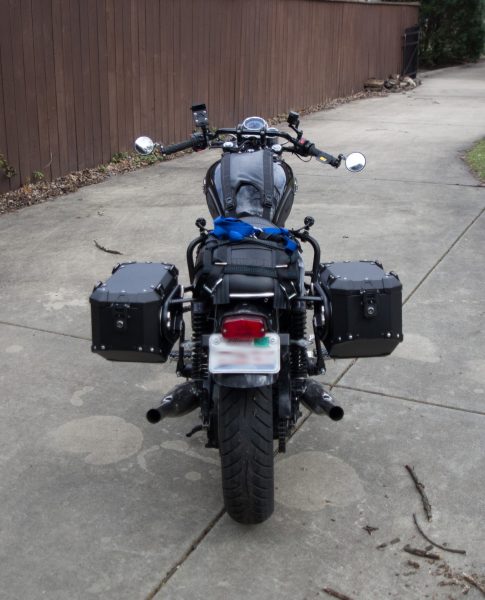
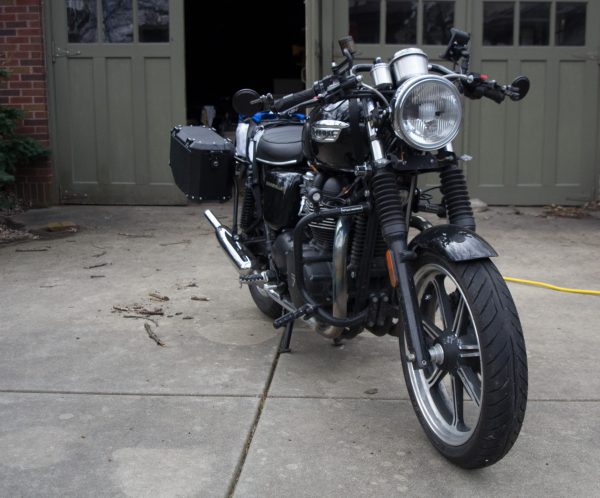
Adventure Bonnie is ready for a trip. (Even if it’s only to the grocery store, for now.)
Conclusion
I have yet to log any long distance miles with these panniers. But, so far, I’m really happy with them.
Pro’s
- Sturdy, high quality construction.
- Waterproof.
- Lockable (if you add the option).
- Endorsed by experienced riders.
Con’s
- Communication throughout the production process can be a bit scarce. Be prepared to nag them.
- Lack of instructions for installation. (Hopefully, this blog post fixes that.)
Overall
If you’re looking for some good hard luggage for your Bonneville, I can wholeheartedly endorse Holan’s. Check them out. And let us know if you have any questions.
Hi. What capacity are these, do you reckon?
Chris