One of the joys of producing this blog is the opportunity to meet new friends and fellow Triumph Bonneville enthusiasts and owners.
Recently I was contacted by Daniel, a Chicago area, first-time Triumph Bonneville T-100 owner. He had some questions about things he wanted to do to his new Bonnie to personalize and make it his own. After some back and forth emails, Daniel decided what he wanted to do and ordered the parts from various sources, including our friends at our local Chicago Triumph dealer, Motoworks Chicago.
This past Saturday, April 5, 2014, Daniel and I got together at Randy’s Garage (my place), and completed one of the modifications on his list:
- Exhaust header wrap and coating
- British Customs Predator exhaust installation
The day started as a brisk Spring morning that turned into a nice sunny day. We worked for an hour or so inside my garage with a heater on, then opened the garage up and worked both outside and inside the garage as the day warmed up.
First, we unpacked the boxes that Daniel had dropped off the day before. He had sourced a set of Thruxton headers from a private party in Florida. The reason for this is that the stock 2013 T-100 headers do not allow for the upsweeping style of slip-on mufflers that the BC Predators are. So, Daniel decided to keep his original stock header and mufflers in case some day he wanted to sell the bike with the original exhaust system parts.
Next, we cleaned the Thruxton headers and prepped them for wrapping. Daniel had purchased the same 2″ black Thermo Tec wrap that I used on my Bonneville a few weeks earlier. We soaked the wrap in water and began the wrapping process at the muffler end of the header and wrapping toward the engine (front) end. This causes the tape overlap to face toward the rear of the bike, catching less wind and other road crud. We used stainless steel straps to secure the wrap in place at both ends.
We hung the wrapped headers outside from a tree in the sun to facilitate the drying process. We also used a heat gun to speed up the process more.

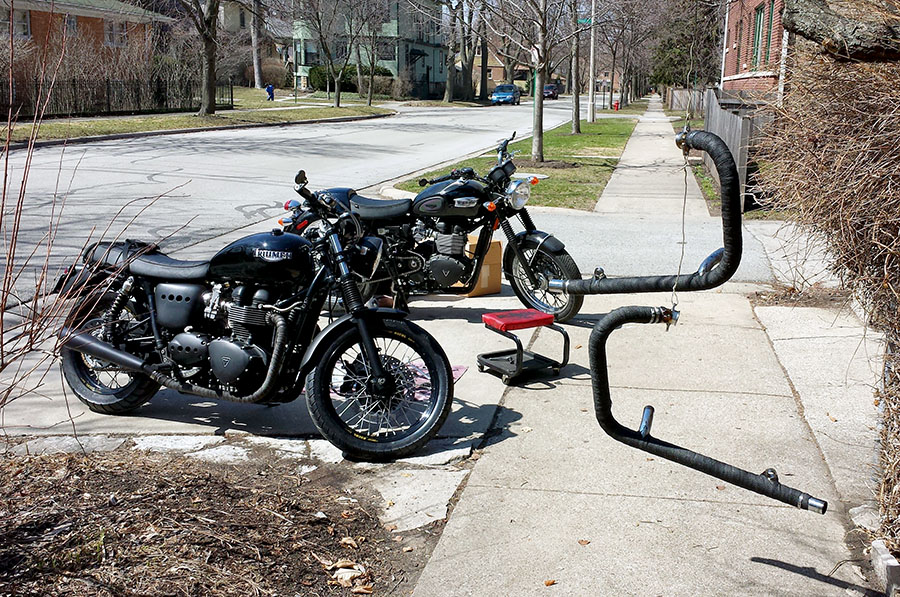
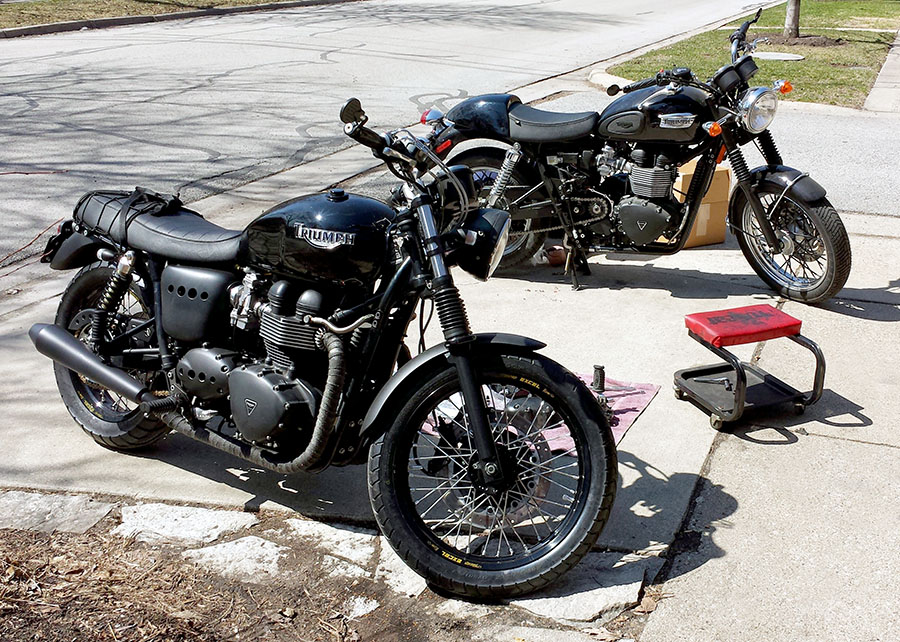
Daniel’s T-100 foreground, my Bonneville, and Daniel using the heat gun to dry the wrapped headers.
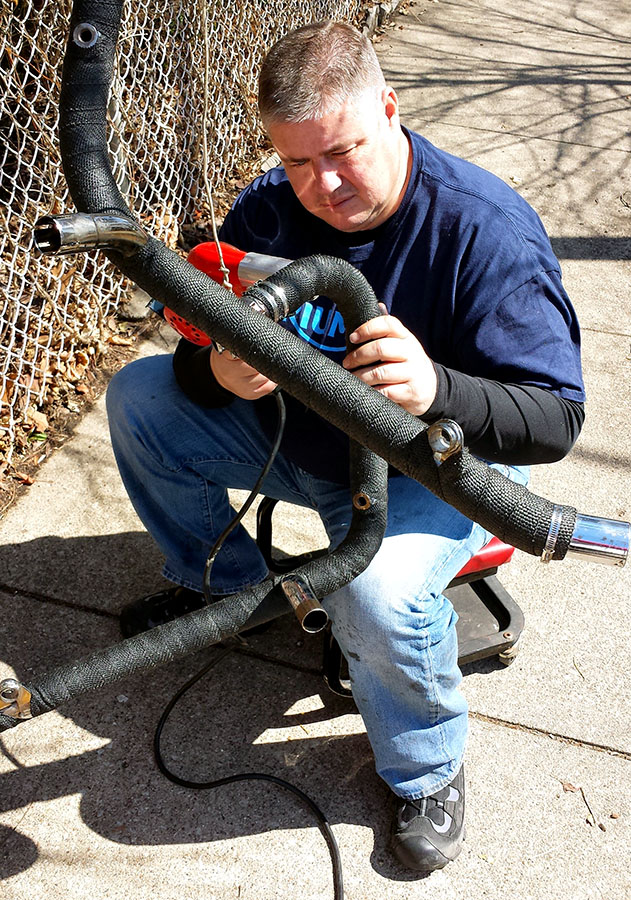
Close up of Daniel drying the freshly wrapped headers to prep for spraying.
Once the headers were dry, we then sprayed them with a black silicone sealant, a high temp coating recommended and manufactured by Thermo Tec.
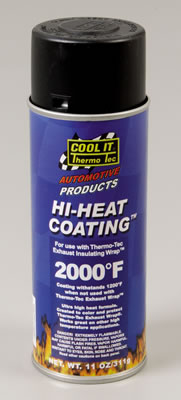
Thermo Tek Hi-Heat coating – 2000 degrees F
Headers hanging and ready to coat with black Thermo Tec coating.
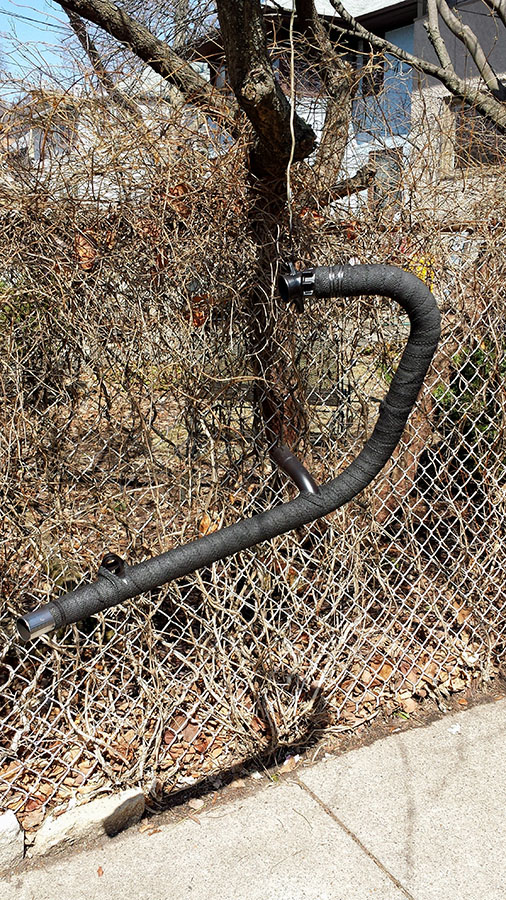
Header with completed Thermo Tec coating, drying in sun.
Once the headers were completely wrapped, coated and dry, we prepared to install them and the BC Predators on Daniel’s T-100.
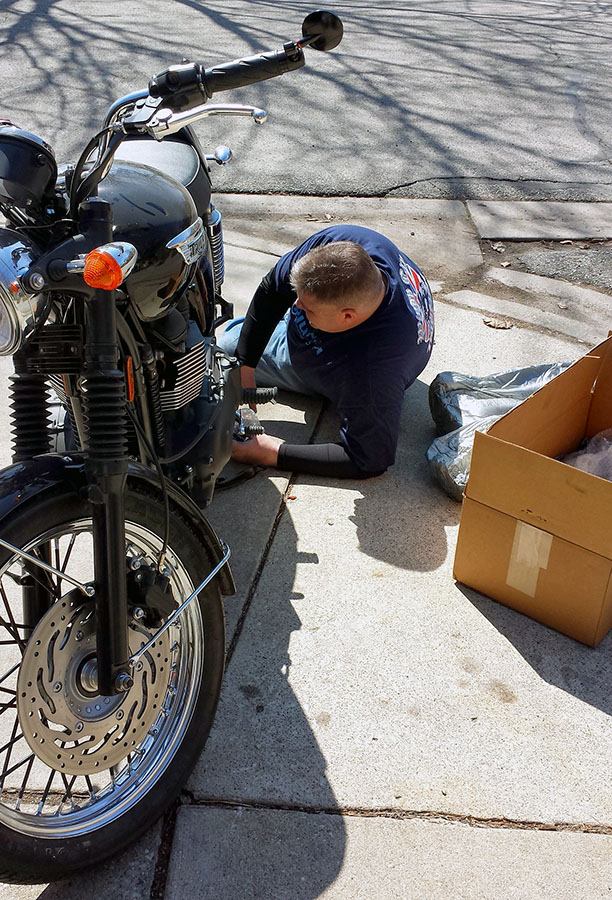
Daniel working on installing exhaust system.
We first installed the replacement Thruxton headers on the T-100. We used anti-seize thread compound on the various nuts and bolts. We also employed some Permatex exhaust sealant to assist in the placement of the replacement exhaust o-rings from BellaCorse.
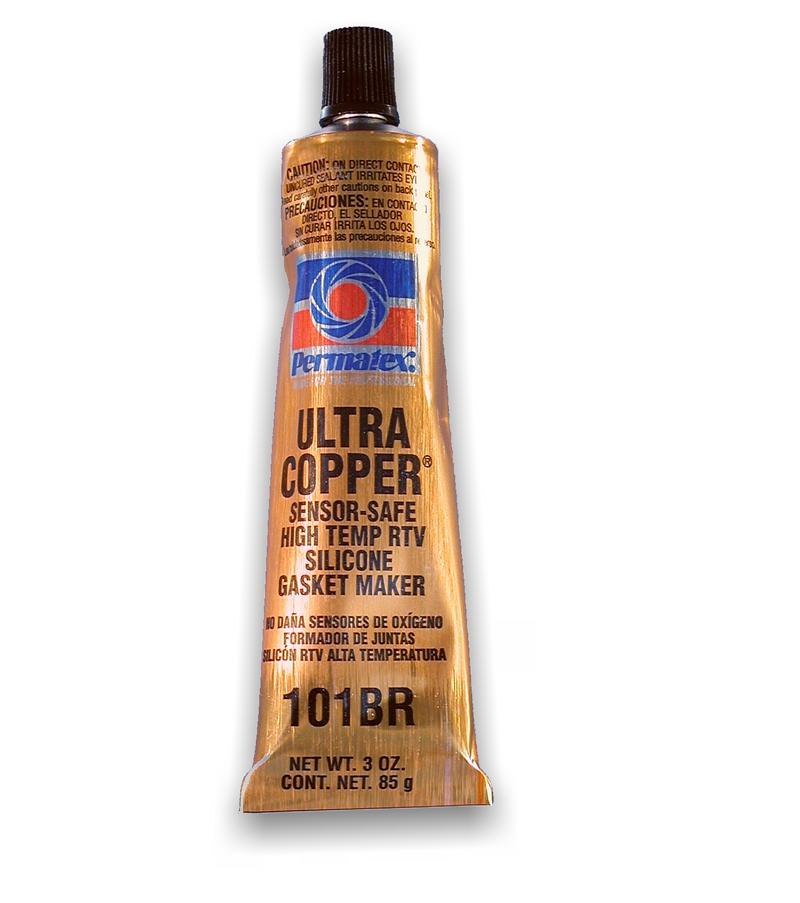
Permatex exhaust system sealant
After loose fitting the headers, we then torqued down the exhaust manifold nuts to 19 Nm, along with the oxygen sensors and rear exhaust mounting bolts. Next we loose-fit the Predators to ensure everything would fit.

Daniel’s T-100 on center stand with stock exhaust system removed.
In the process of loose fitting the Predators we discovered that they did not arrive with instructions on how to install the sidestand bumper or the center stand stop which are both necessary on Daniel’s T-100.

Parts and tools were laid out on a towel. The Predators were left on their plastic wrap for additional protection until installed on the bike
Because I had previous experience installing my Predators, I knew from experience that the instructions are not on the BC website. Since I had previously located the instructions online and made them available on my Predator installation blog post, I went into the house and printed them out.
These instructions are barely useful. The 2 photos are not very clear, and neither are the written instructions. Both Daniel and I don’t understand how businesses can get away with this. It produces a sour taste in the customer experience. In my opinion, after spending hundreds and hundreds of dollars on expensive parts and accessories you expect and I think deserve a better experience than this.
Thankfully, after some trial and error we finally figured out where the 2 bumper parts mounted, and how they functioned. It involved removing the mounting bolts on each side of the centerstand, one at a time and mounting the 2 supplied bumper parts as shown in the instruction photos.
Note to BC: It would have been better to know the importance of installing these parts before the headers and mufflers are completely installed as it would provide easier access!
Work area outside the front of Randy’s Garage
There were plenty of smiles when Daniel fired up the T-100 for the first time with the new exhaust system installed. The deep rumble produced by the wrapped pipes and Predators is really very nice. We let the bike run for 30 minutes on its centerstand at about 1500 RPM to ensure the pipes heated up and burned off moisture and residue, and to ensure the engine stayed well lubricated.
NOTE: You do not want to run a Bonneville this long on its sidestand because the right side of the crankcase will not be fully and adequately lubricated. Those without centerstands should use a jack to keep the bike level as in my case.
Once we had the shop area cleaned up, tools stowed away and things generally tidied up, we took a maiden voyage ride to The Twisted Spoke for a drink and some spicy buffalo wings! We celebrated a great day of physical and mental work with that satisfying feeling you get when things have turned out well!
Based upon what I learned helping out Daniel, I plan to remove my headers and coat them with the black coating from Thermo Tec as well.
Nice post Randy. Must have just missed you guys at Twisted Spoke Saturday. Seems like we all have the same common first mods to our bikes with header wrap and predator pipes.
Is there an sealant that is required at the header-exhaust connection?
Philip,
Although it isn’t required, we did use the same Permatex 81878 Ultra Copper Maximum Temperature RTV Silicone Gasket Maker at the Slip-on Muffler tp header connection. Only a small amount is required… and being careful not to get it on the exhaust wrap if that is being used as in this case. What this does is cut down on the chance for a small air leak at that connection, which if present can increase the “popping” on deceleration.
Randy
Is 1 roll enough?