
In an earlier post I described a motorcycle accident that left me with a broken ankle and my 2008 Bonneville in need of some repairs. Once I settled with my insurance company (Progressive.. you know, Flo!), I had some choices as to how I wild spend that money.
One of the things I decided to do was to salvage many of the parts that I could, and use the extra money to purchase some upgrades for the bike.
One item is the stock gear shift lever. In the accident, the shift pin and rubber was broken off, and a bit of the side of the lever scraped up.
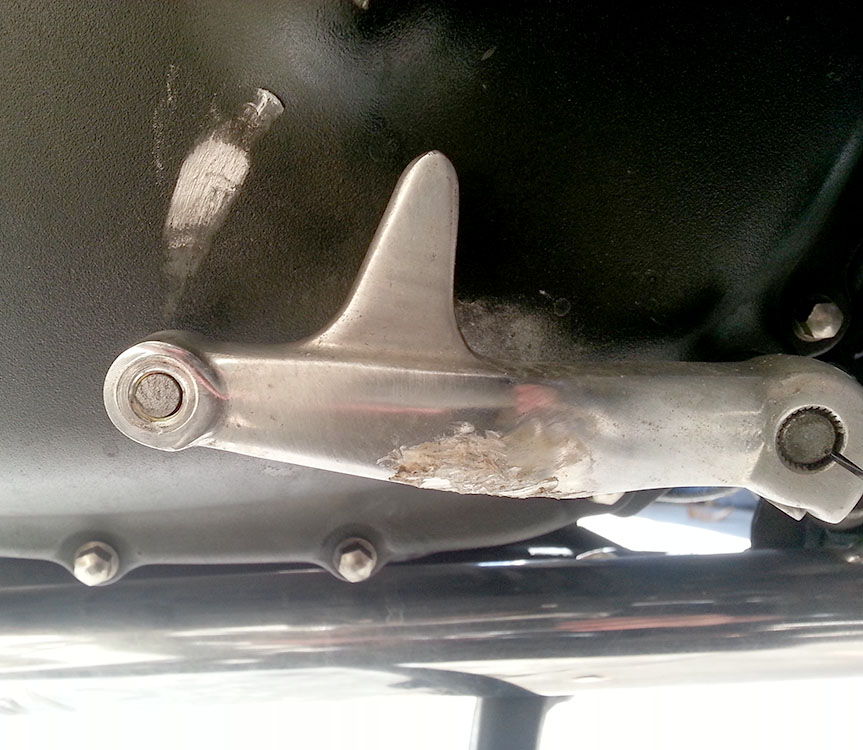
Accident damaged gear shift lever.
I was able to remove the lever, and grind/polish/buff the damaged area out with a hand grinder tool. I ordered a new pin and rubber from Bike Bandit.

I ordered the Pin and Rubber from Bike Bandit. The rest is in tact.
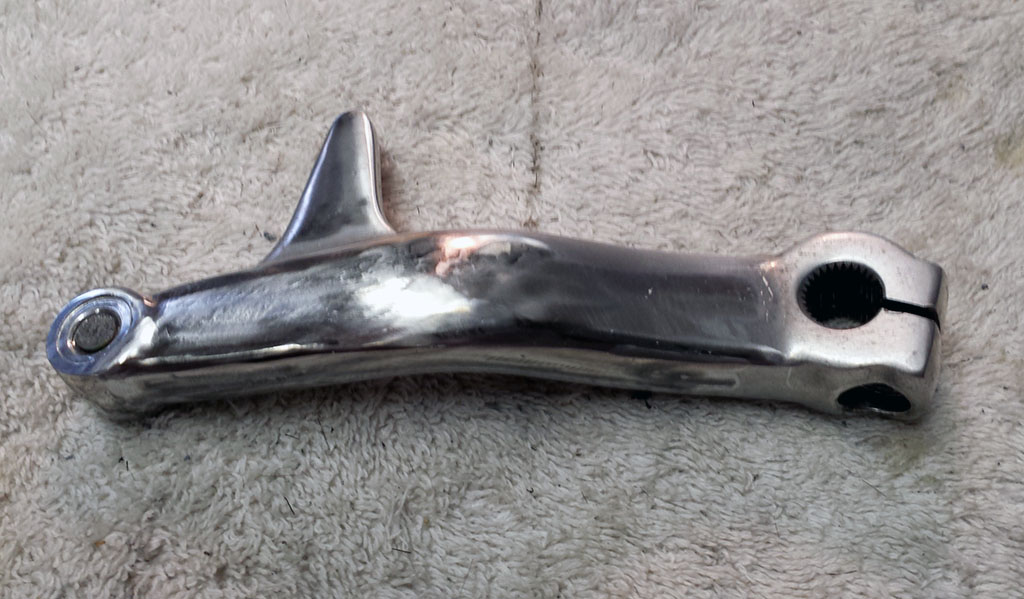
View 1 – Gear shift lever after some grinding and buffing.
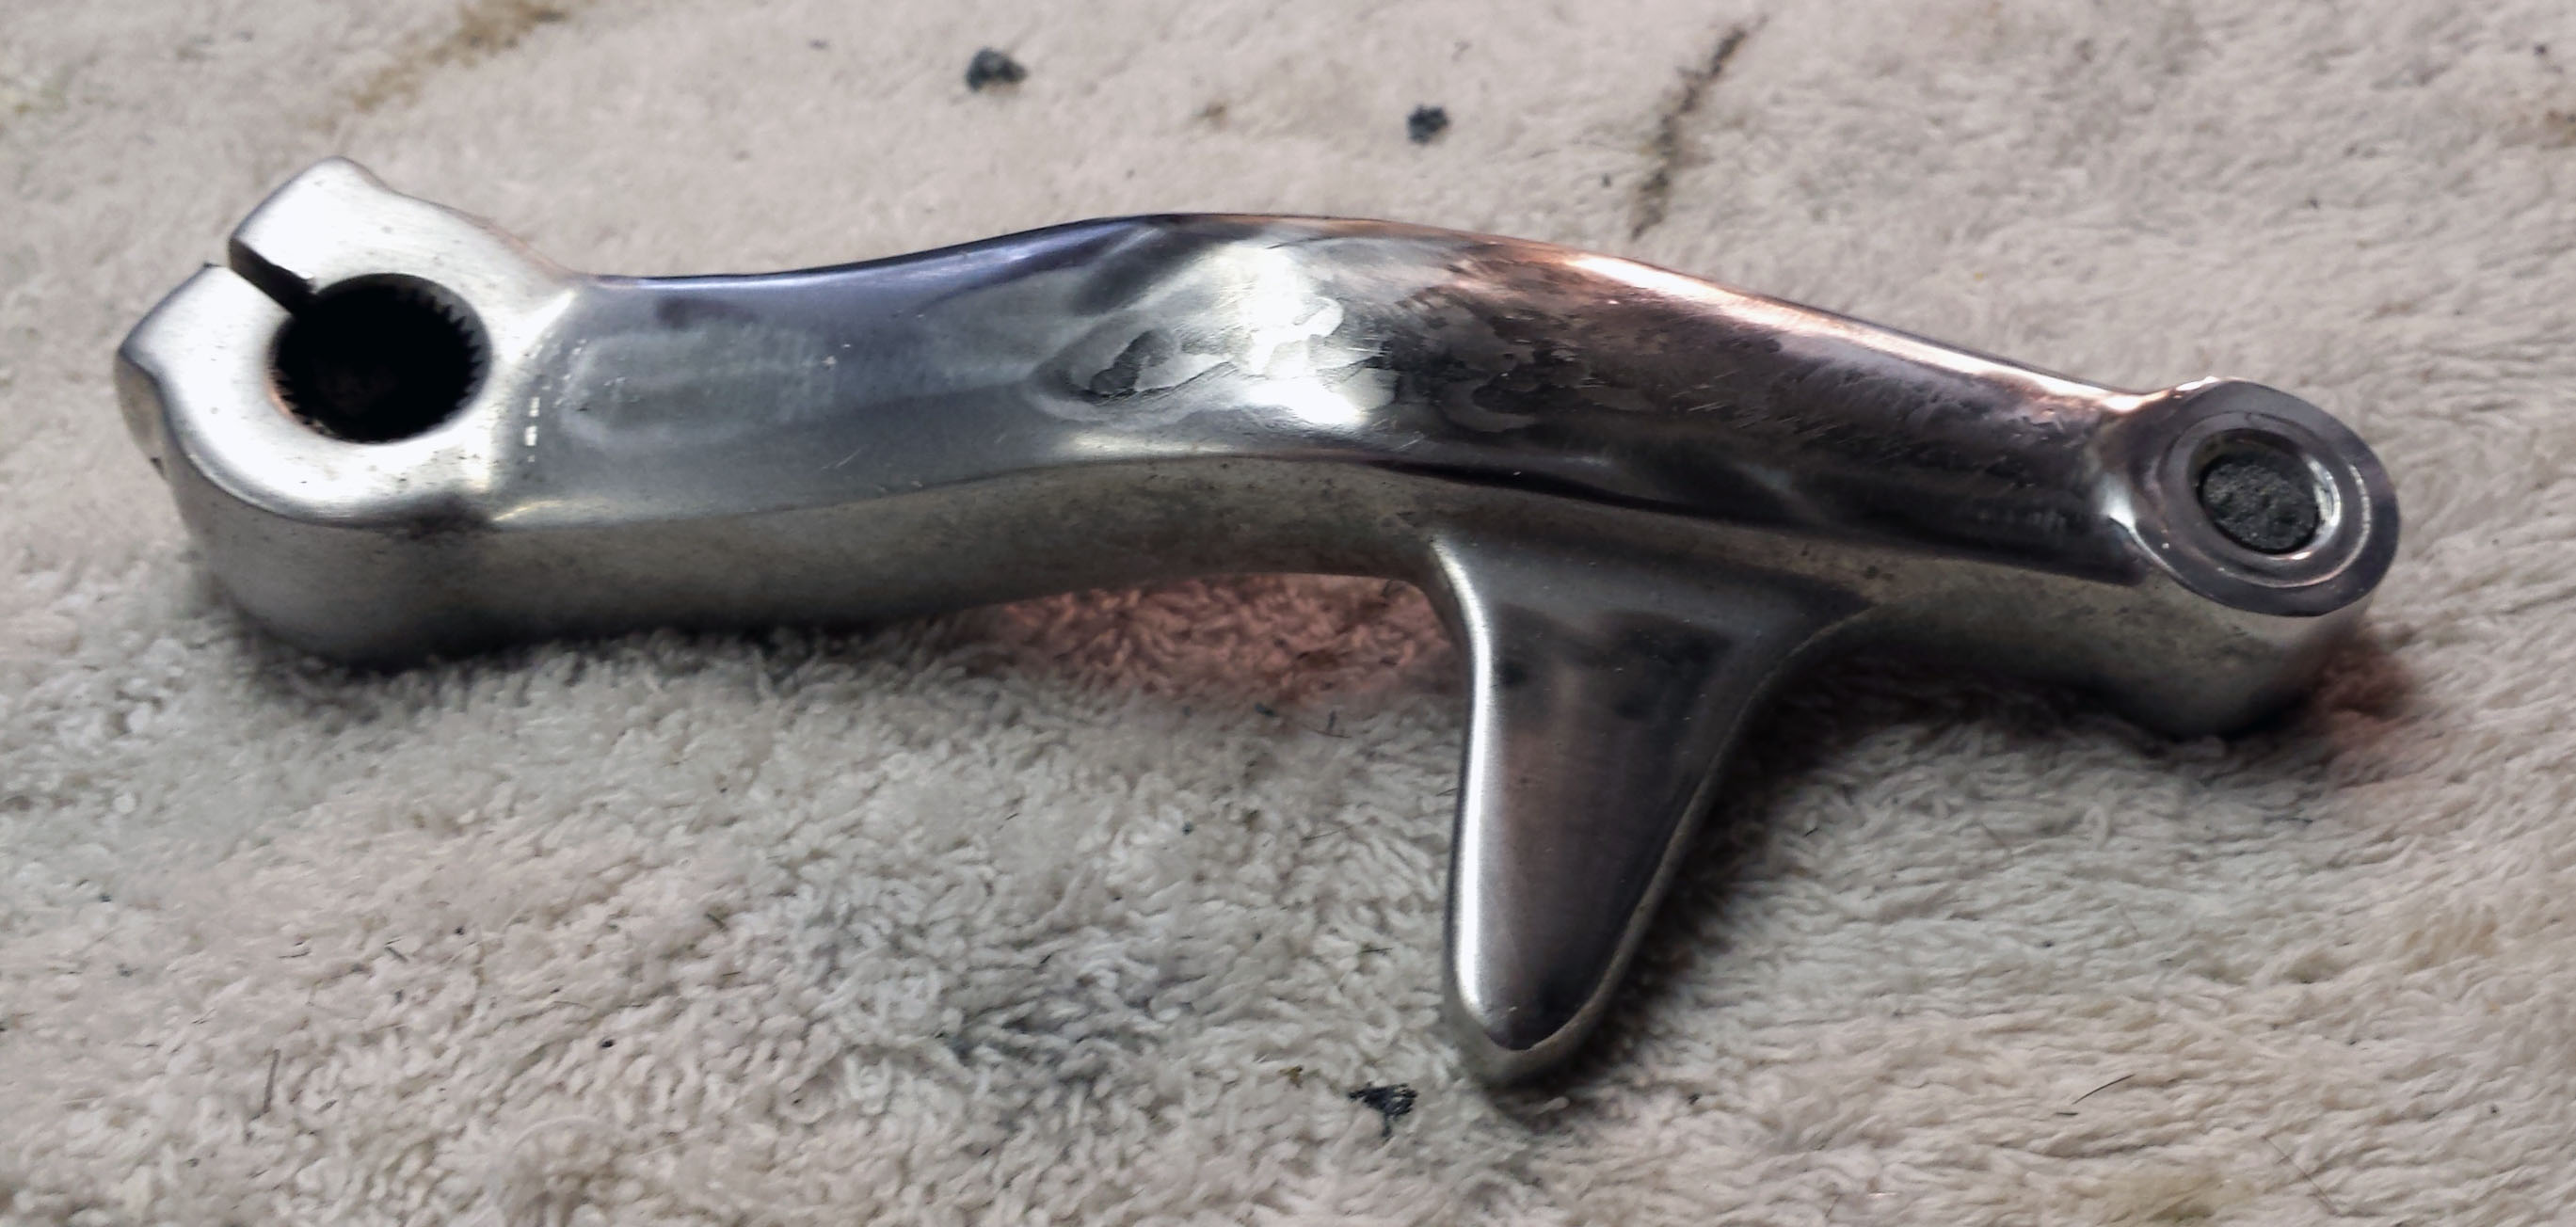
View 2 – Gear shift lever after some grinding and buffing.
Next, I plan to drill holes in the lever then paint or coat the lever to make it satin black like the fenders, side panels and other aftermarket parts I am integrating on the Bonnie.
December 27, 2013 Update
Yesterday I visited Harbor Freight Tools and purchased a bench top drill press and some drill bits of various sizes. Today I set it up in my basement shop and used it to drill my gear shift lever.
First, I needed to get the broken piece of the foot peg out of the the gearshift lever. I drilled a small hole in the center of the broken piece, and used an easy-out (screw extractor) bit to reverse the broken piece out of the lever.
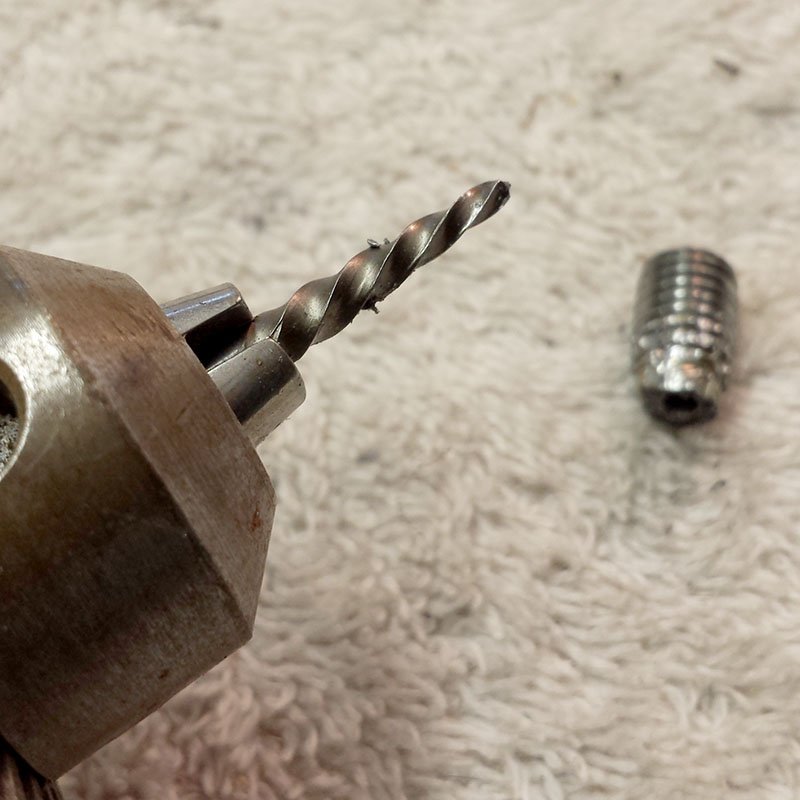
Easy-Out bit close up
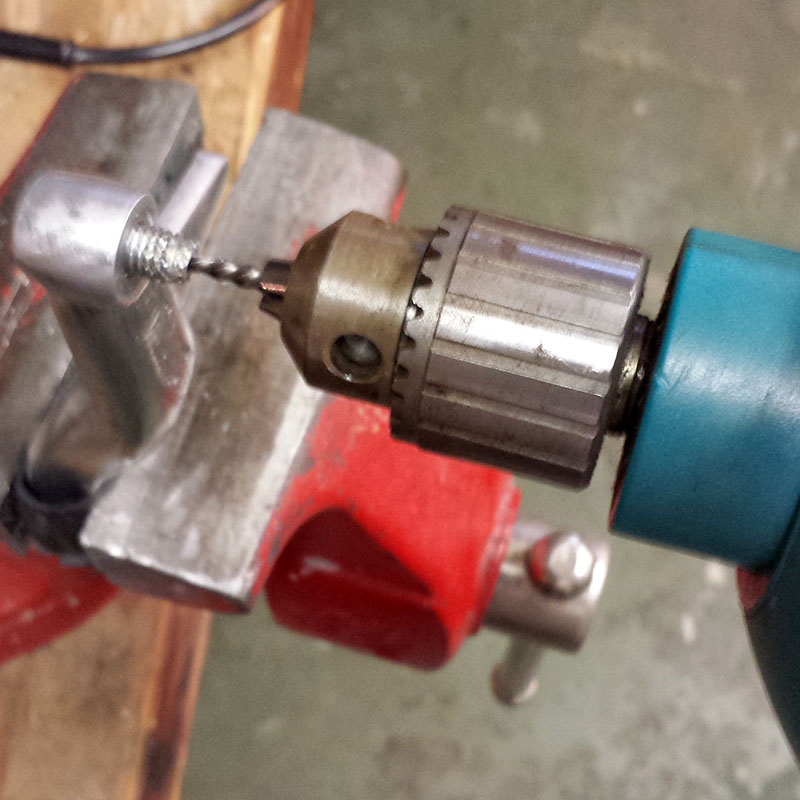
Reversing out the broken pin with a hand drill and easy-out bit.
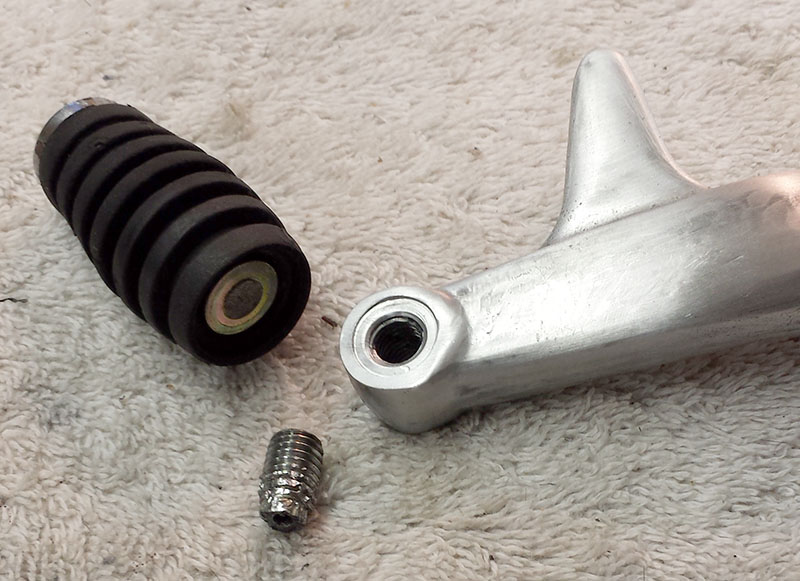
Former gear shift pin showing where it sheared off in the accident, and showing the piece left in the lever I just removed.
Once this was out, I was able to pre fit my new Pin and rubber that also arrived from Bike Bandit today!
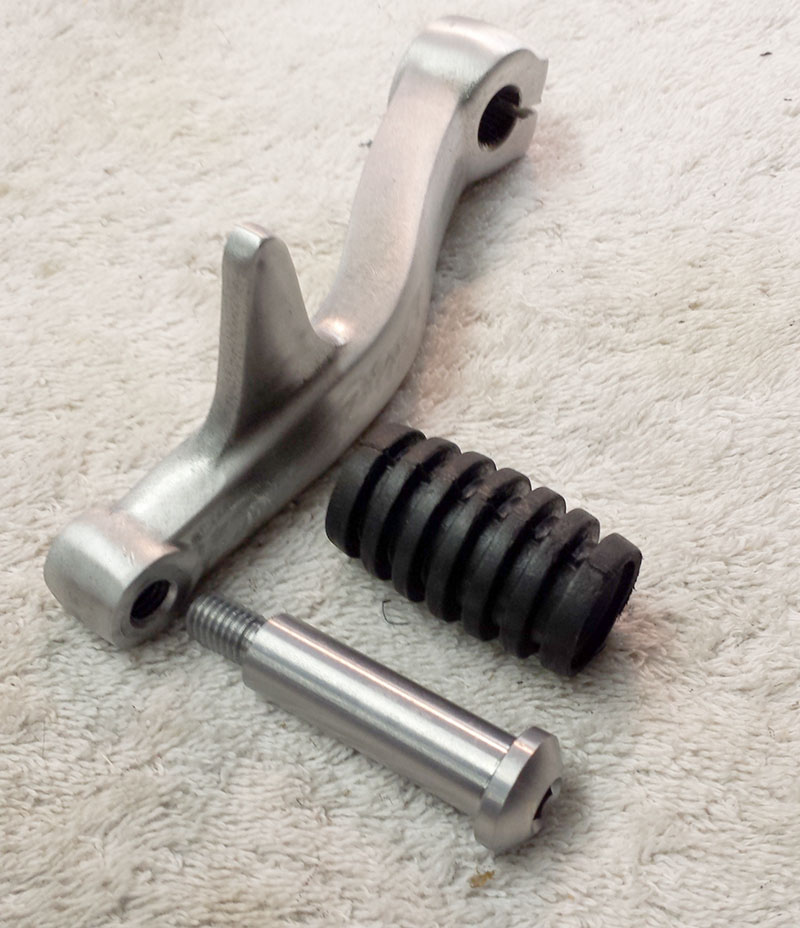
Gear shift lever ready for new pin and rubber.
Next, I wanted to get going on my custom modification. I measured and marked where I wanted to drill the holes in the gearshift lever. Starting with a small bit size, I drilled pilot holes for the 4 positions I had marked.
After confirming these were well spaced, I went ahead and drilled each out to the final size, and used a counter-sink to finish the edges to a nice bevel.

Gear shift lever with rough holes drilled.

Gear shift lever showing holes counter sunk and polished, ready for paint/coating.
When will you build me a kit that will move the gear shift lever and the brake pedal back where they should be. I am 75 and hard to retrain, which makes my riding scary as hell. Thanks.
James,
Thanks for your comment. I hope that I am still riding when I’m 75!
I’m not sure what website you thought you were on when you left this comment, but this is not the official Triumph Motorcycle website.
I assume your question refers to wanting the brake on the left and shifter on the right, like the old British bikes used to be.
As much as I would like to build you a kit for this, I’m not in that business nor do I have those skills. You might try contacting Bill Gately of Bonneville Performance. His AMA Pro Grand National Champion Flat Track Bonneville race bikes have the shifter moved to the right side. He may have some ideas and resources for you.
Good luck, James!
Regards,
Randy
I laid my 11′ Bonneville down today at about 5mph, too much throttle I guess, it really came as a shock to me. It only suffered minor damage, the very end of the clutch lever was sheered off, some minor scratches to the left muffler, and of course the shift peg snapped off. Luckily I was able to ride it home (shifting became a bit tricky). Already ordered a replacement clutch lever. Plenty of nice used mufflers on eBay for around $100 or less. Having trouble finding a replacement shift lever at a reasonable price. The cost of re-chroming or polishing the scratches out of the existing shifter would probably cost a pretty penny. Any suggestions for OEM parts? Thanks!
Ken,
Sorry to hear of your accident. I know how it feels cause did the same thing one time early on when I first owned the Bonneville. It takes time to learn its geometry and sensitivities. I have had good luck buying OEM parts through BikeBandit.com. I just looked your part up and it looks like: MULITPACK, ADJ CLUTCH LEVER part. no. 2818441 = $150.80 You might be better off searching on eBay and your local CraigsList for a good used one. I have found some good used products also here: rubbersideup.com Hope this helps.
Randy
Thanks Randy, appreciate the recommendation. Yesterday I took the original shift lever into a local custom motorcycle and they are going to drill out the sheered off pin inside the lever and put a new peg on it for me. Its scratched up pretty good and filing it down and shaping it would be quite the chore so today I was able to order a new peg in from a local dealer for about 125.00, not cheap but better than having road rash on a beautiful Bonneville. I’ll take it even slower and more cautiously until I become more familiar with this different bike. I’ve spent most of my riding experience on a 1982 Yamaha Maxim XJ650, four cylinder, carbureted, with shaft drive.
Randy!
Not sure if you are still checking this site or not… but the same exact situation happened to me, and I have successfully followed your steps so far… until I got to the rubber and the new pin part, where I could not get the rubber all the way in…
Would you mind sharing how you got the rubber to fit around the new pin? Thank you so much!
Skill work, craftsman!
Worked perfectly. Thanks for the idea! Saved $140 not having to purchase a new arm 🙂
Awesome, glad it helped!