EFI Tuning – Triumph Twin Power
October 7, 2016By Lee Hoffner
Why Custom Tune?
Not long after I got my Bonneville, I started hearing all about the merits of removing your O2 sensors, removing the airbox (or the baffle from inside, but leaving the box — an alternative that has the advantage of leaving behind a little extra waterproofing), removing air injection and adding “free flowing exhaust”. Once you’ve made these mods, you want to tune your engine to take full advantage of them.
Randy has documented performing this kind of tune on his carbureted Bonneville — I thought I’d write up how I did it on my EFI Bonneville.
Tune Software
The primary app people use to carry out their tune is TuneECU.
“TuneECU is a software for reprogramming, diagnosis, and testing of the Engine Control Unit (ECU) fitted to Electronic Fuel Injected (EFI) models from Triumph, KTM, Aprilia Benelli, Ducati, Moto Guzzi, Gilera, BMW, Husqvarna & Moto Morini.”
The home page of the TuneECU site contains some rather scary warnings about use of the software and how dangerous it can be in the wrong hands. Fair enough. But, no need to be scared: a sizable community has grown up around it. You can find a lot written about its use on Triumphrat. Some examples:
- Advice about what cable to use
- Installation guides (very comprehensive thread)
- Using the new Android version
The aftermarket tune community have a lot of “homebrew” tunes. These tunes are free (usually) and can be found at various places online. Often, people take these tunes to their local dealer’s dyno to use as the basis for a customized tune for their bike.
Time on a dyno at my local dealer is fairly expensive. But, in the discussions I read on Triumphrat, I learned about Triumph Twin Power (TTP) (owned by Mike Cripps, aka “PieMan” — you can hear an interview with him on the Cafe Racer podcast).
TTP sells several tunes for Triumph Twins, each one customized for a combination of modifications:
- airbox removed, or only airbox baffle removed
- short free flowing exhaust, or long free flowing exhaust, or just TORS
- performance cams
- 2-into-1 configuration
- etc…
By my last count, he has 17 different tunes for the Bonneville alone. He has other sections covering Scrambler, Speedmaster and Thruxton.
Mike has designed each of these tunes around a dyno run with the specific model of twin (Bonneville, Thruxton, Speedmaster or Scrambler), fitted with the specific modifications. My configuration is:
- Bonneville with LCD Odometer
- O2 sensors removed
- Air injection removed
- Airbox baffle removed
- DNA air filter
- “Breathe” air intake cover
- Norman Hyde Togas fitted
This configuration is covered by Mike’s Bonneville tune #3.
I should mention that when you purchase a tune from him, it comes with a custom version of TuneECU.
Well, enough background. Let’s get on with the process.
Things You Need
You need very little, but a lot of what you need is fairly atypical for an “ordinary” day of motorcycle maintenance.
First, you need a bike. (Okay: that’s not atypical — that’s a constant…)
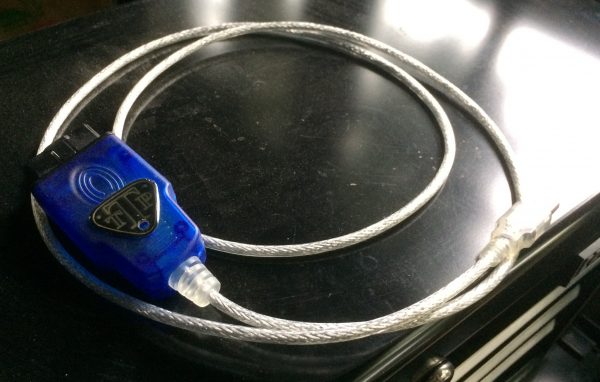
First (really!), you need an ODB-2 cable.
One of the above links goes to a thread on TriumphRAT, where people discuss the fact that there are good cables and there are bad cables. I bought mine from Triumph Twin Power and I’d recommend you do the same.
Computer Configuration
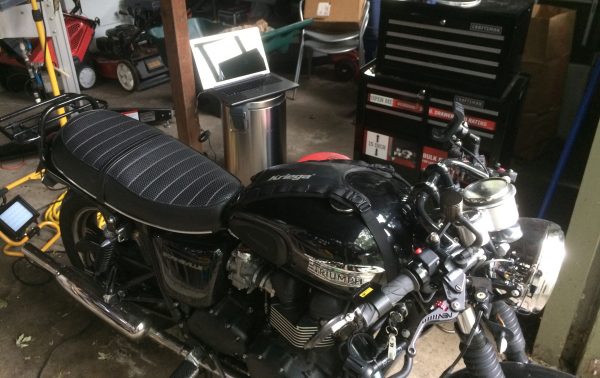
You will need a computer and it’s got to be a Windows computer.
Before you connect the ODB2 cable to your computer, you will need to install drivers for it. I know that sounds like a pain, but it’s really pretty easy. The instructions for installing the drivers and the download link are here. I chose to download the EXE (rather than downloading the DLLs and having to find where / how to install them) for my OS (Windows 10) and ran it as administrator. It installed the drivers without any problems.
The tune process can take about 30 minutes, at most. Before you begin, make sure your computer isn’t set to go to sleep, or has any other power saver features enabled. You can re-enable them later, if they’re important to you. But, turn them off for now. You don’t want the tune process interrupted. For that reason, I’d also recommend using a laptop, so that you won’t need to worry about power outages. (Built-in battery backup, and all that.)
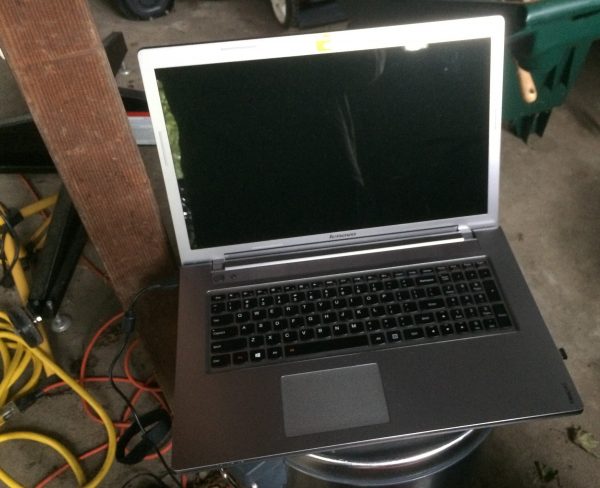
Windows PC. (I’m ordinarily a Mac user. But, I can flex…)
Environment
I can’t stress this enough: *ventilate!*. You will be running your bike at idle for at least 10 minutes, maybe as much as 20. If you’re in a garage, you need to move the air in and out of your space. Carbon monoxide poisoning sneaks up on you.
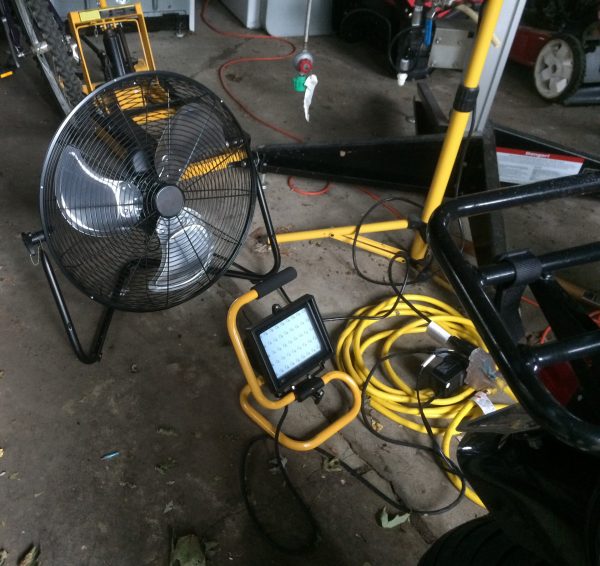
Garage fan. Indispensable in the hot summer, also vital for this particular task…
Prep Work
Establishing a connection between bike and computer requires a good healthy charge from your battery for the duration of the exercise. You will have your ignition on, but you won’t have your engine running, for at least 3 minutes (based on my experiences). So, there are a couple of things you should do to prepare for this.
First, about an hour before you start, I’d recommend hooking your battery up to a battery tender. There are many ways to do this: one of the most common is to hook directly to the battery terminals (just like you were going to jump-start your bike). In my case, I have added a Powerlet outlet to my bike, on an unswitched circuit. So, I can simply plug my battery tender directly into the Powerlet socket and my battery will receive a trickle charge. This will help get your battery up to its best level for the work to come.
You’ll also want to disable any device that puts a drain on your battery. The instructions from TTP suggest pulling fuse number 9 (shown below), which powers the headlight. I suggest additionally pulling #8, which is the 5 amp fuse to the left (sadly, not pulled in the photo), which powers the tail light. With both fuses pulled, you should have little trouble with low battery charge during this operation.
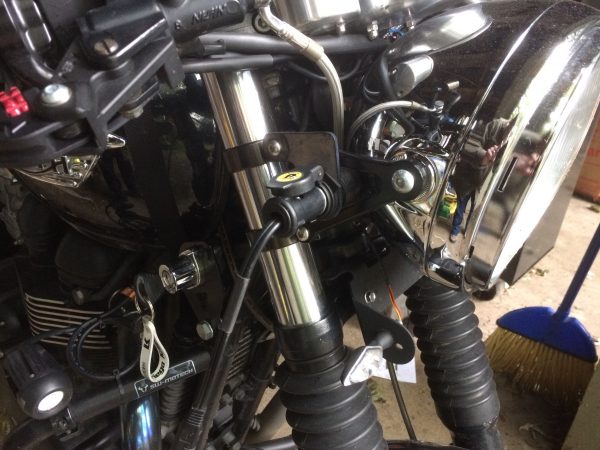
Connecting a battery tender through the bike’s Powerlet socket.
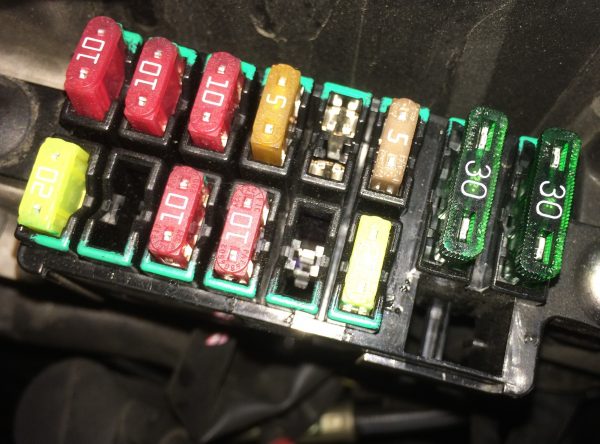
Fuse number 9 pulled (fifth position, top row). Consider also pulling the 5 amp fuse immediately to the left of it (number 8).
Remove Seat
Finally, you will need to remove the seat. This will give you access to the ECM connection cable, on your bike.
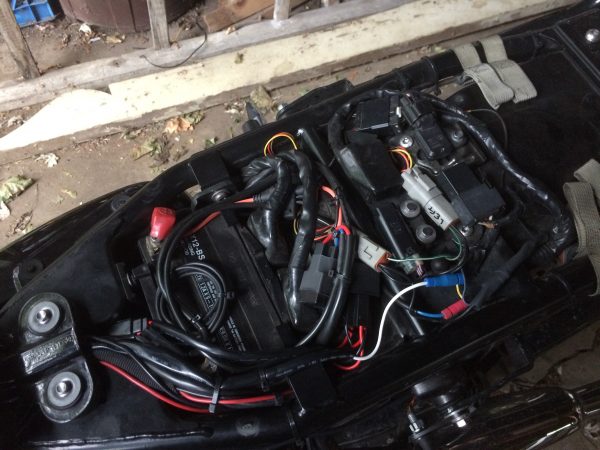
Seat removed.
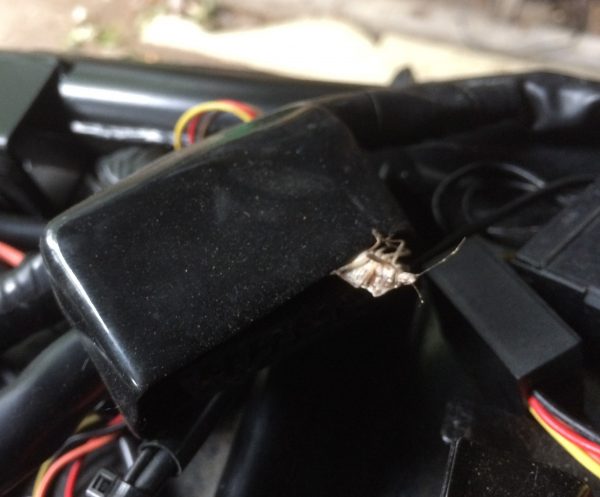
Hmm: and I was worried about bugs in the *software*…
Tune Installation Steps
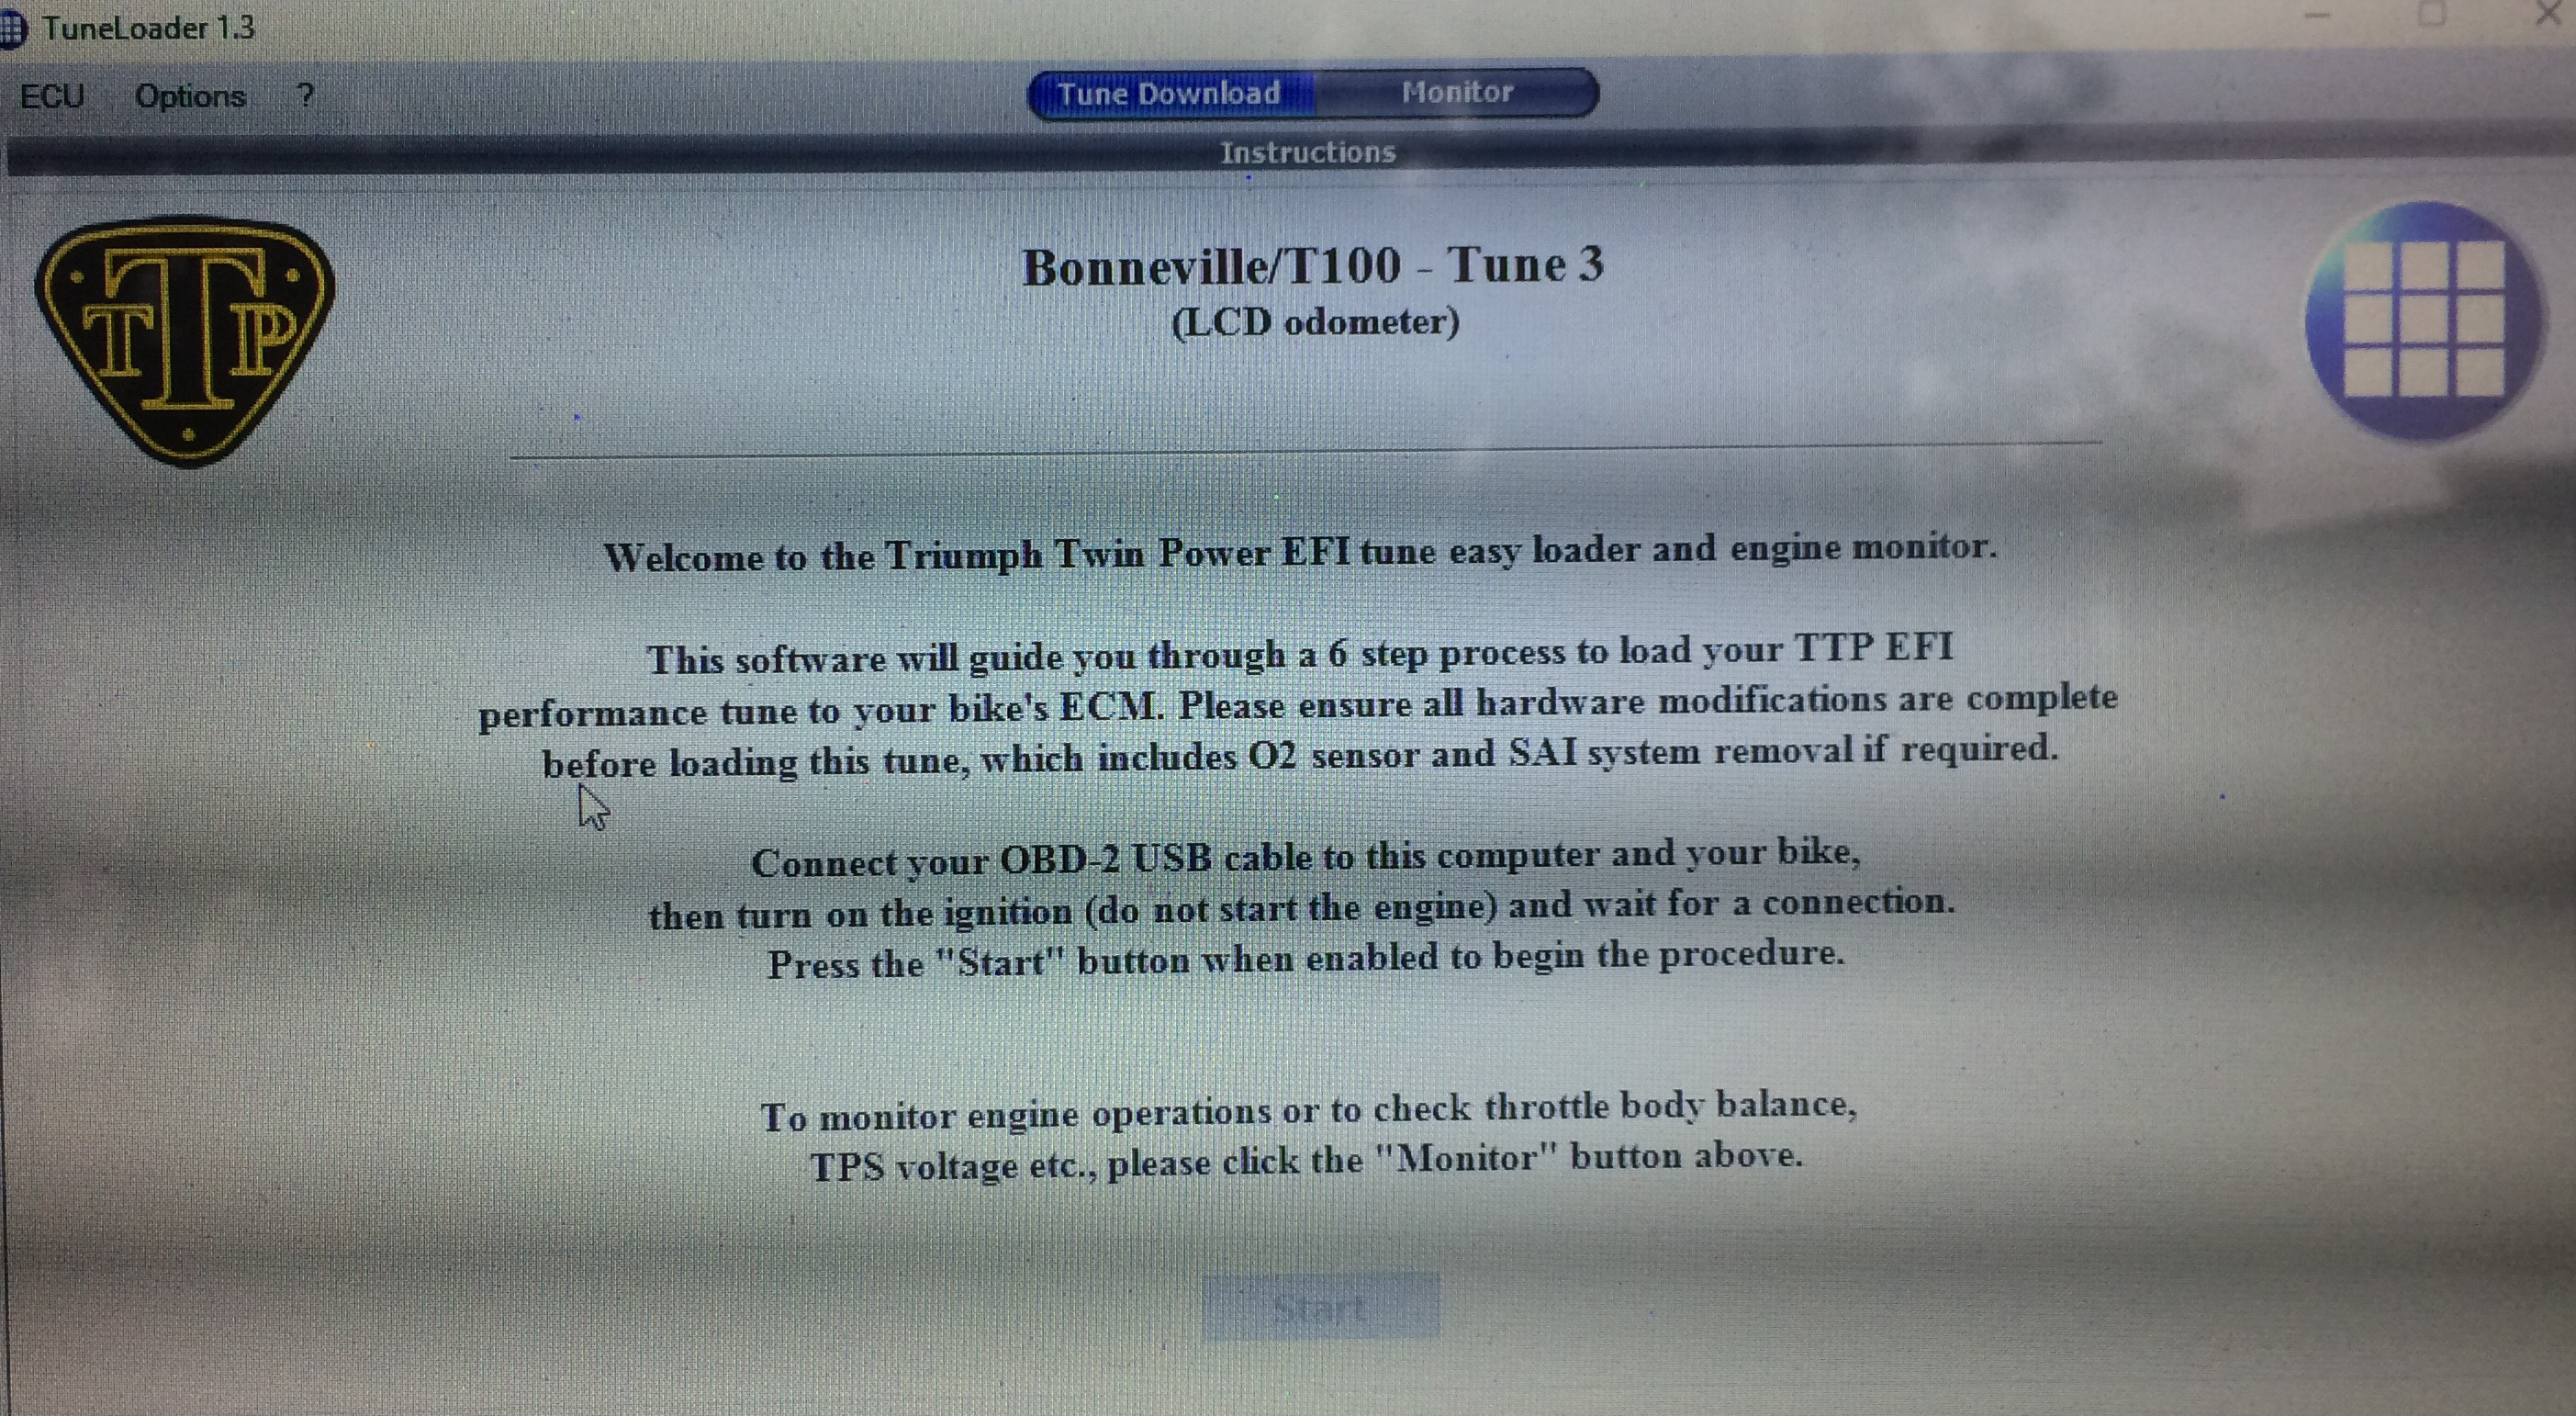
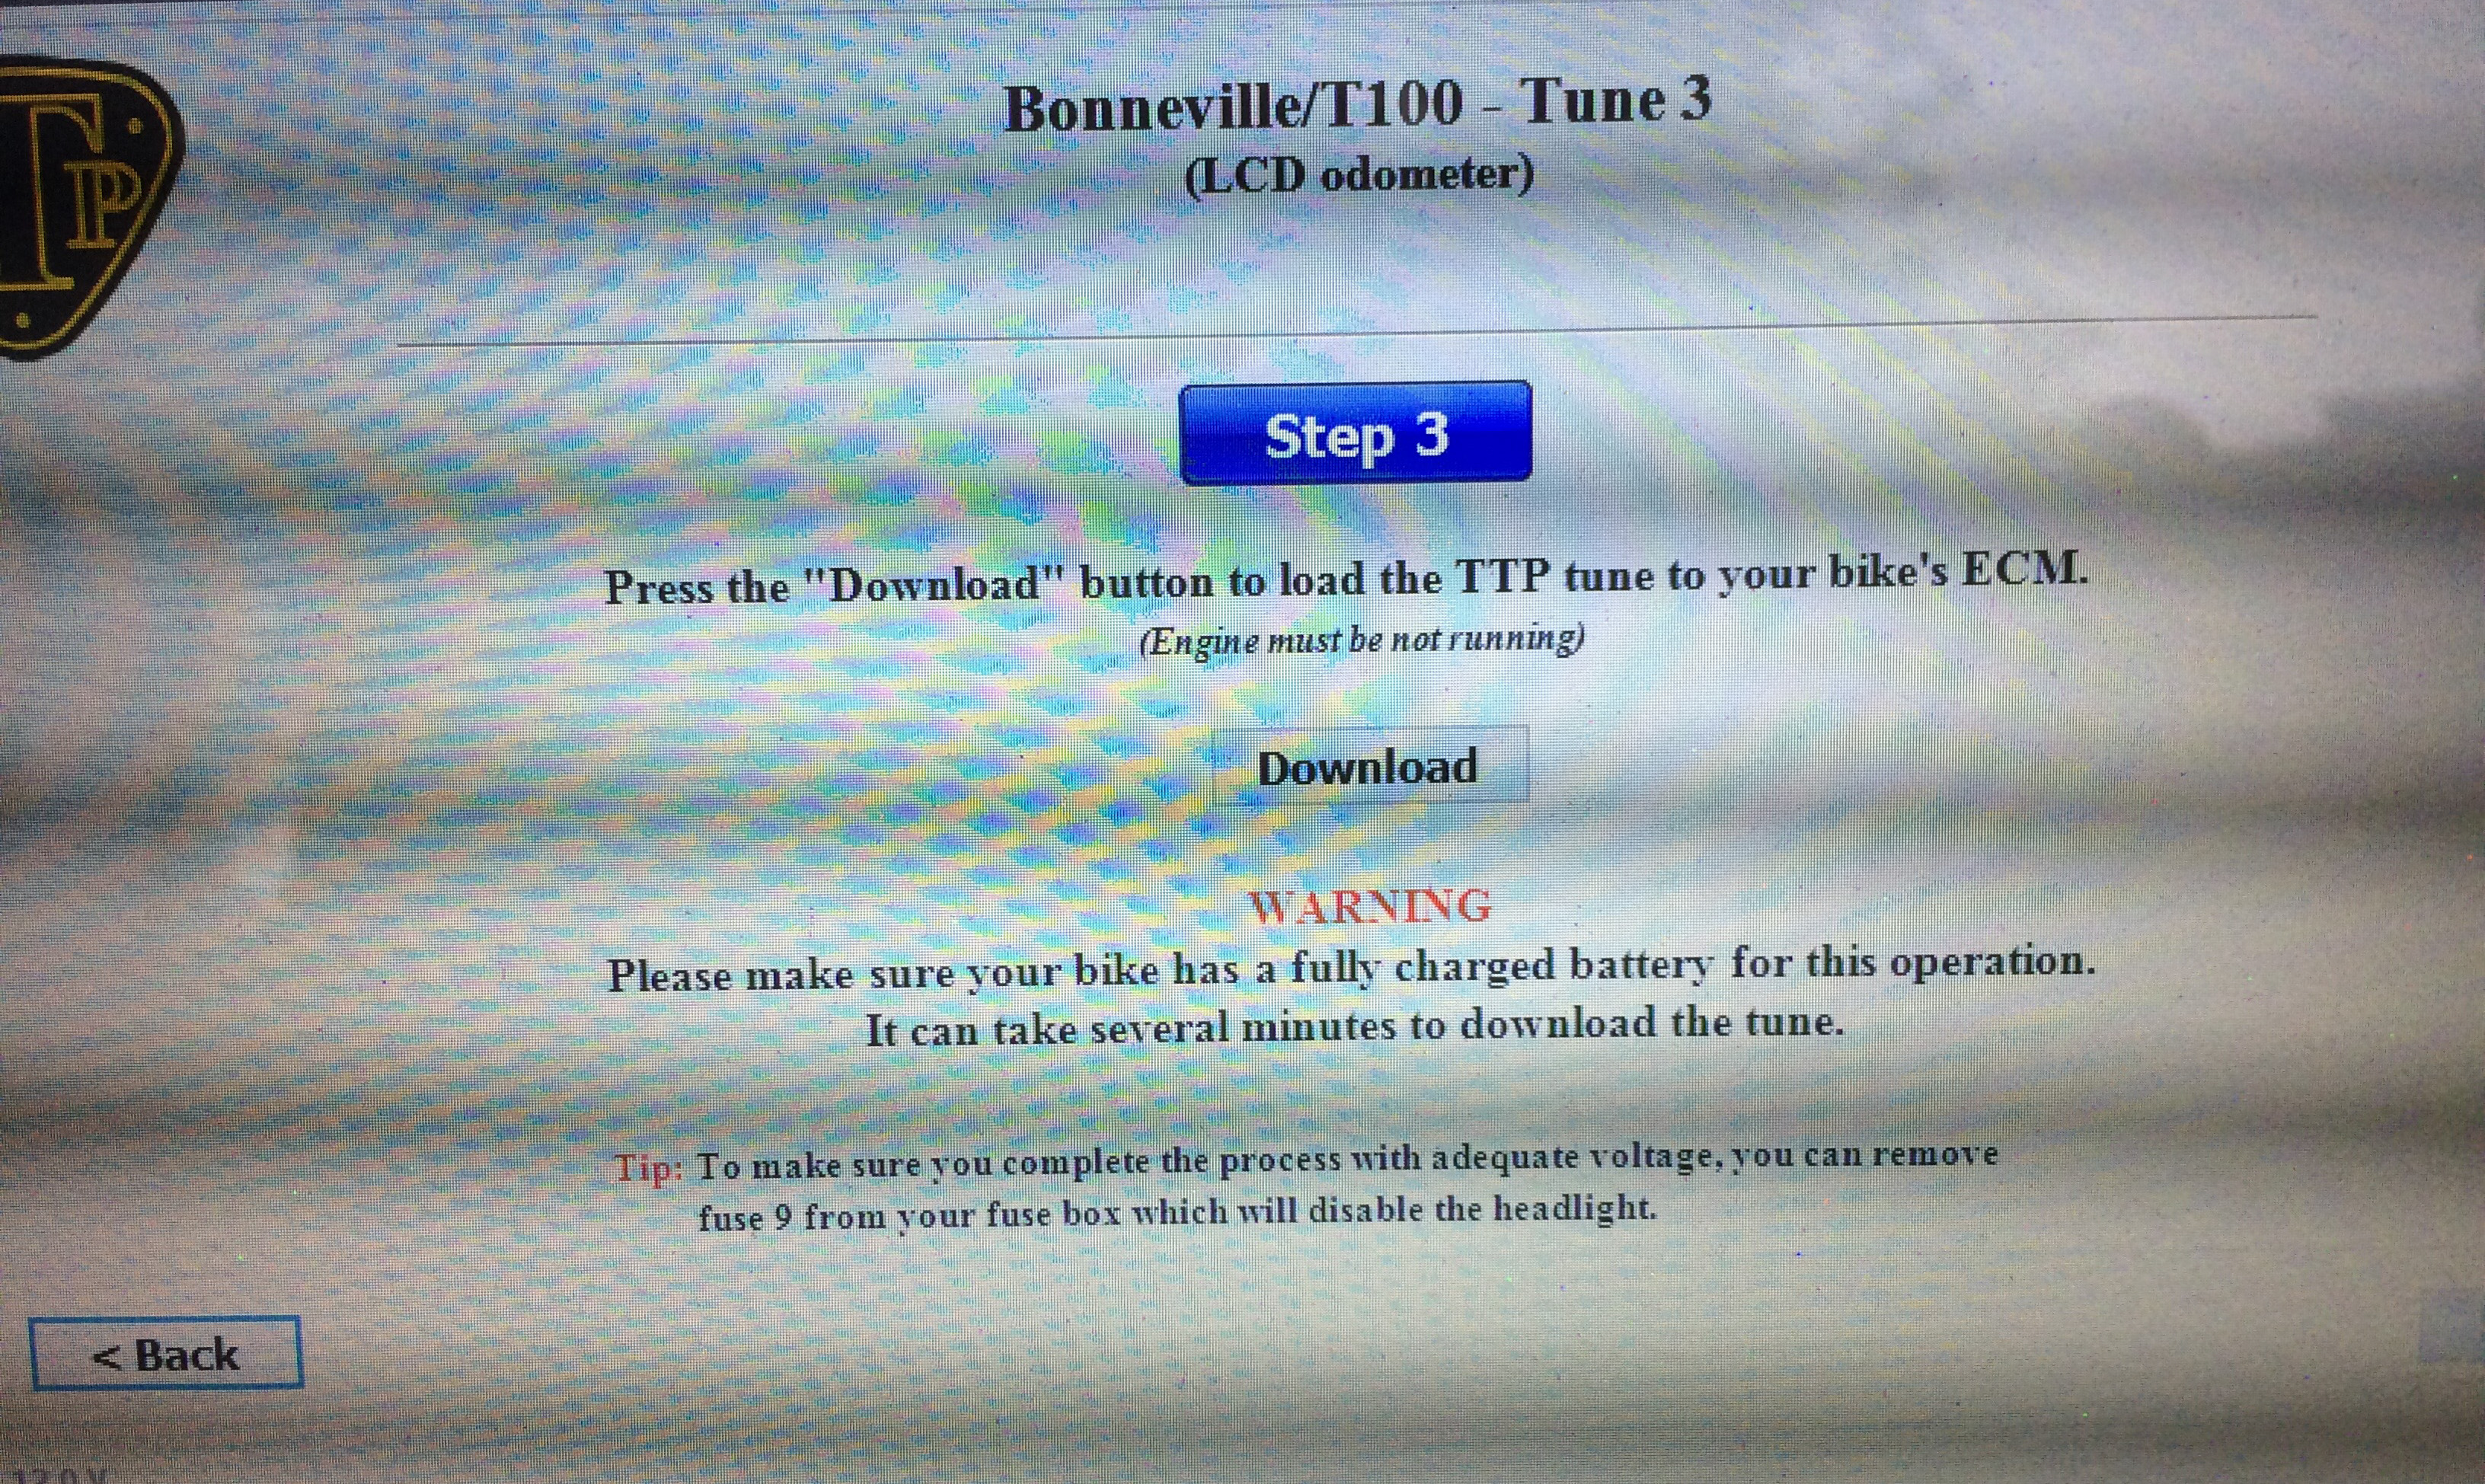
This section will mostly be screenshots, as Tuneloader’s onscreen directions are pretty clear and very straightforward. HOWEVER, there are one or two details that were not mentioned in the instructions. I will be calling those out, here.
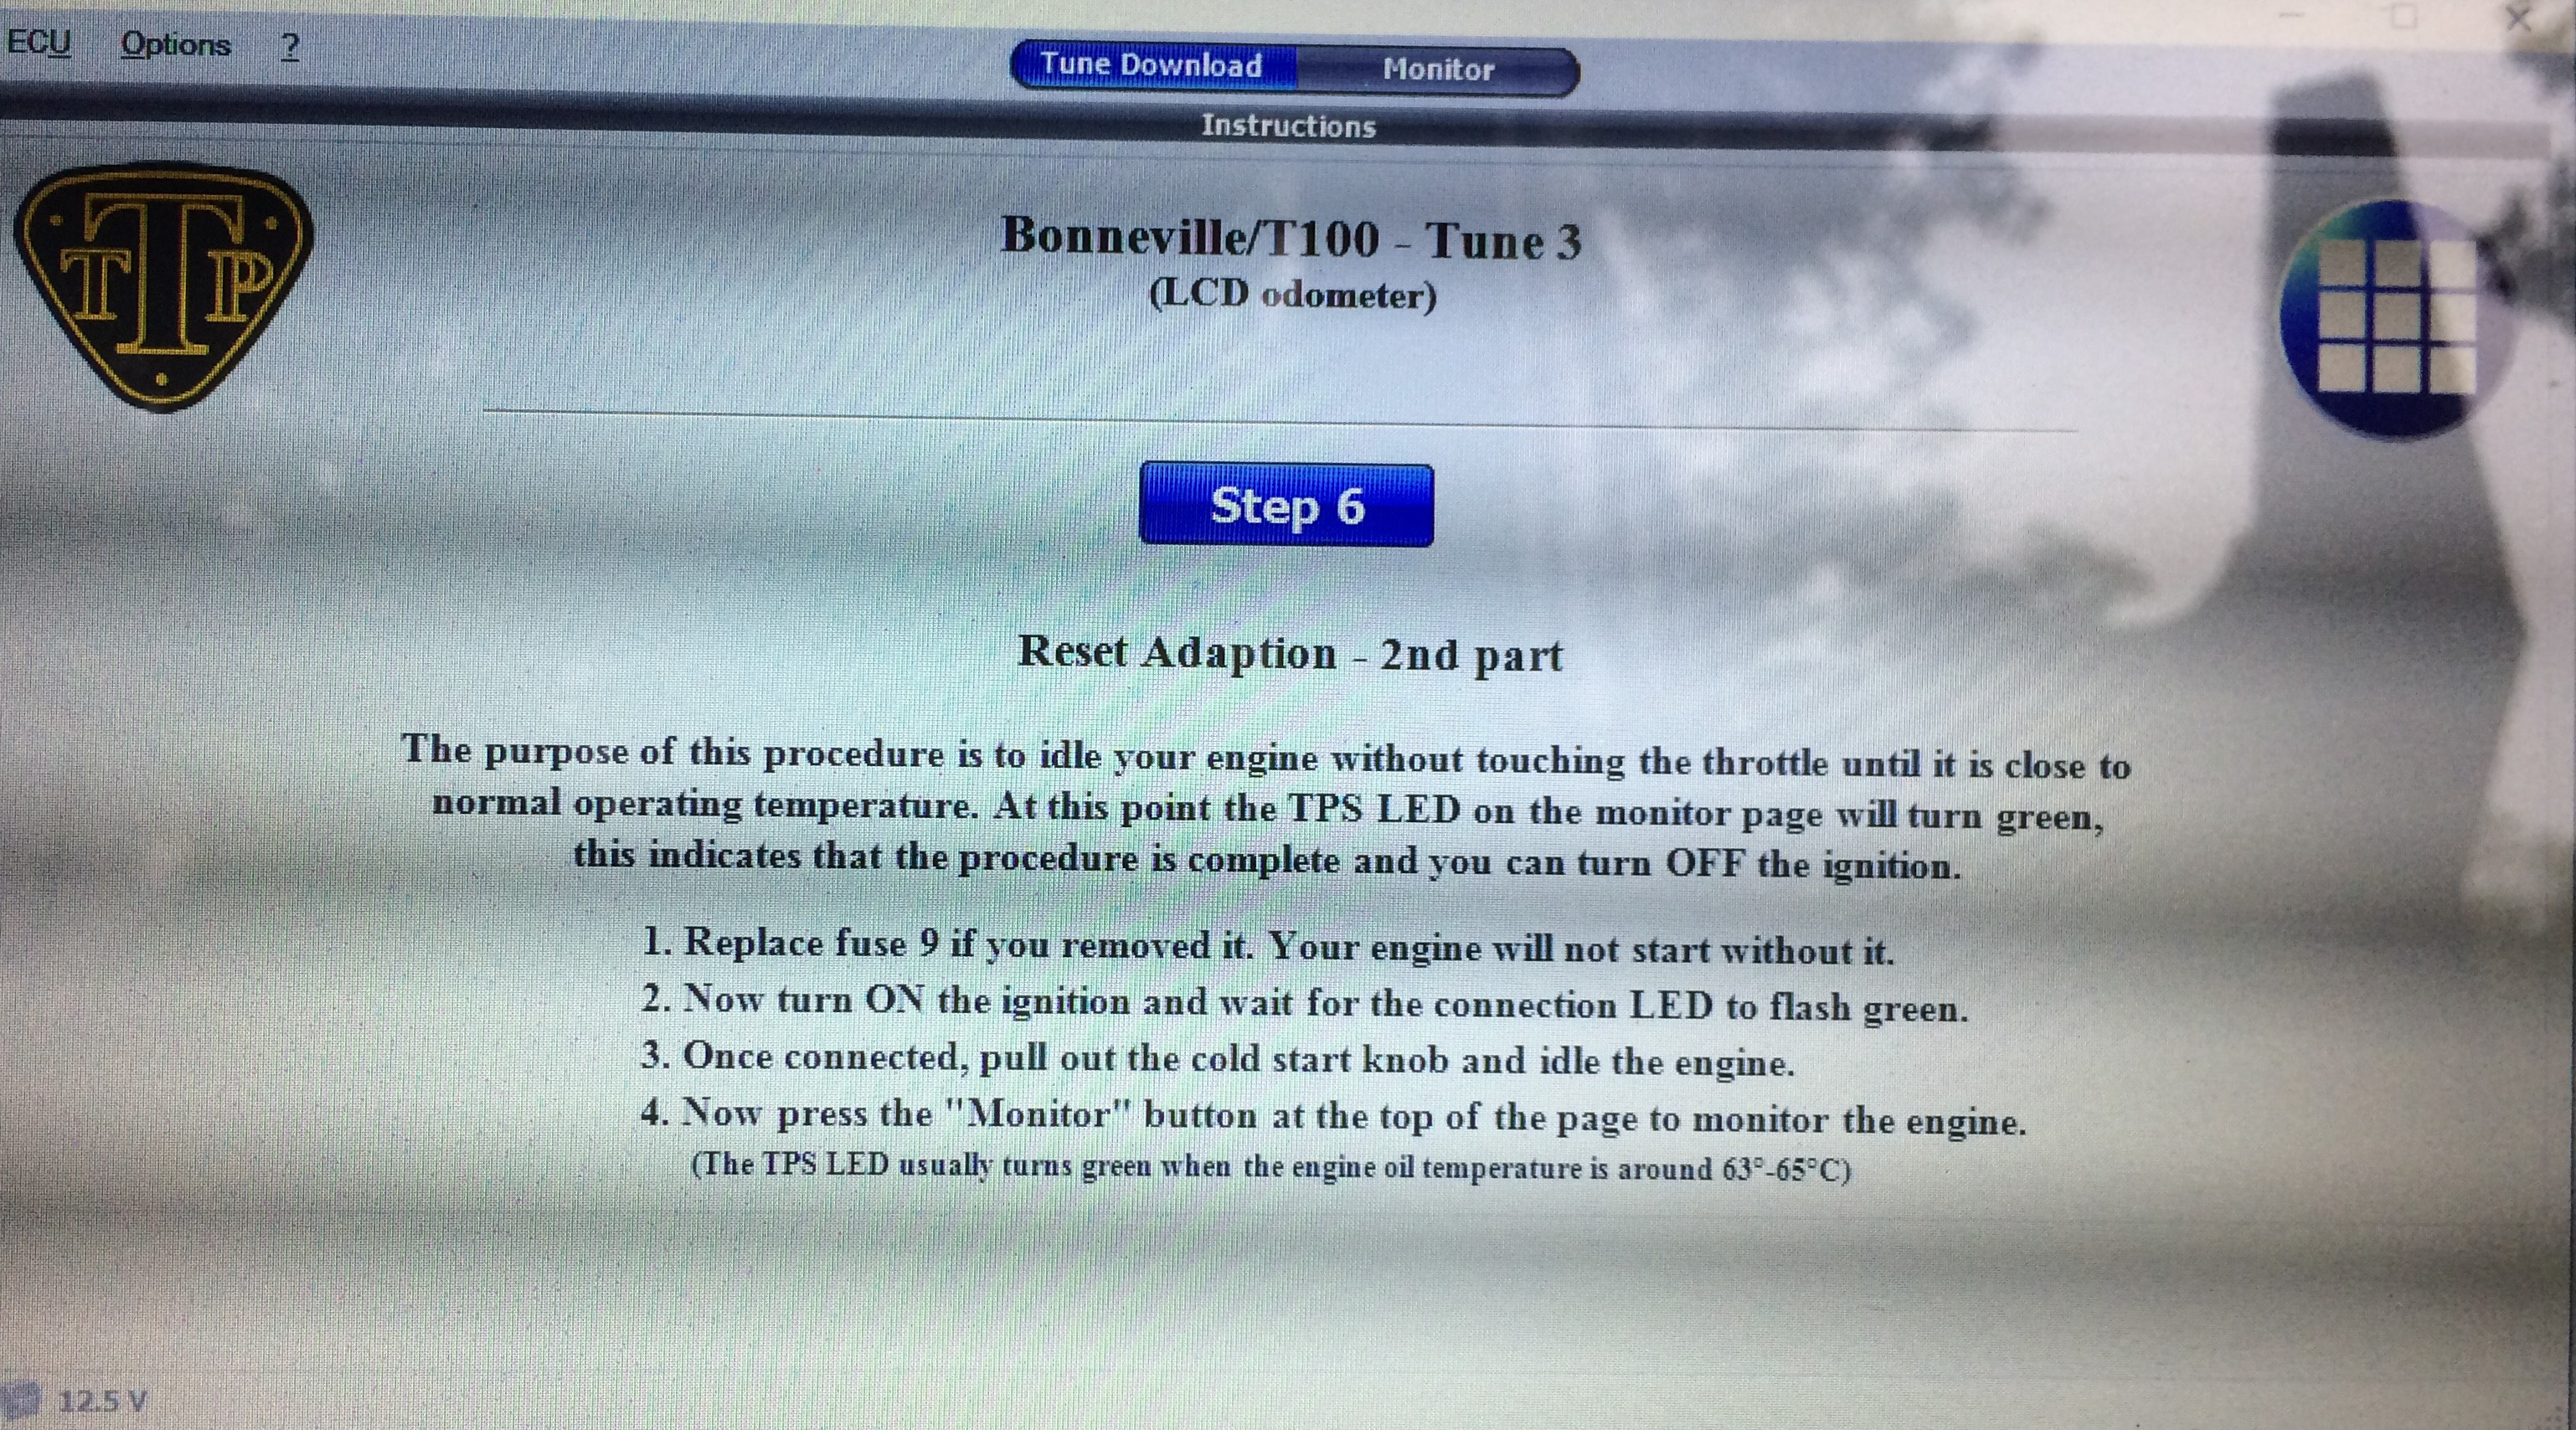
This is where I need to chime in with a note that was not included in the directions. Notice the third bullet point above:
“Once connected, pull out the cold start knob and idle the engine.”
In my opinion, that’s just not explicit enough for newbies, or even for experienced riders who are new to doing this particular kind of maintenance.
Specifically, you need to pull out the cold start knob only long enough to get your engine started! (You may not even need it at all.) Once your engine is running, you can push the cold start knob back in.
This wasn’t clear to me. As a result, I left the knob out for the full 20 minutes. I got two things for doing that: glowing, red hot headers, and no TPS green light. So, I had to do all of this over, the next morning, once my engine was cold again.
So, in brief, this stage should go like this:
- Attempt to start your engine
- If your engine didn’t start, pull out the cold start knob and try again
- If your engine still didn’t start, you will need to figure out what the problem is and fix it. But, probably, your engine did start. Push the knob back in. Step away from the bike: don’t TOUCH the throttle (or the process will self-cancel and you’ll have to wait for a cold engine, again).
- Switch to the Monitor tab, as the directions say, and wait for the green light on the TPS sensor. For me, it appeared after 12 minutes.
The TPS light (to the left of the tachometer, which is the large LCD readout at dead center) turned green for me after 12 minutes. At this point, you switch off the ignition and shut down the program on your computer.
Disconnect the cable, replace the fuses you removed, and put the seat back on. You are now done!
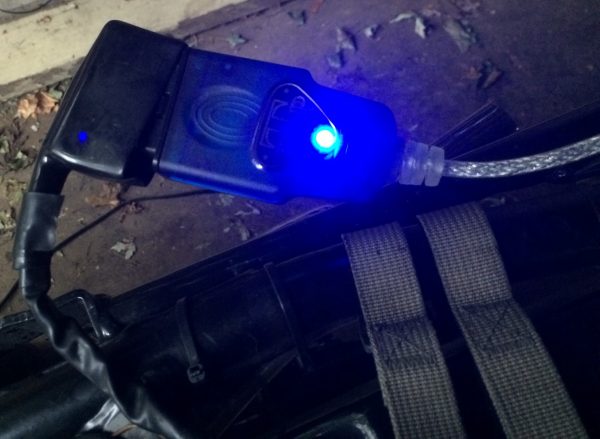
Connecting the cable to the ECU. The other end is a USB connection, and connects to your computer’s USB port.
Launching TuneECU. Remember to Run as Administrator!…
Yes. You really do want to do this. (It’s not making changes to your computer, anyway. It’s making changes to your bike.)
Step 1
Download screen
Successful download. No error codes!
Adaption Reset step: now’s when you turn on your engine.
Chime In Note
This is where I need to chime in with a note that was not included in the directions. Notice the third bullet point above:
“Once connected, pull out the cold start knob and idle the engine.”
In my opinion, that’s just not explicit enough for newbies, or even for experienced riders who are new to doing this particular kind of maintenance.
Specifically, you need to pull out the cold start knob only long enough to get your engine started! (You may not even need it at all.) Once your engine is running, you can push the cold start knob back in.
This wasn’t clear to me. As a result, I left the knob out for the full 20 minutes. I got two things for doing that: glowing, red hot headers, and no TPS green light. So, I had to do all of this over, the next morning, once my engine was cold again.
So, in brief, this stage should go like this:
- Attempt to start your engine
- If your engine didn’t start, pull out the cold start knob and try again
- If your engine still didn’t start, you will need to figure out what the problem is and fix it. But, probably, your engine did start. Push the knob back in. Step away from the bike: don’t TOUCH the throttle (or the process will self-cancel and you’ll have to wait for a cold engine, again).
- Switch to the Monitor tab, as the directions say, and wait for the green light on the TPS sensor. For me, it appeared after 12 minutes.
The TPS light (to the left of the tachometer, which is the large LCD readout at dead center) turned green for me after 12 minutes. At this point, you switch off the ignition and shut down the program on your computer.
Disconnect the cable, replace the fuses you removed, and put the seat back on. You are now done!
Final Assessment
As I mentioned, I was caught short by the directions to “pull out the cold start knob and idle the engine”. I took it literally and ran the entire adaption reset with the cold start knob pulled out. I never got a green light and so I stopped the procedure after 20 minutes. On a test ride, afterward, I felt hesitation and stuttering at about 3000RPM (which is where my bike “idled” with the cold start knob pulled out).
On a second day, with a cold engine again (and after some reading online), I re-did the procedure — but without the cold start knob, which I didn’t even need as my engine started fine without it. The engine idled at 950-1050 RPM, the adaption program gave me a green light after only 12 minutes. A test ride afterward was smooth as butter, through the whole RPM range.
Throttle snatchiness, which had been noticeable at the low end of rev, is now gone. The excessive fuel smell is now also gone. Can’t report on mileage, as I’ve only been doing local short rides. I’d rather get a long ride in, before quoting mileage.
I’m really quite pleased with what Triumph Twin Power has done with their tunes and what this tune has done for my Bonneville. Because of my good experiences, I’m looking at an attractive 6 Pot Front Brake Caliper from TTP, as a result. If I get it, I’ll write it up here.





haahahaha – the idle speed knob pull out messed me up exactly like you!!! (and yes, I did voice my complaint to Mike)…
Great post, I’m also a mac user, and actually bought a teeny pocket PC from amazon specifically to do mine, plugged into an old monitor and worked a treat! The tune (Tune #11 2-1 in my case) is much slicker, especially smoothing out throttle-on jerkiness from the factory remap….. Have ridden with it for over a year now, and couldn’t be happier
And yes, I also got screwed at the idle speed instruction & emailed my experience to Mike, was assuming it’d be fixed by now!
Hi. My problem is my 2011 Bonnie has an either open or shut throttle which makes roundabouts difficult. I miss the ability that carbs have in that bit where they neither drive the bike nor slow it down. It is still original as the first owner stored the bike for six years? Is there a ‘re map that might help?
I’m also thinking of doing the ttp mods that you did. How did they hold up? Any issues and did the mileage decreased ?
@Manu, sorry for the long response time: tune has held up fine. Mileage is ~41MPG, highway. Yours may vary.
I just finished the mods and tune today, bike is running silky smooth. Did 20km ride, didn’t want to stop ridding???. Your choke knob and fuse removal was helpful.
How long do you figure before tuneboy or tune ECU will work on the liquid cooled 2017+ bikes . I haven’t found any information about it.
@Sterling I couldn’t say. You’d have to ask Triumph Twin Power, or post in Tune ECU’s Facebook group: https://www.facebook.com/groups/685985144885055
Hey Lee, I’m still confused, on step 6 do you just start the bike before the bottom right blinks green and establishes a connection???
Now I’m really scared. What’s the procedure for sending the CPU to TTP to do it for me. Where is the CPU and do I just plug the reprogrammed one in and ride? Sorry, I’m old but have a need for speed 🙂
Steve, If you have an EFI air-cooled Bonneville like the one Lee has described, this is the best and least expensive way to gain a few extra HP and better performance. Combining this tune with lower resistance exhausts will help even more. If you have a carbureted Bonnie, there are other options available from Triumph Twin Power such as their Fire Starter Performance ECU. I doubt that TTP will take your ECU and tune it for you because it needs to be running on the bike to be programmed for your bike. You can contact them here: https://www.triumphtwinpower.com/contactus.php to find out more.
THANK you so much for this post… I first did put this tune on my (recently totaled) 2012 mag wheel and went through the whole “cold start knob” thing. I just picked up a 2016 air-cooled T100 and preparing to load a new tune on it. Your post helped refresh my memory and cleared up a few things.
I had second point of confusion-when to perform the adaptive reset? BEFORE loading the tune (to “zero” out the settings) or AFTER loading the tune (to adapt to the new settings). The TTP website describes the adaptive reset at the top of the page-*almost* making it sound like you do the adaptive reset two times-once before the loading the tune AND once after. Your post cleared that up for me as well.
Now-when do I adjust the voltage and balance the throttle bodies? BEFORE loading the tune or AFTER loading the tune? If they are out of spec at the start, will this negatively affect the tune?
lol…too many questions!
I’m afraid I don’t know the answer to your question about the throttle bodies. I’d encourage you to go to Triumph Twin Power’s site and submit a question through their contact form. In my experience, Mike responds very quickly through that channel.