D9 Bonneville Brackets Installation for the 2012 Thruxton
It’s always a good day when you come home from work and see a package from D9 Bonneville Brackets waiting for you on the porch! I had ordered a lay flat ignition relocation bracket in black, and 2 black instrument cups from D9 Bonneville Brackets several weeks ago. I had also already turned the Triumph stock headlight ears upside down, which lowered the headlamp in inch or so. The installation went very well. It is much easier on a VDO Bonneville than on the older Pre-VDO models like my 2008 Bonneville Black. One reason is that you don’t have to deal with the mechanical speedometer cable since the VDO models are all electrical instruments.

The new lay flat ignition relocation bracket and instrument cups unpacked. Man, Seth does nice work!
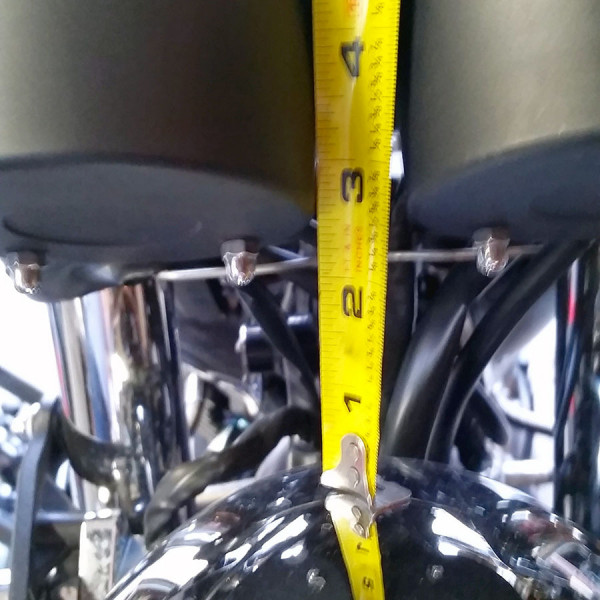
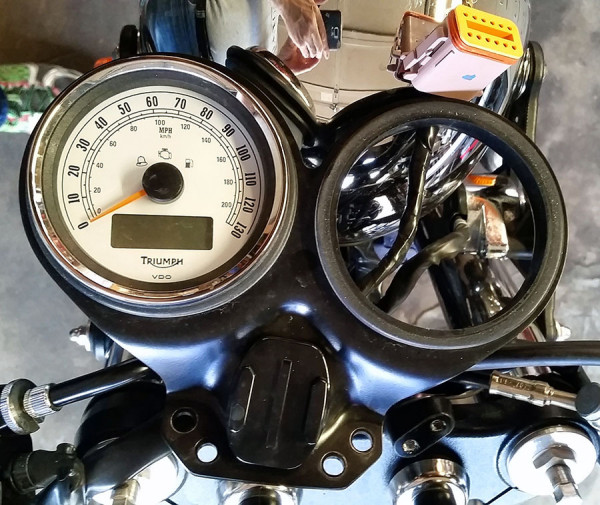
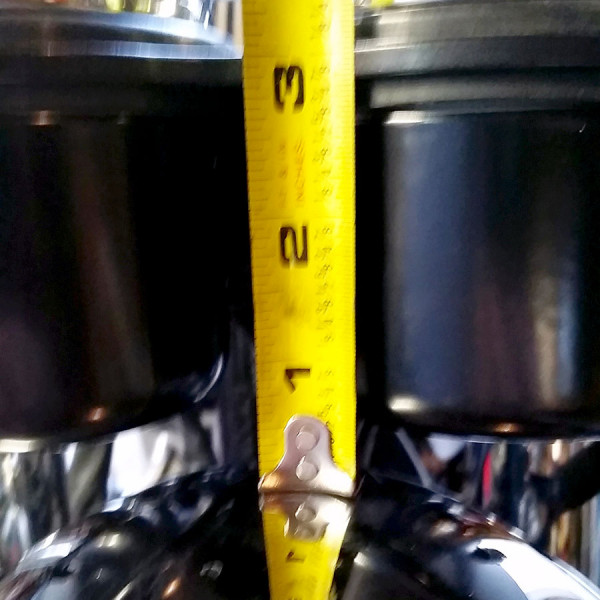
Sorry for the blurred image… you can see the gap between the lowered headlight and the instrument cups is about 2.5″
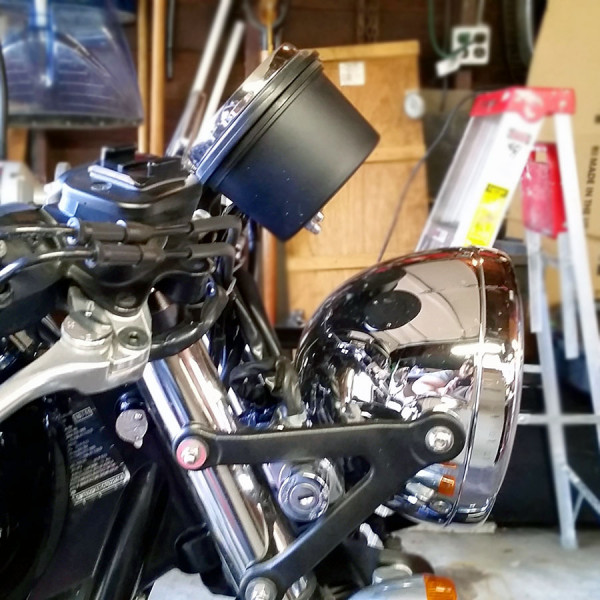
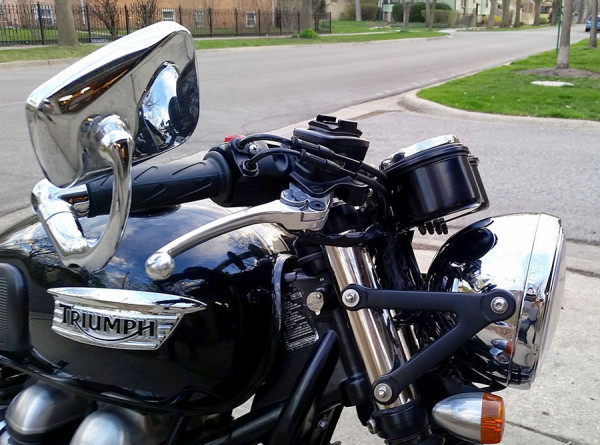
Here’s a side view of the gap distance before the installation of the new bracket.
I started the installation process by loosening my headlight brackets, and removing the stock black plastic instrument cups from the back of the speedometer and tachometer.
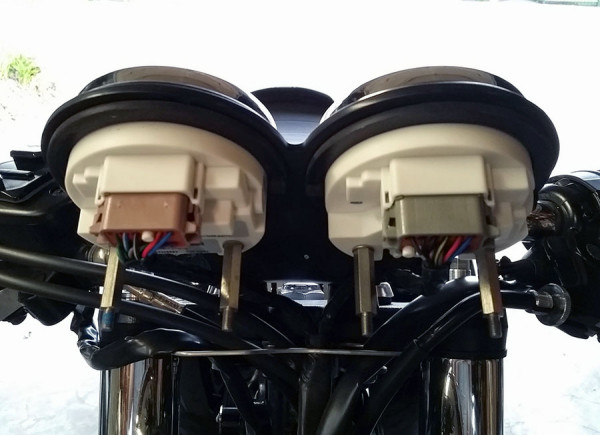
Removed black plastic instrument cups
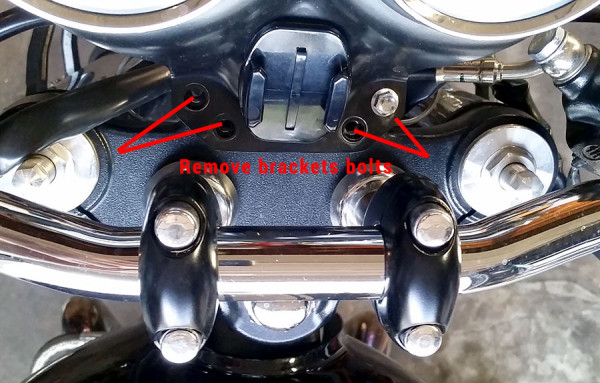
Next I loosened the 4 bolts holding the stock bracket to the top triple tree.
With the bracket now loose, I could unclip the 2 instrument wiring connectors and remove the instruments and bracket from the Thruxton.
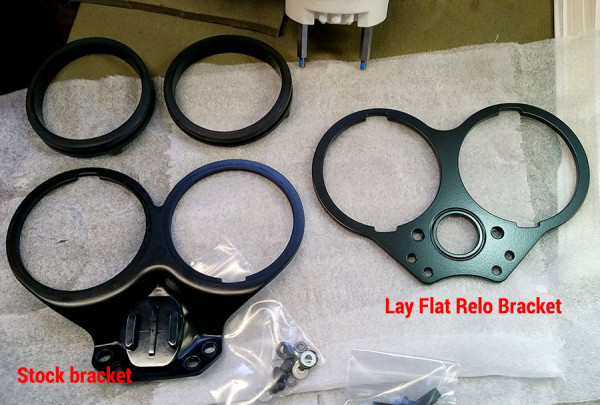
Here’s a side-by-side comparison of the stock and new bracket.
With the bracket removed, I next needed to remove the ignition switch from its stock mount on the stock headlight bracket. In my case, it was on the right because I had already flipped the brackets. Normally, the ignition is on the left.
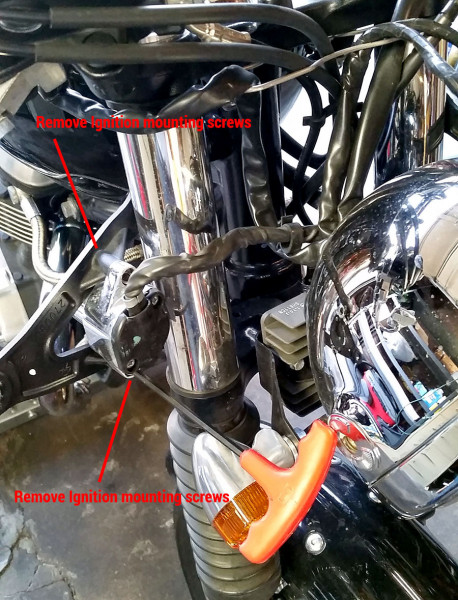
Removing the ignition switch from the stock headlight bracket.
The kit included new black mounting hardware and washers.
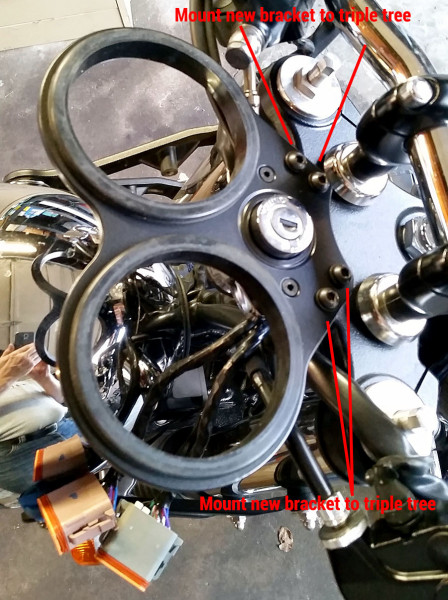
Mounting the new D9 Bonneville Bracket with the ignition switch mounted on it, to the top of the triple tree.
Once the bracket was mounted, I inserted the rubber instrument rings and then the instruments and instrument cups, loose-fitting them for final visual fit and alignment.

Final loose fit to make sure everything was aligned properly.
Again, sorry for the blurred image, but you can tell the gap is now less than an inch!
Once everything was fitting properly, I tightened everything down to complete the installation.
This view shows the massive difference in look with the lowered flat relation instrument bracket installed. A MUCH improved look!
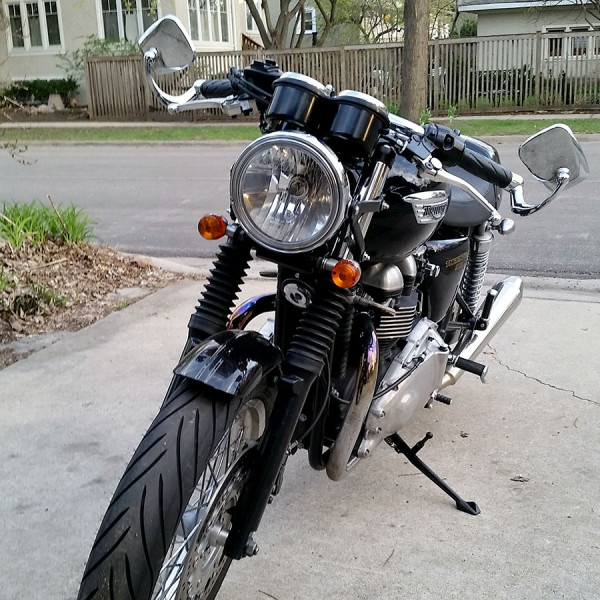
Front view with new bracket installed.
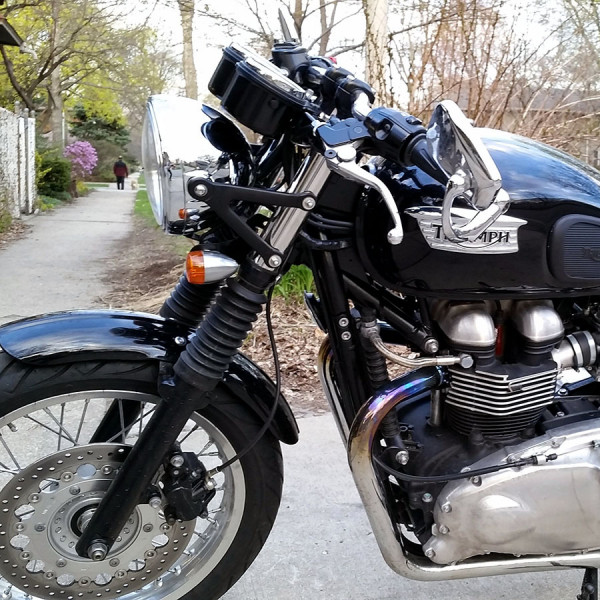
Left side view with new bracket installed
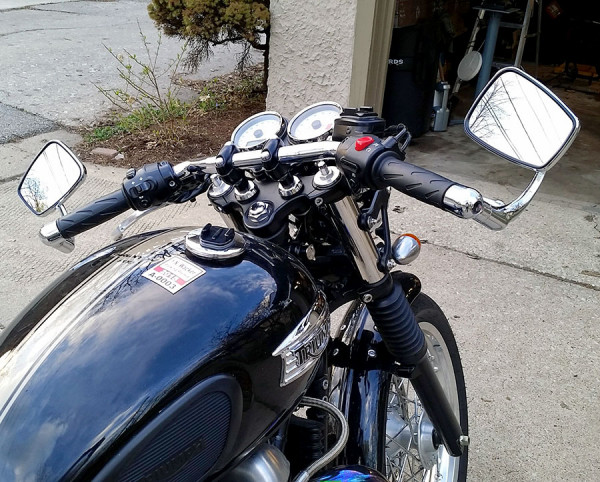
You can see now how well the instruments are tucked down below the handlebars – and yet still very easy to read.
The bike looks great! D9 made this one for my standard Bonnie which had a mini tach and the large dash indicators: http://www.triumphrat.net/twins-talk/493714-d9-dash-at-long-last.html#post5461714
Motomuso,
Thanks for sharing. I like your blog too… I would love to ride out west sometime and see the places you’ve been! On the bucket list…
Randy
Thanks Randy. I guess I’d call my “blog” more of a scrapbook or album. I don’t know how you real bloggers keep up with the the new posting so well. If you’re ever out this way (L.A.) let me know and we’ll ride some great routes.
—
Glenn
Lovely job. Here is a question, because since looking at the photos Randy, I have come to realise the top of my front forks have been assembled incorrectly! I also reversed, the head lamp brackets an found a slight mismatch in height left /right. It turns out the fixing bolts on the fork sleeves ( in between the upper and lower yokes) are not in dead centre of the tube, in other words, a bolt is close to the top of the sleeve by about 1/2 inch, or at the other end of the sleeve about 2-3 inches to the end. Anyway in my case, one sleeve has the greater distance at the top, and the other the greater distance at the bottom! That is not so on your bike! So I have to assume, that is was assembled in a rush at the dealers! I bought the bike in 2005, cannot take it back now to complain! But damn I will have to partially disassemble to put it right, does not affect anything much, but now I know it’s there it is annoying!
when you flipped your headlight brackets is it a simple matter of unbolting them from the fork tubes or is it more involved than that?
Casey, You’ll need to remove the entire bracket and tube from the left and right sides, which means dropping the fork tubes down almost all the way out of the triple trees. To do that you’ll need a motorcycle stand of some kind that allows you to support the motorcycle, remove the front wheel, fenders, braces, and then drop the fork tubes. The brackets switch sides and go upside down from their previous orientation. I hope this description helps.
yes it does – thank you.
the little acorn nuts on the bracket implied I could just unbolt them from the tubes but I see now what you are talking about.
thank you very much for the reply.