One of the regular maintenance items for a Triumph Bonneville is to change the fork oil every 24,000 miles or 4 years. Since I had upgraded my forks with the Race Tech Gold Valve suspension upgrade at around 8,000 miles, my Bonnie was ready for a fork oil change at 31,000 miles.
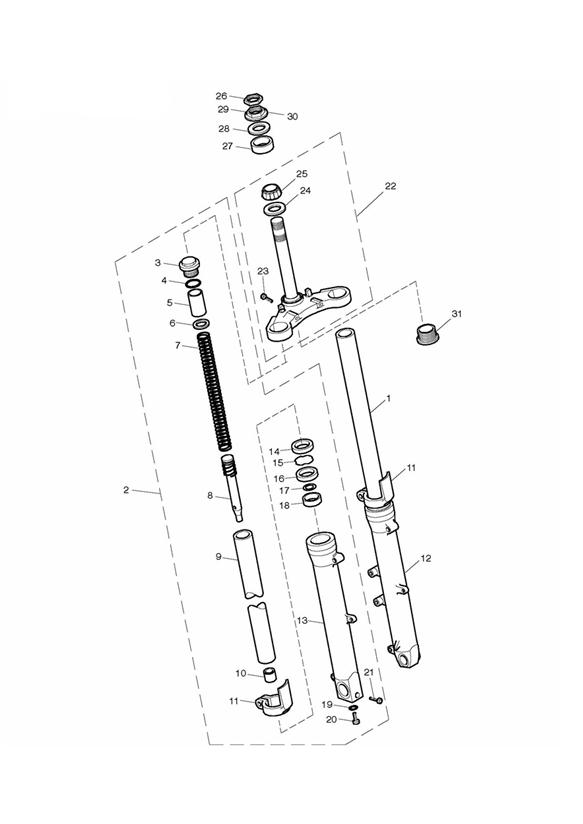
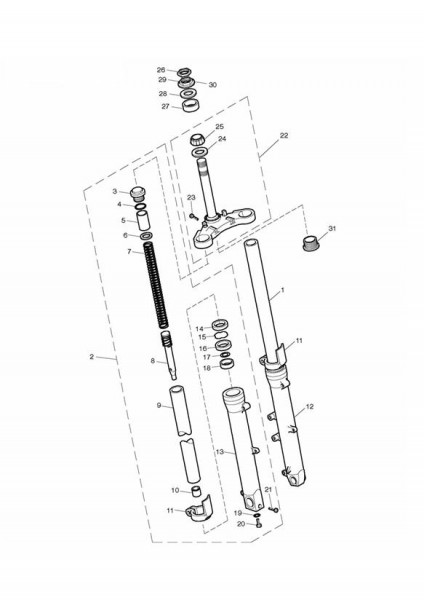
Exploded view diagram used for ordering new seals, bushings and parts
Step 1 – Remove Front Wheel
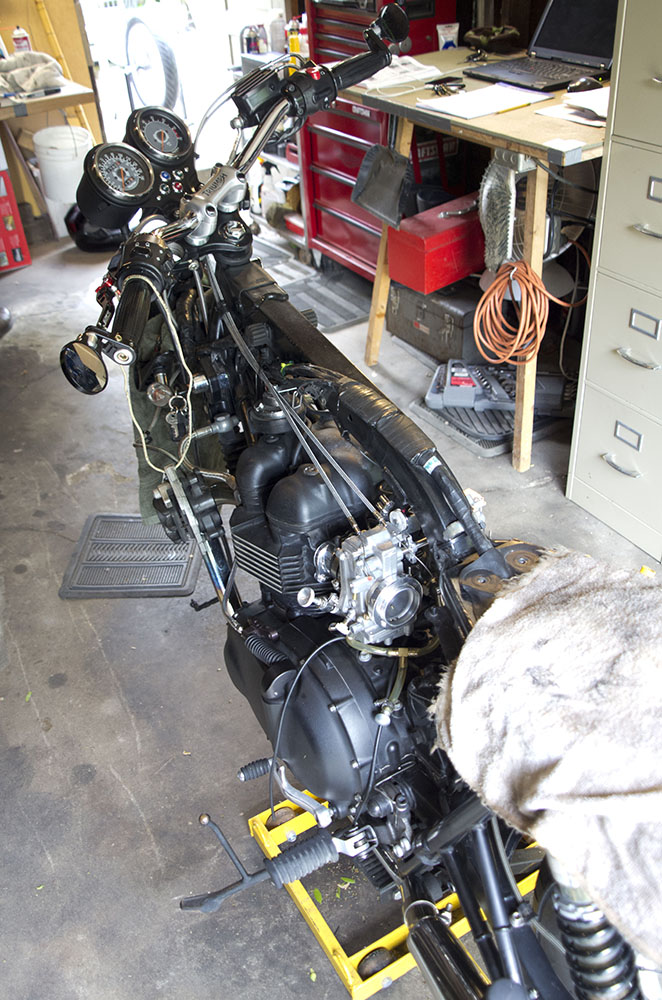
With my Bonnie up on a jack stand and following my Haynes manual, we first removed the headlight bucket, brake caliper, speedo cable, and then the wheel/tire. Because I was also replacing my oil pressure sending unit (which had gone bad), I removed the seat, gas tank, side covers and carburetors. I want to thank my friend Lee Hoffner for loaning me a set of extra hands for this project, and for taking these photos.
Step 2 – Remove Fork Tubes
Next, we loosened the upper and lower triple tree clamp bolts and slid each fork tube down and off of the frame. Once these were off, the manual told us to unscrew to the top cap bolt of each tube, removes the springs and washers and pour out the old oil. Once this was done, we cleaned everything up and laid out all the parts on a workbench.

We slipped the new washers and seals into place (pre-purchased from Race Tech) and started the re-assembly process following the manual.

One of the various seals that should be replaced when performing this maintenance item.
Putting the various washers, spacers and seals back on the fork tube – in correct order!
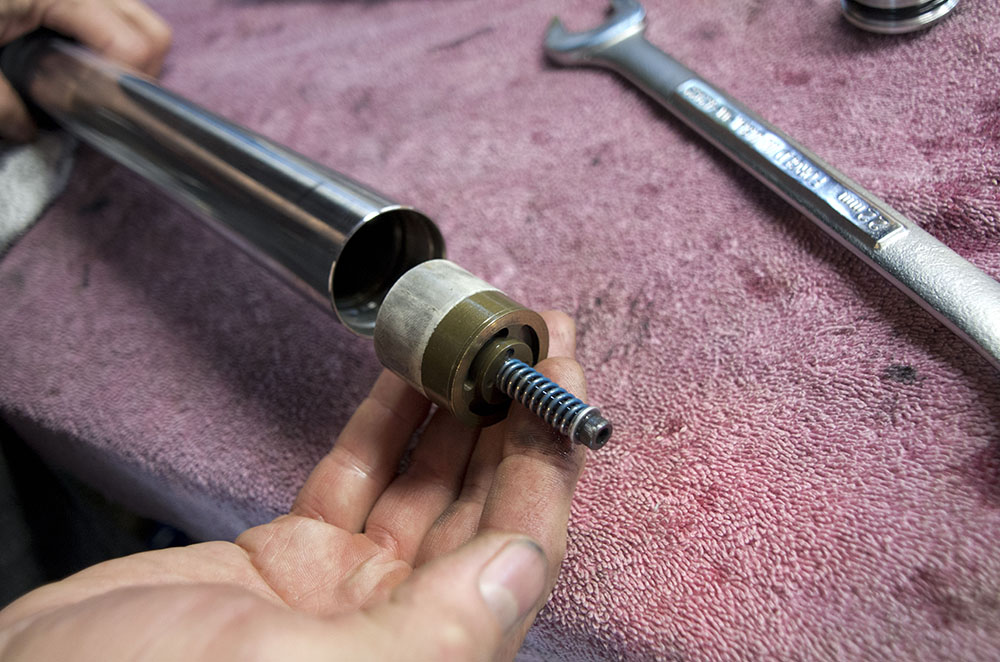
In my case, re-inserting the Race Tech Gold Valve was an additional step not in the factory manual.

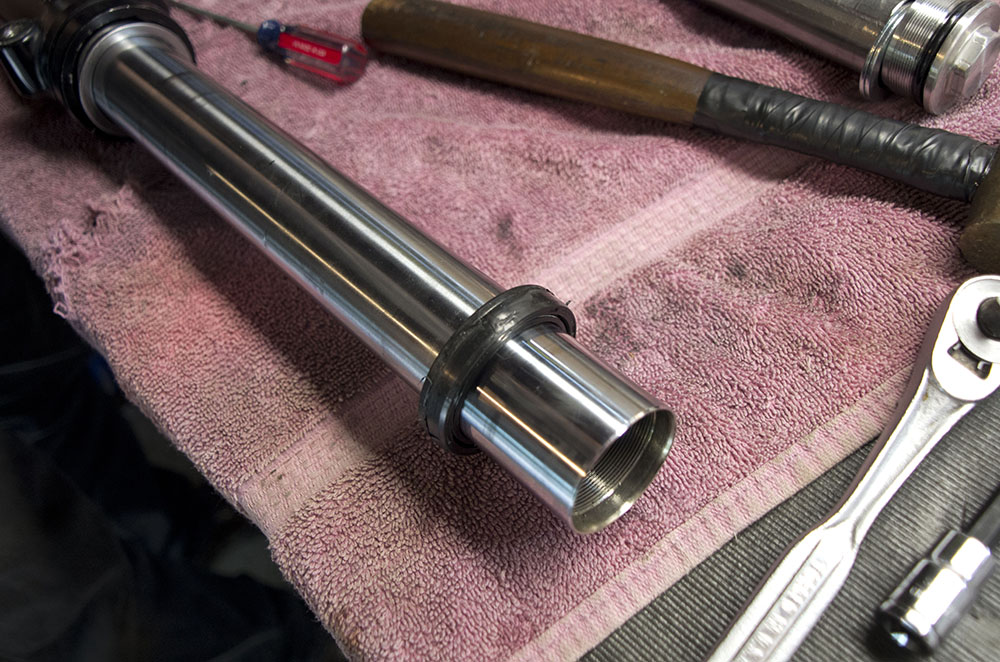
The final step is inserting a new seal at the top of the lower section of the tube. I purchased a special tool from Race Tech to make this task easy.
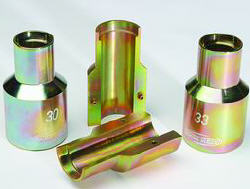
Race Tech fork seal driver tool
Step 3 – Replace Fork Oil
In my case, Race Tech recommended 15W Spectro Fork Oil. I had purchased 2 quarts of it ready for this project. I had also purchased the Stockton Tool fork oil gauge from Cycle Gear.
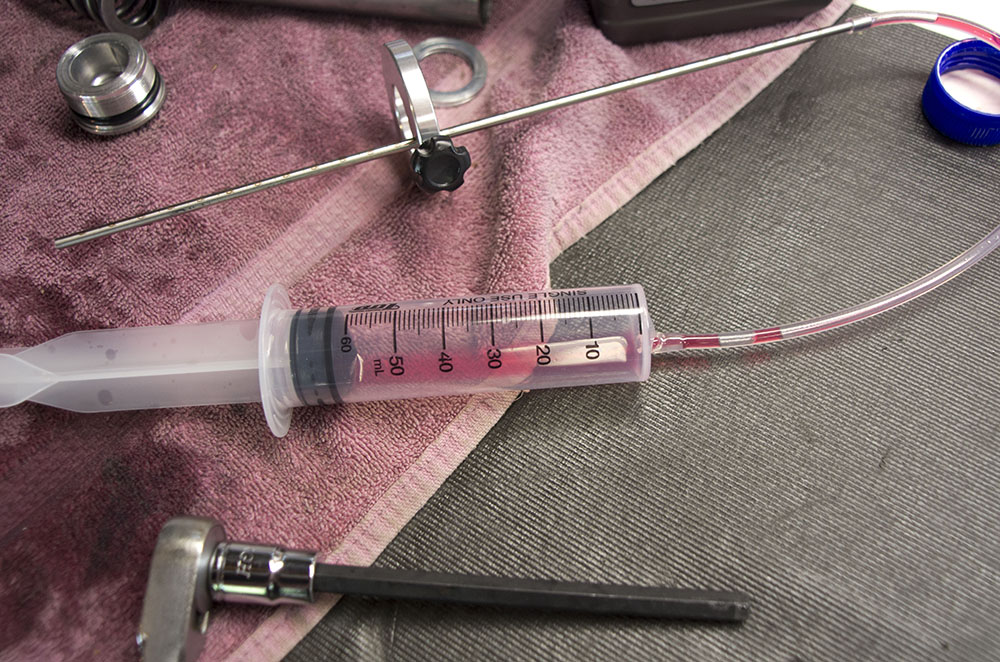
Matt Wiley at Race Tech suggested an oil level of 125mm measured with the fork spring OUT, Gold Valve IN, Chrome fork tube at BOTTOM of stroke, the distance from top of oil to top of
chrome tube.
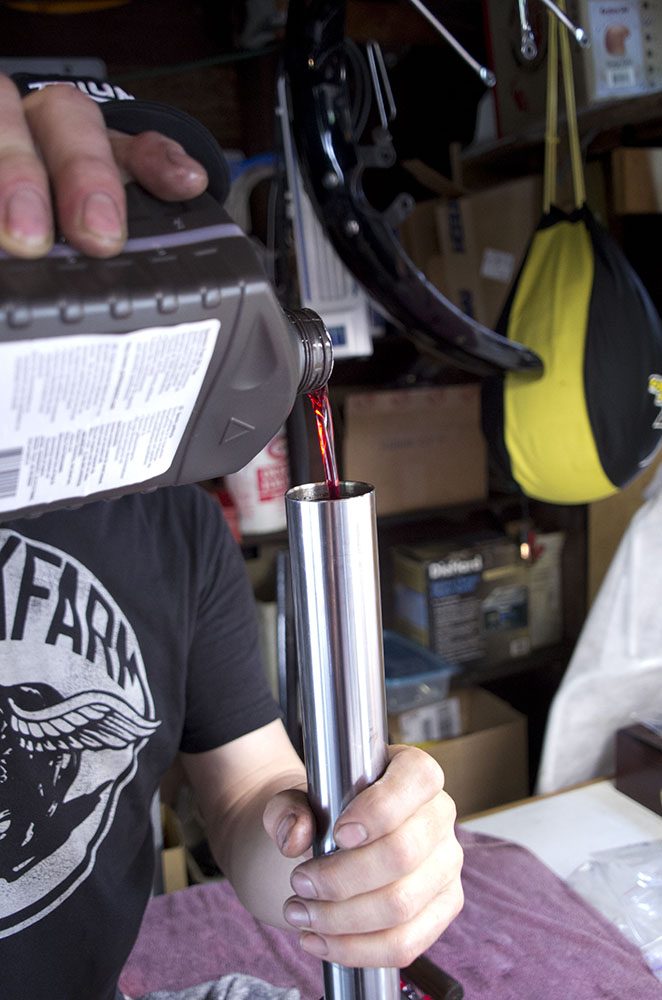
Pouring in new fork oil, pumping piston to release air, watching level to not go too full.

Inserting oil gauge preset to 125mm flush from top of tube
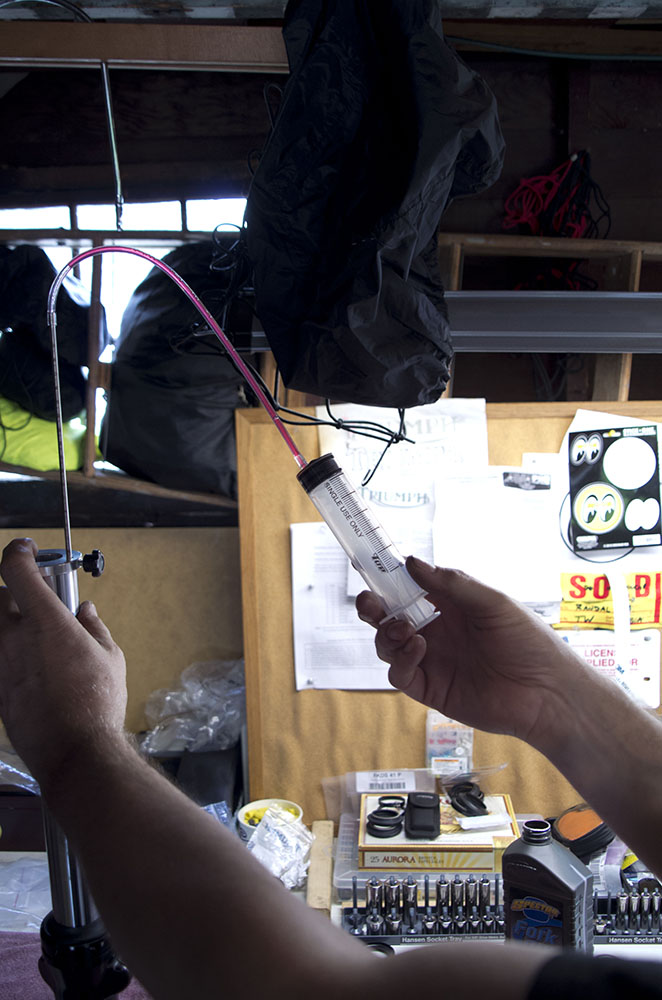
Suctioning off excess oil over 125mm until it reaches that distance. This tool made this really easy!
Once completed, the fork caps and seals were screwed back on, and the fork tubes were ready for reinstalling on the frame.
Step 4 – Reassembly
We followed the reverse order to put the forks back on the bike, install the wheel, brake caliper, headlight brackets, gaiters, etc. There were no leaks and the feel felt normal, so I took it for a test ride. Everything worked great and I could tell the new fork oil had improved the suspension sensitivity and performance.
Sidebar Note
The oil pressure sending unit was easy to replace after removing the carbs. Here are my twin Bonneville Performance Mikuni 42mm carbs going back on the bike after replacing the oil pressure switch.

Thanks for posting. (I hope that I never have to do it.)
For those of you in the Chicago area… I could do it with/for you at Randy’s Garage! 🙂
excellent, very helpful.