In keeping with the “drilled hole look” that I seem to be exploring on other parts of my 2008 Bonneville (Giving my Gear Shift Lever New Life), I was looking at my plain OEM steel chain guard and decided to experiment with that a bit as well.
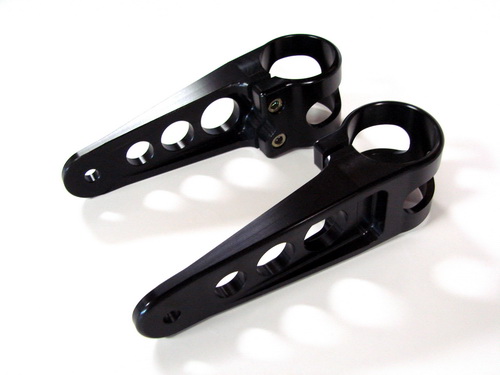
I think that the “drilled look” is being inspired primarily by the Joker Machine headlight brackets that I purchased and installed over a year ago.
So, first I laid out some circles on the chain guard using a circle template and a pencil, just to visualize things a bit. When I got the sizes and spacing where I wanted them, I center punched each hole and drilled a small pilot hole in the center.
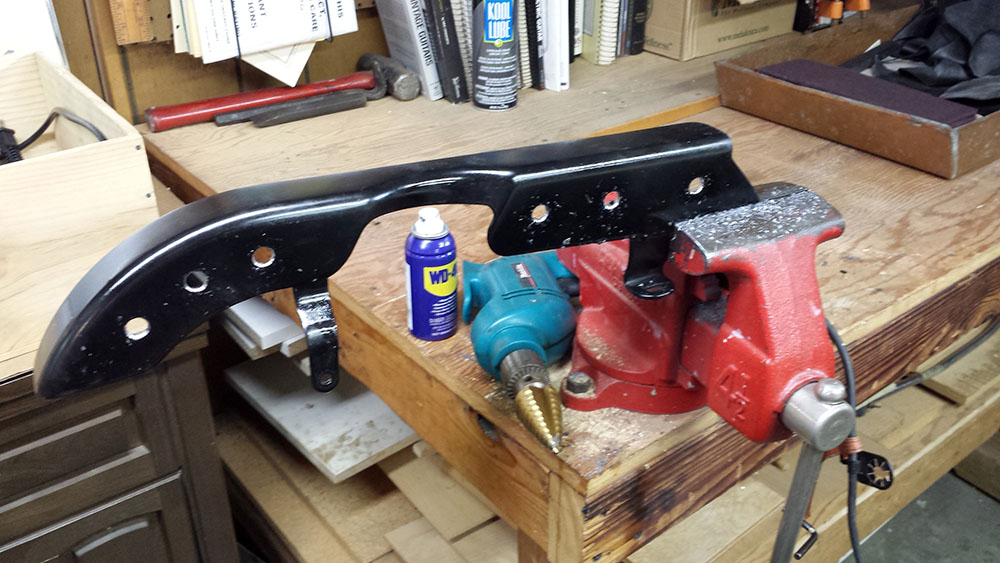
First – drill small pilot holes.
I am using a Makita hand drill, and a titanium – nitride stepped drill bit purchased from Harbor Freight Tools.

2 Piece Titanium Nitride Coated High Speed Steel Step Drill Bits = $16.00

Find the right minimum size for the rear three holes.
Once I had the rear three holes the size that seemed visually right, I then used the step bit to enlarge each of the holes (moving toward the front of the guard), a size larger. There were two reasons for this in my mind.
- The Joker Machine holes gradually get bigger
- The holes I did for my gear shift lever also get larger
- The guard gets slightly wider from rear to the front

Enlarge the holes using the stepped drill bit.
March 8-9, 2014 Update
This past weekend I was able to take the next step in refinishing my chain guard. I started with a coat of black Plasti Dip spray to the inside. I think it looks great! Can’t wait to get the whole thing sprayed and back on the Bonneville!
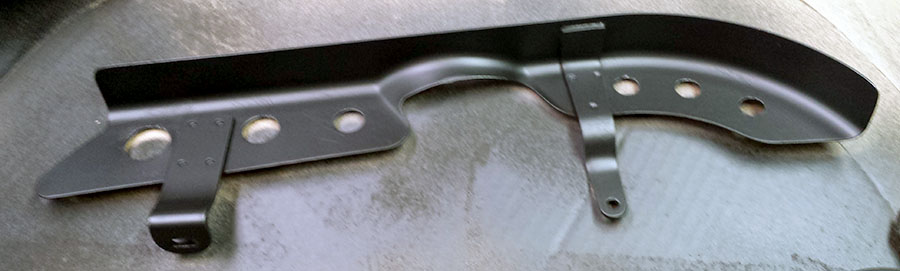
First underside coating of black Plasti Dip spray!
Dude, glad I came across this post..cheers… Modified my chain guard and sprocket cover..cost me $10 and it looks awesome!!! Honestly, I had the flat black rattle can already..$10 for the step drill bit and it was on….
Bryan,
Glad you found this post it and it helped!
Randy