Bonneville Performance Oil Pressure Gauge Kit Installation
April 22, 2014It’s another exciting day at Randy’s Garage… the arrival of another package from my favorite Triumph Bonneville high performance aftermarket supplier, Bonneville Performance!
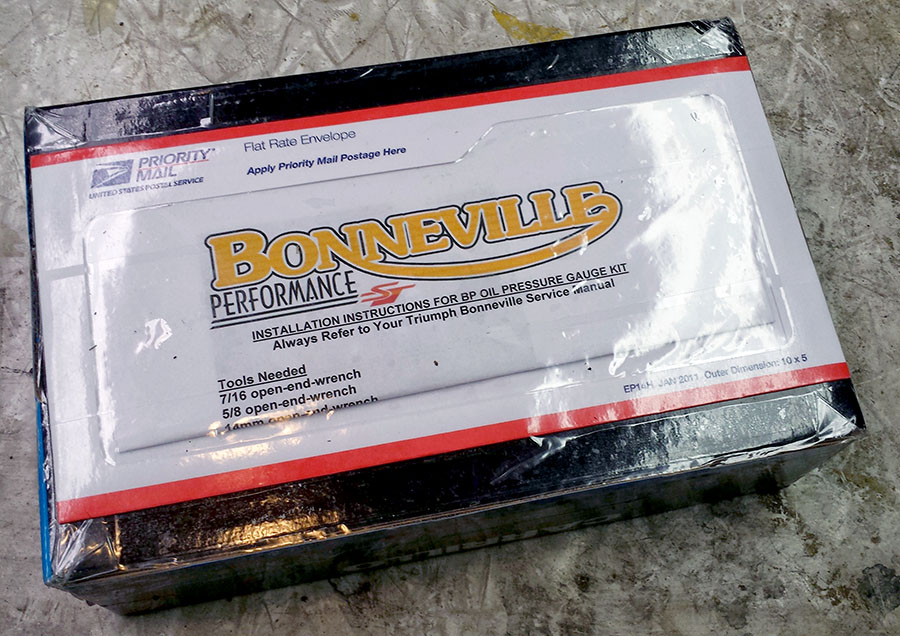
There is excitement at Randy’s Garage when packages with this logo arrive!
Here is a closer look at the unwrapped parts.
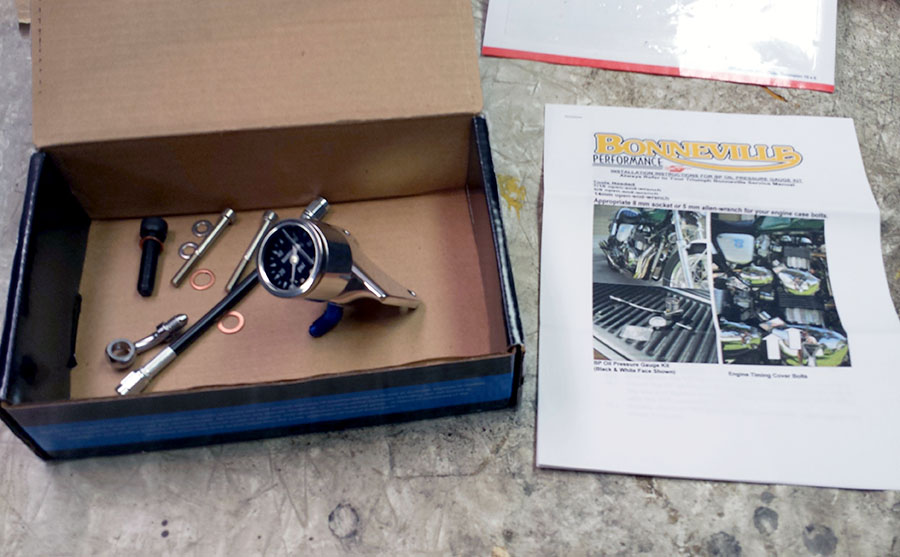
BP Oil Gauge Kit parts unwrapped, and installation instructions.
Here is a closer look at the unwrapped parts.
I ordered mine with a black face (no surprise there!)… it also comes in white. Interestingly enough the gauge is a “Marshall” – the name of my third son!
I plan to install this kit tonight! I’ll keep you posted on how that goes!
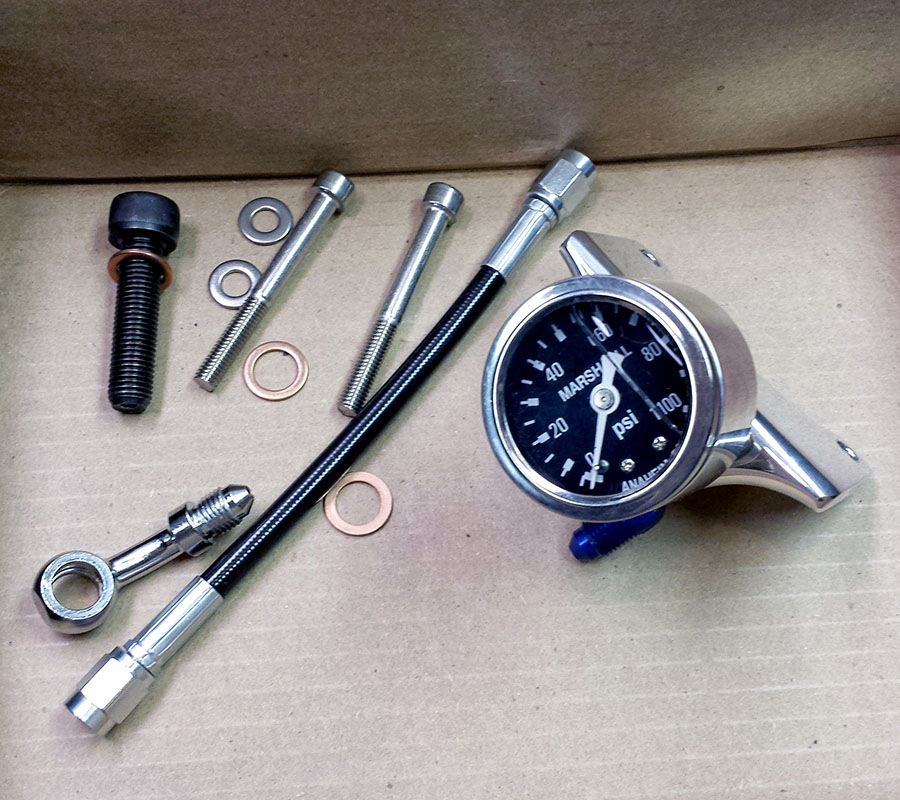
BP Oil Gauge Kit parts unwrapped, and installation instructions.
Bonneville Performance Oil Pressure Gauge Kit Installation Update
With the Bonnie safely raised on a floor jack, I removed my seat, side covers, gas tank and carbs to give me ample room to work.
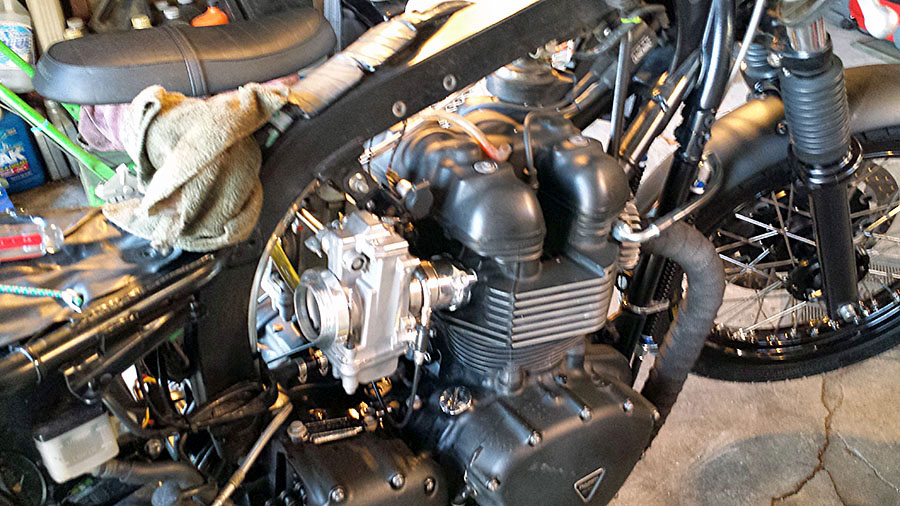
Getting ready to remove carbs.
Next, I loosened and removed the stock banjo bolt and crush washers.
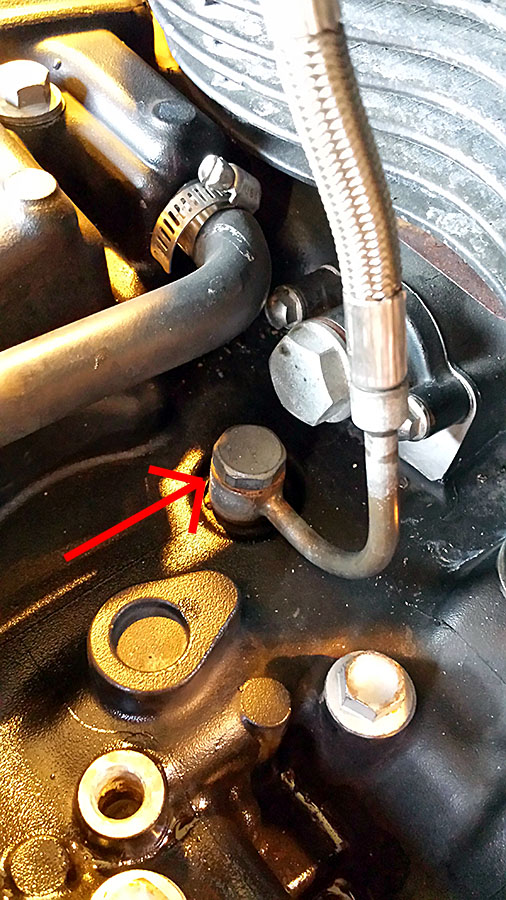
Banjo bolt and crush washers
I carefully cleaned the area around the hole on top of the crankcase.
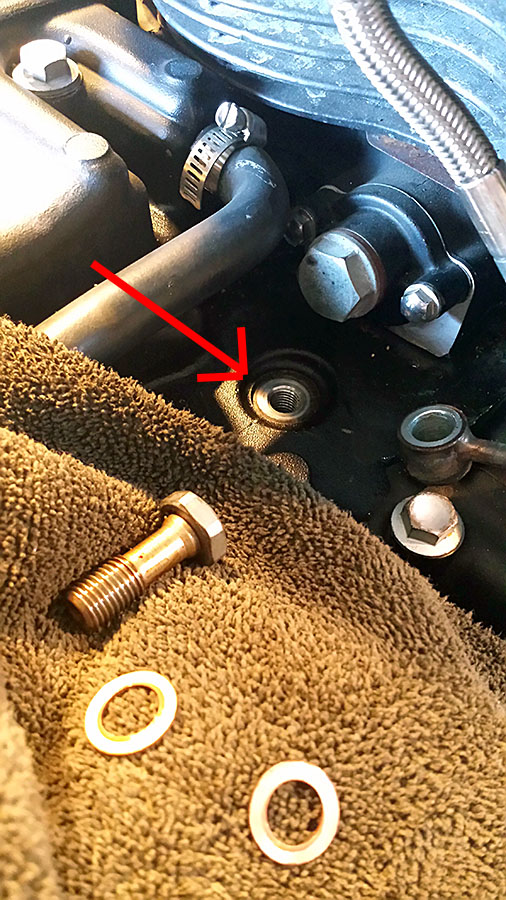
Banjo bolt and crush washers removed.
Following the Bonneville Performance instructions, I stacked the new crush washers and fittings from bottom to top as follows: new crush washer, OEM hose banjo fitting, new crush washer, BP kit banjo fitting, new crush washer. Through the center of this stack I inserted the new hex head banjo bolt supplied by Bonneville performance, and hand tightened it.
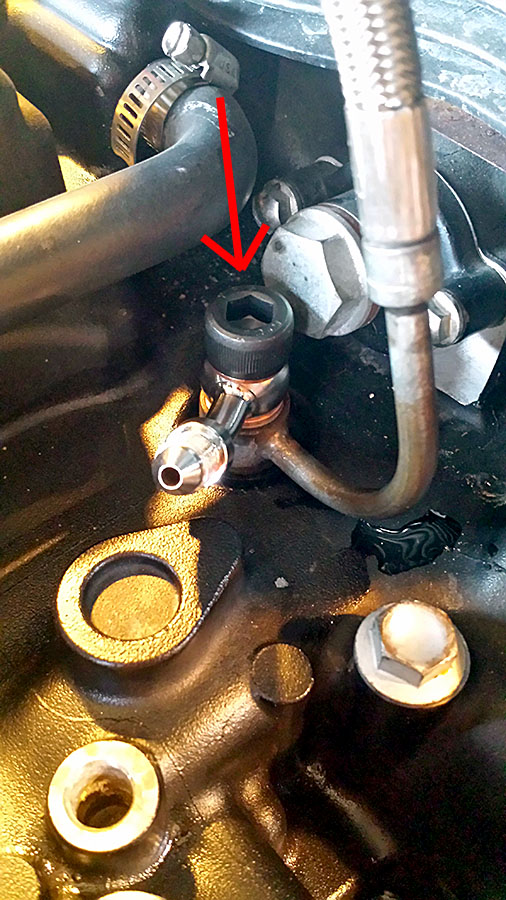
Stacked fittings
Following this I removed the two engine case bolts where the oil pressure gauge bracket mounts. I used an 8mm socket wrench.
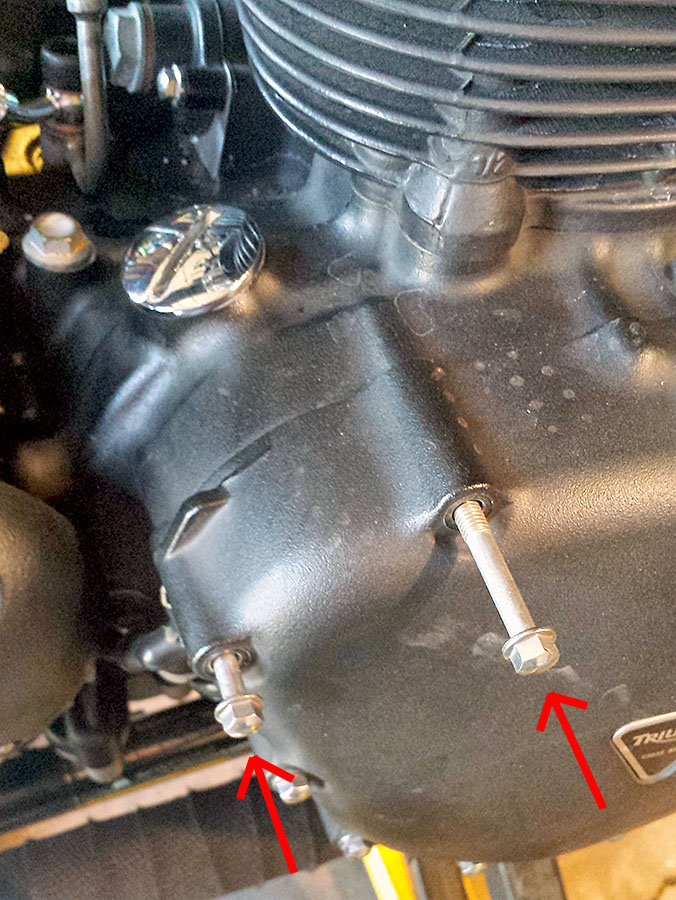
Engine case bolts
The new bracket is mounted on these two holes with new, slightly longer stainless steel 5mm hex head cap screws and washers. I hand tightened them at this point.
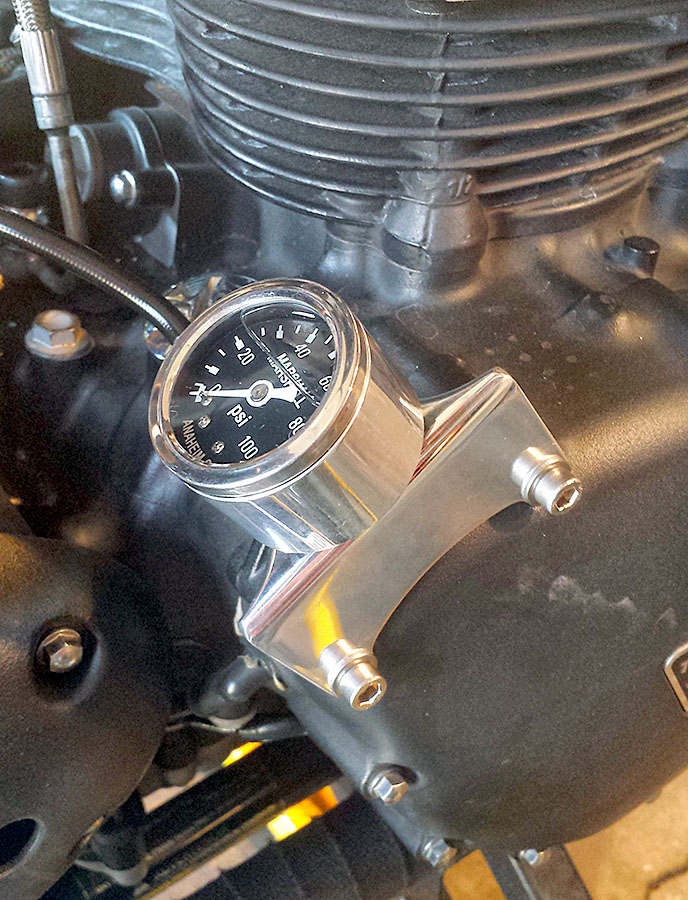
Hand mounted oil-pressure gauge and bracket.
Next, I connected the supplied new hose from the banjo fitting on the crankcase, to the fitting on the back of the gauge. I used some Teflon tape on the threads, and hand tightened only.
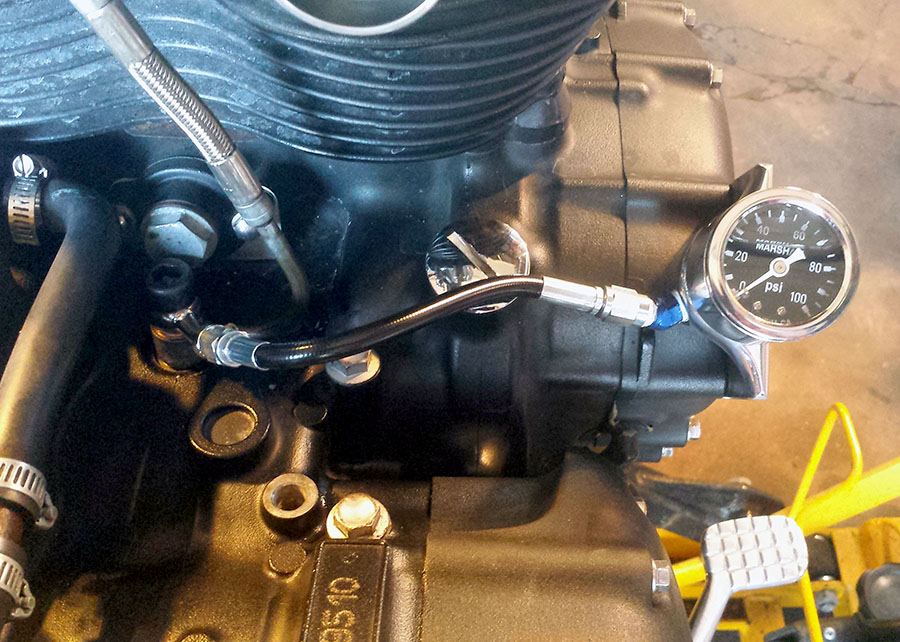
Inspecting the fit with hand-tightened fittings.
I now made sure everything fit well with no kinks or misaligned parts. Everything looked good so I tightened down each fitting as directed in the instructions, being careful not to over-tighten.
I re-installed the carbs and gas tank, and then fired up the engine.
Once I determined that there were no leaks, I installed my air cleaners, seat and side covers.
The new Bonneville Performance Oil Pressure Gauge registers in the 20-30 lbs. range at low idle (1,200 RPM), and jumps up to around 80 lbs. at 2,000 RPM. I love the look of the liquid filled black face and feel more confident now with the knowledge of exactly what my oil pressure is doing!
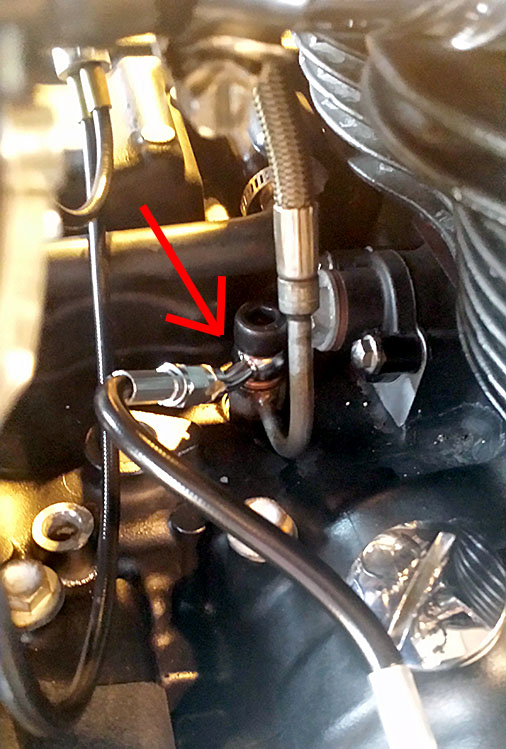
Checking for leaks – none!

Do you ship to India. I need an oil pressure gauge for my 2015 bonnie se.
Vimal, I do not sell the pressure gauges. This article is about my experience installing a pressure gauge I purchased from Bonneville Performance. You can order them here: https://bonnevilleperformance.com/product/oil-pressure-gauge-kit/ or use their contact form to find out about shipping costs to India. Good luck!
You’re a god amongst men. Thank you for writing up this clear tutorial. I’m also installing the same unit this weekend. Safe riding!
Great to hear, and I hope that this article helps with your install. My oil cooler kit is still going strong, with no failures!