In my earlier post regarding the post accident updates I plan for my 2008 Bonneville, I mentioned that I planned to bob the front fender. In this post I share the process of how I went about doing that.

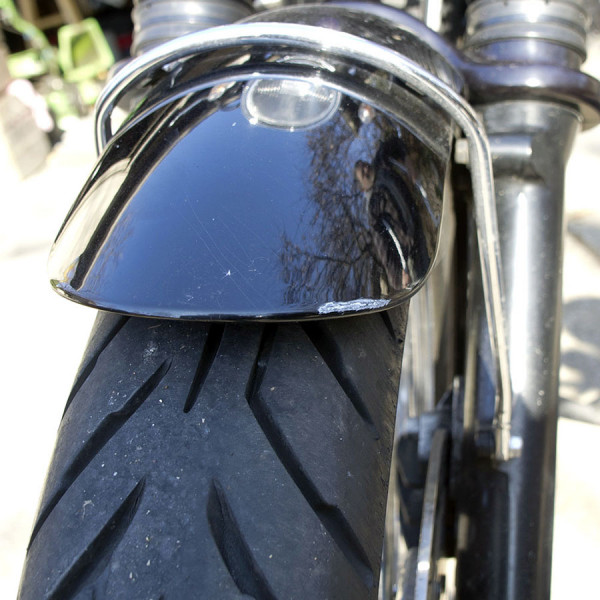
There was minimal damage to my front fender.
2008 Bonneville Front Fender Bob
As noted in my earlier post, I am upgrading my front brakes with a Brembo 4-piston and floating rotor kit from New Bonneville. This kit requires that the fender not have the stock OEM lower fender stay.
NOTE: For installation on a Bonneville, the lower fender stay must be removed to accommodate the new bracket/caliper.
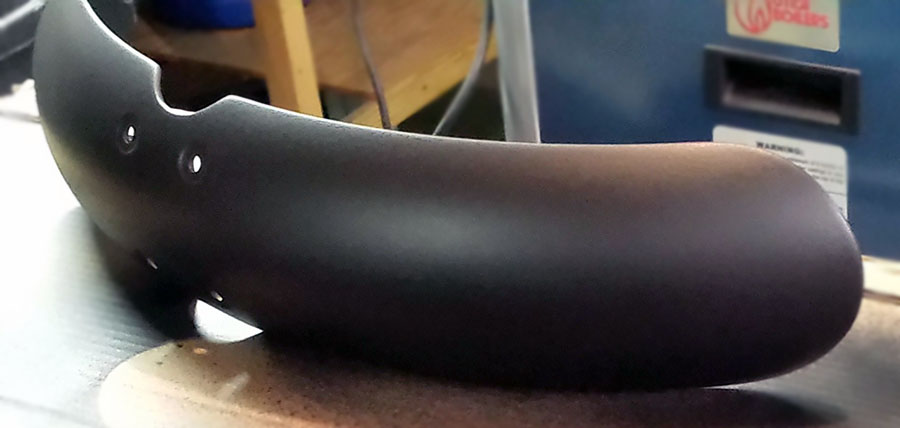
So, I did some quick Photoshop magic to help me visualize where I wanted to go with this project. I decided upon something not as short as a Thruxton, but short enough to lose the stays. I believe the 4 mounting bolts that remain will be enough to hold the fender in place.

Photoshop visualization of a bobbed front fender.
Step 1
Cut off one end of the fender to use as a tracing guide.

I used a coping saw to cut off the front top end of the OEM plastic fender, just in front of the chrome stay mounting holes.
Step 2
Use the cut off end to trace where you want to cut (bob) the fender.

I decided to position and trace the curve just behind the chrome stay mounting holes.

Here is the traced off front or top of the fender, just behind the mounting holes.

Here I’ve traced of the curve for the bottom end, again just behind the mounting holes.
Step 3
Use a cutting tool to do your rough cuts. It’s plastic so a hand coping saw would work. I used a power grinder.
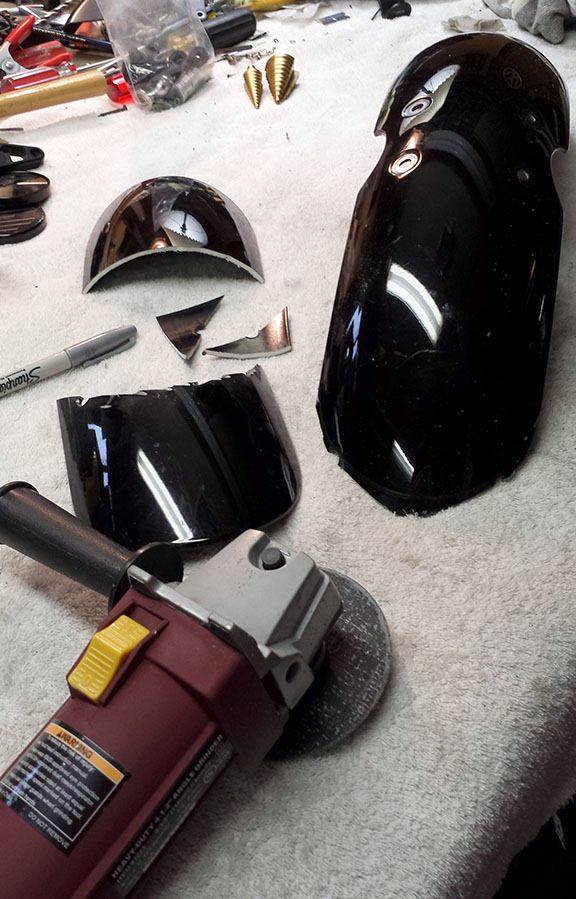
I used an electric grinder/cutter purchased from Harbor Freight Tools to do my rough cuts.

Close up of rough cuts, and extra pieces.
Step 4
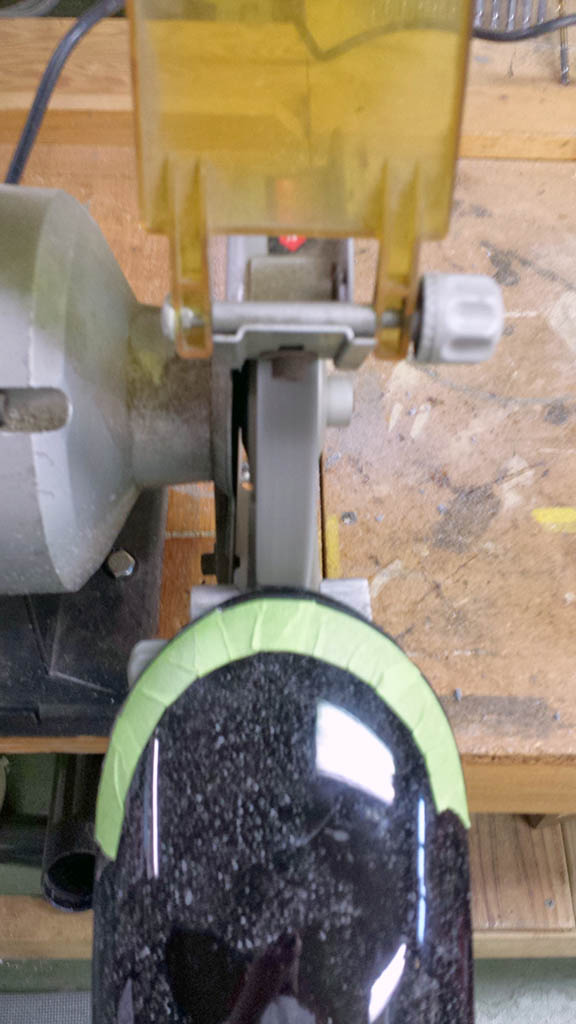
Mask off the curved traced lines for a better visual guide while finish grinding, filing and sanding the edges to perfection.

I used green painters masking tape to mask off the traced line to give me a better visual guide while doing my final sanding/grinding to finish.

The other end masked off.
Step 5 – January 26, 2014 Update
Today I used my bench top grinder to do the final shaping of the rough cut plastic fender, getting as close to the taped guide line as possible.
Bench top grinder being used to shape the rough cut fender edges

Plastic fender edges ground close to guide tape.
Once I had the top and bottom ends pretty close, I removed the tape and hand sanded the edges for smoothness and consistency.

Hand sanding the plastic fender edges

Hand sanding the entire fender in prep for paint.
Hand sanding the under side of the fender as well.
STEP 6 – Priming & Painting
This past weekend, March 8-9, I applied my first coat of black Plasti Dip spray to the underside of the front fender. After another coat or two, I will apply coats to the outside.

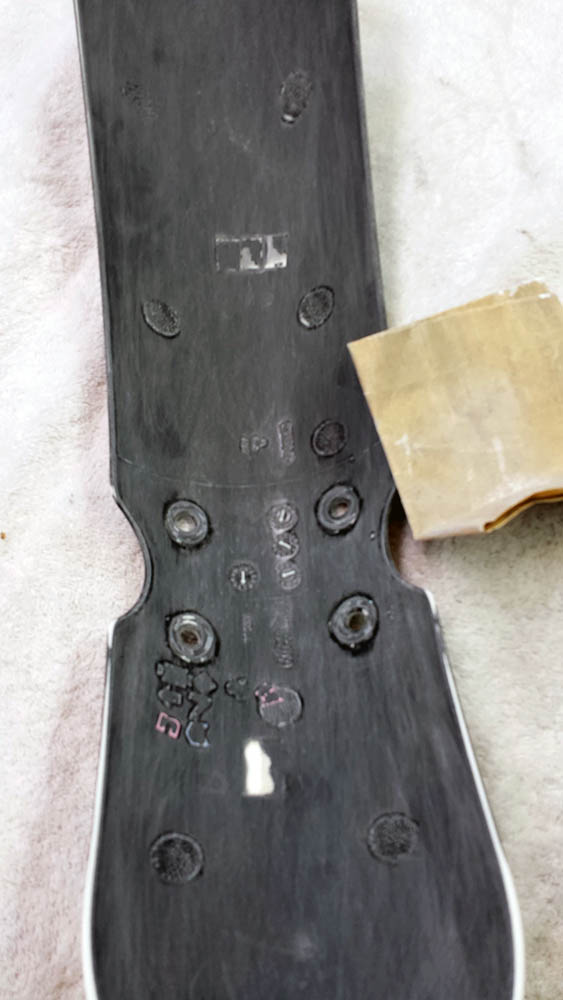
Inside or under side of front fender with one coat of Plasti Dip – Black
Front fender recoating completed with Plasti Dip
Great post. I’m in the middle of the same process. I too cut off the front end and used it as a template. Only I taped the front end to the fender, so I had a solid guideline when trimming, using a dremel. Great tip on the hand sanding, cause I couldn’t get a smooth finish using the grinding peace of the dremel. Will try that!
Nice work. Probably a silly question for an expert such as yourself, but did you have to remove the front wheel to remove the fender? Thx.
OB, you don’t need to remove the front wheel. I’m a real technical nitwit, and even I thought removing front fender was as easy as 1, 2, 3.
Eddie. Excellent. Thank you so much…thought I was the only technical nitwit out there….:-)
I dare you to a nitwit contest ;-)! You’re welcome!
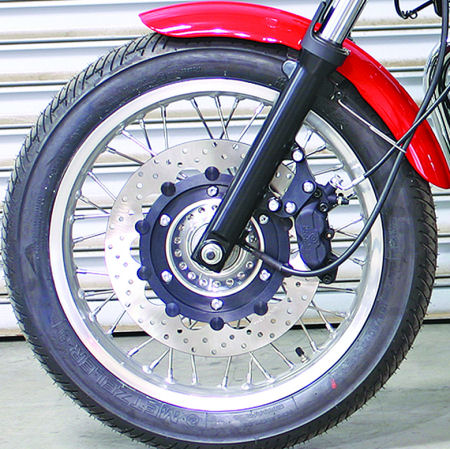
Eddie, if you scroll to the top of this page….see the pic of the red front fender? What’s the proper name for that mini wire/stay thingie that holds the brake and speedo cables from the spokes….presumably I’ll need something like that after I chop my front fender….just not sure of the proper term/name to google. Thanks again.
….and I guess this means, I WIN!
OB, hillarious! You sound just like me! you know what, I lost that wire/stay thingie. No biggie! I can send you some pictures of my fender and the cables. Just give me an e-mailaddress or something.
Oh ok. Was kinda worried if it would present a safety issue of some sort. Not trying to be rude but not sure how to send you an email address without posting here/publicly. If you’re comfortable please forward yours. And yes, we should probably end this before Randy kicks us off his blog. Fyi, in addition to the fender, I am working on this http://www.triumphrat.net/twins-technical-talk/234597-please-help-me-with-my-usb-power-supply-4.html#/forumsite/20545/topics/234597?page=4.
OB, contact me at public at smeink . net (leave out the spaces at replace “at”…). Randy, thanks formletting us use your forum!
Guys,
I am not able to locate that cable holder that attaches to the left front fork on any of the online Triumph OEM Parts finders. You may need to contact a Triumph dealer and have them look it up in their parts system. Once you have the Triumph Part number, you will probably be able to find and order it somewhere online.
Glad you are able to use the site for communication and working on issues… !!
Randy
I just wanted to thank you a million for this guide! I bought my 2001 Bonneville with a damaged fender. Then I screwed up the replacement trying to install it. Once I saw this I decided it would be a great alternative. Sleeker look with a tiny weight reduction and less bits hanging off. The 2001 comes with a sheet metal fender and an angle grinder was an absolute must for cutting it. I used a Dremel to fine-tune the perfect dome shape. It was almost too easy! I just gotta get some touch up paint and I’ll be done.
Jonathan,
Awesome! I love to get comments like this and know that others are finding the courage to try new solutions and learn to do it yourself! On a recent trip, my modified right sidecover broke off. The 2008’s were made of plastic and it broke at a stress point. So, I found a used sidecover from an early Bonneville like yours, when the side covers were also made of metal. I cut the bottom part of the metal sidecover off and riveted it to my plastic side cover… now it will never break at the stress point!
Randy