Avon AM26 Roadrider Rear Tire

Metzeler MEZ2 rear tire (top) – Avon Roadrider (bottom)
I decided to give another brand a try. I had read good things about the Avon Roadrider. I purchased a 130/90-17 Avon AM26 Roadrider rear tire for $116.88 and a new Michelin inner tube for $22.85, with my Amazon Prime account.
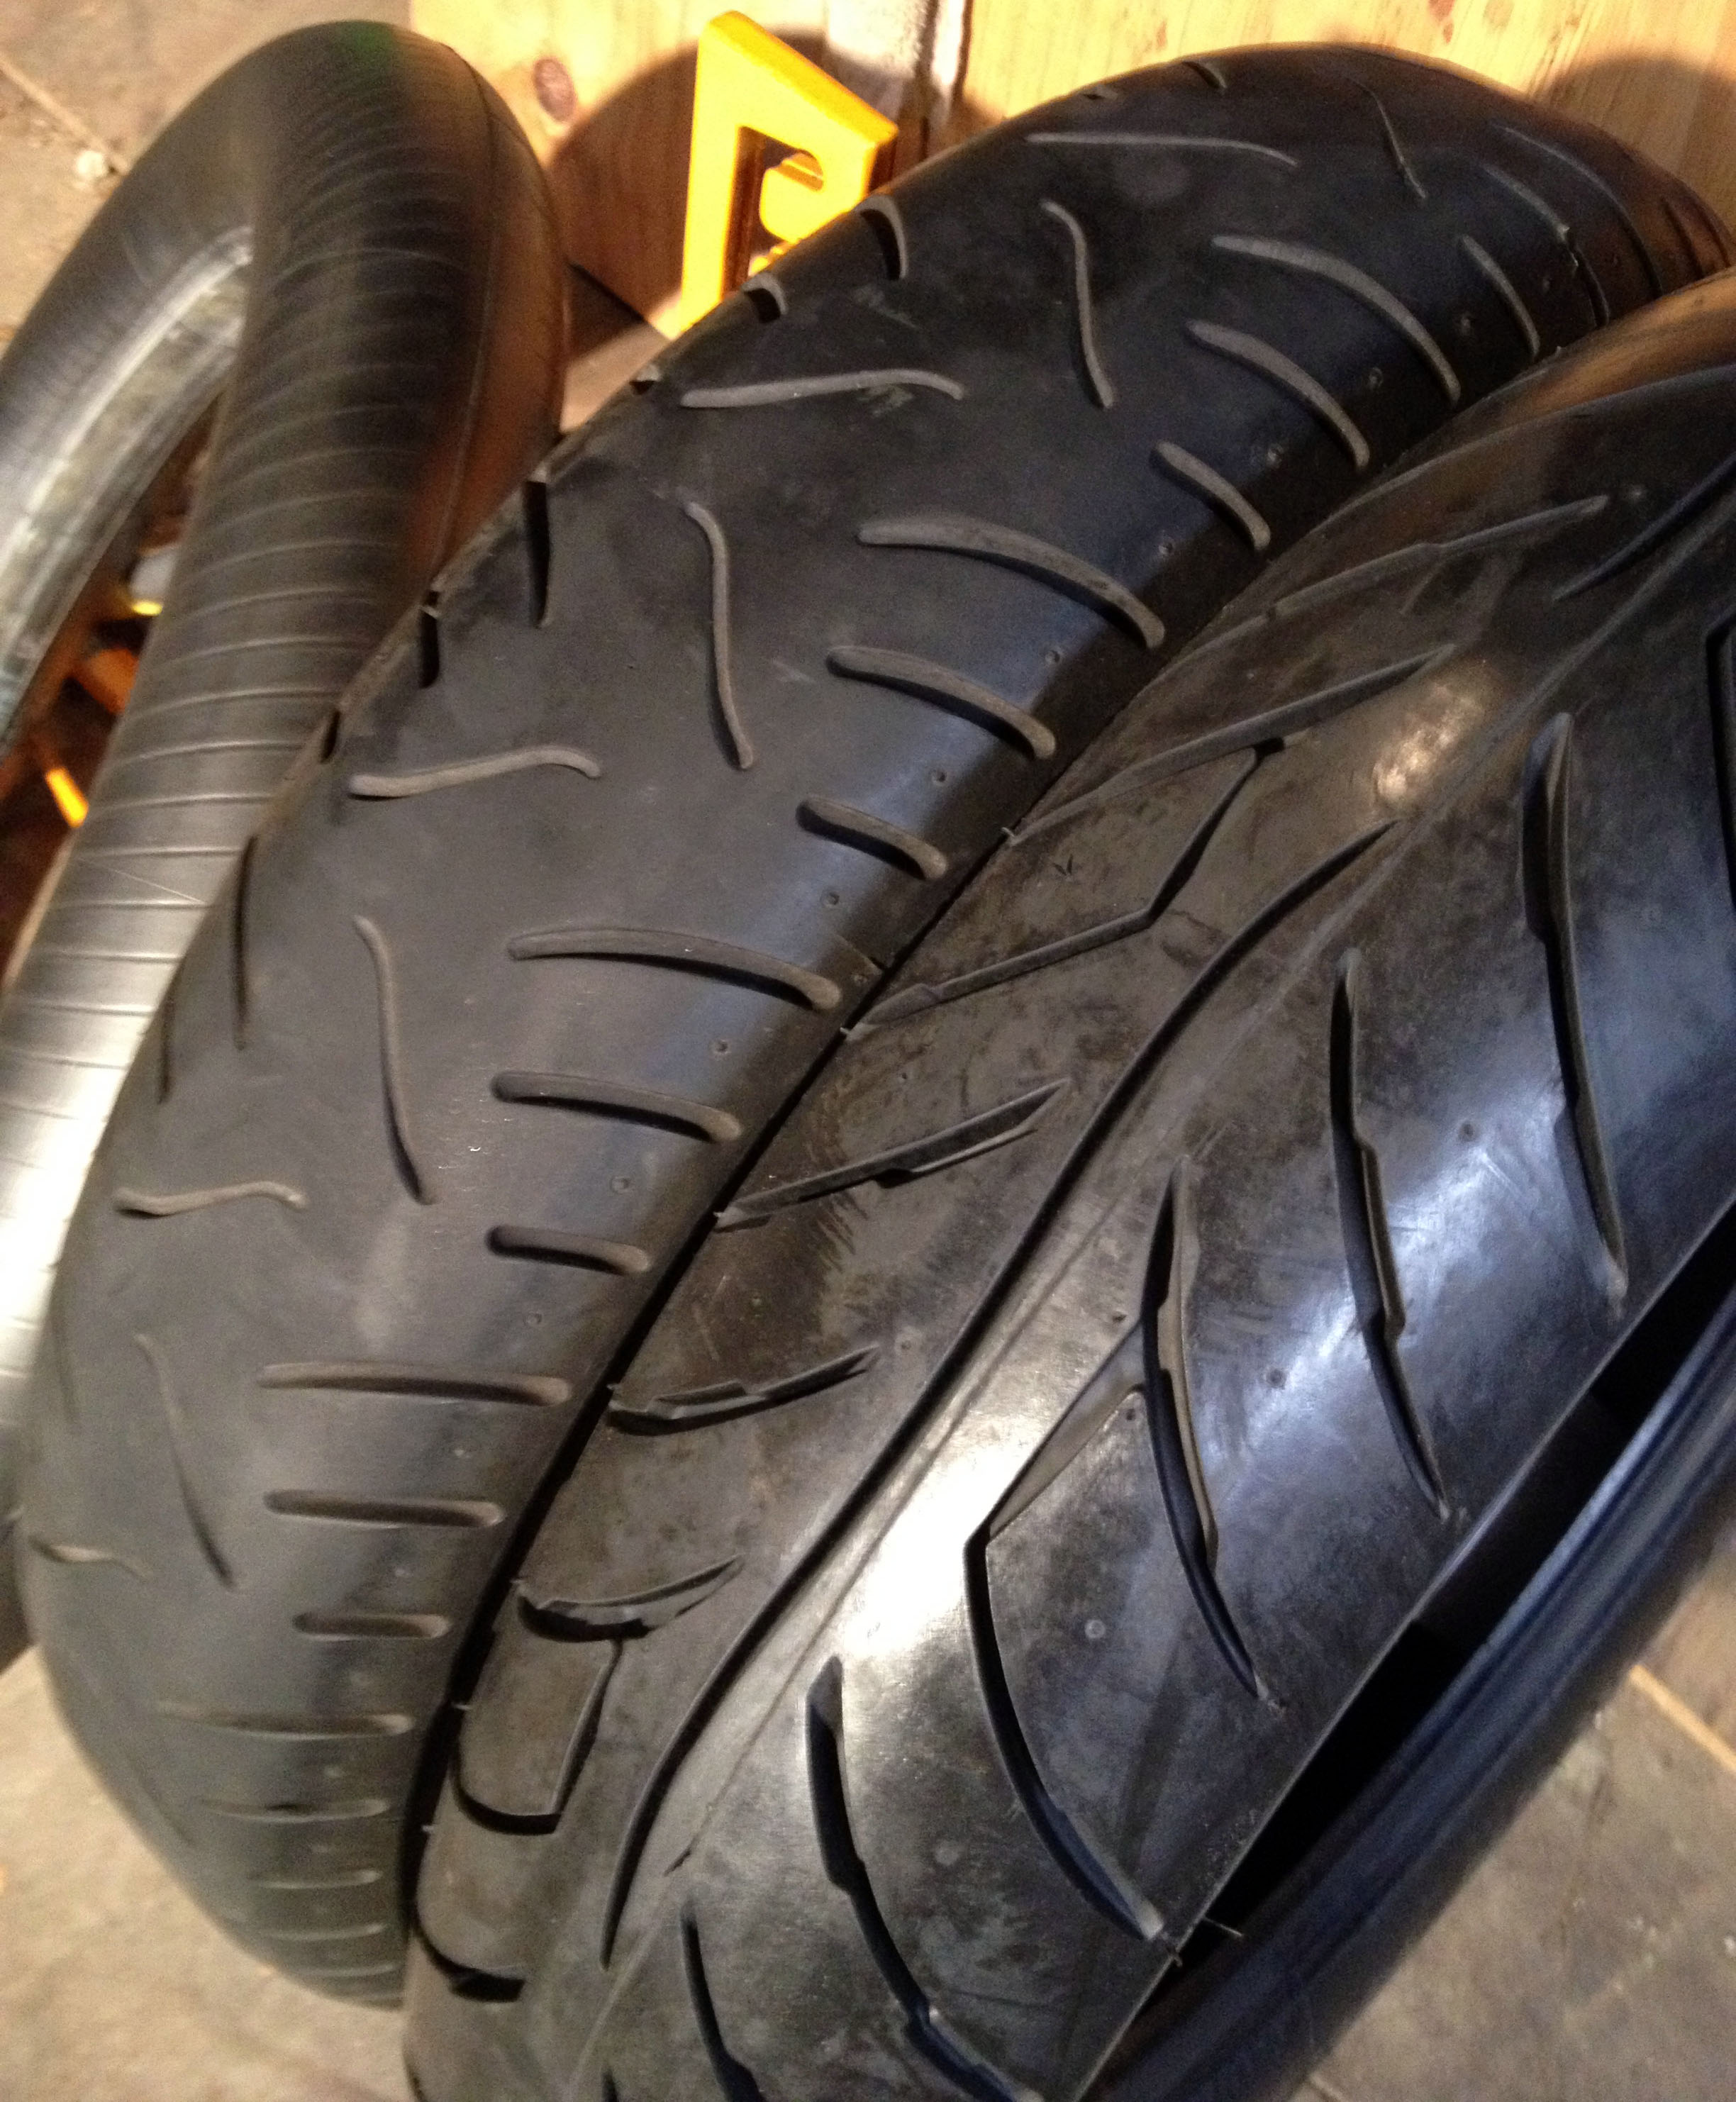
You can see the difference in size that the new Avon is compared the the stock size. However, I had read many Bonneville owners say that the size change either did not affect or improved handling and performance.
I began the tire change process by jacking my Bonneville up on my jack and putting a floor jack under the rear tire. I removed the left side Predator muffler so I could remove the axle shaft bolt.
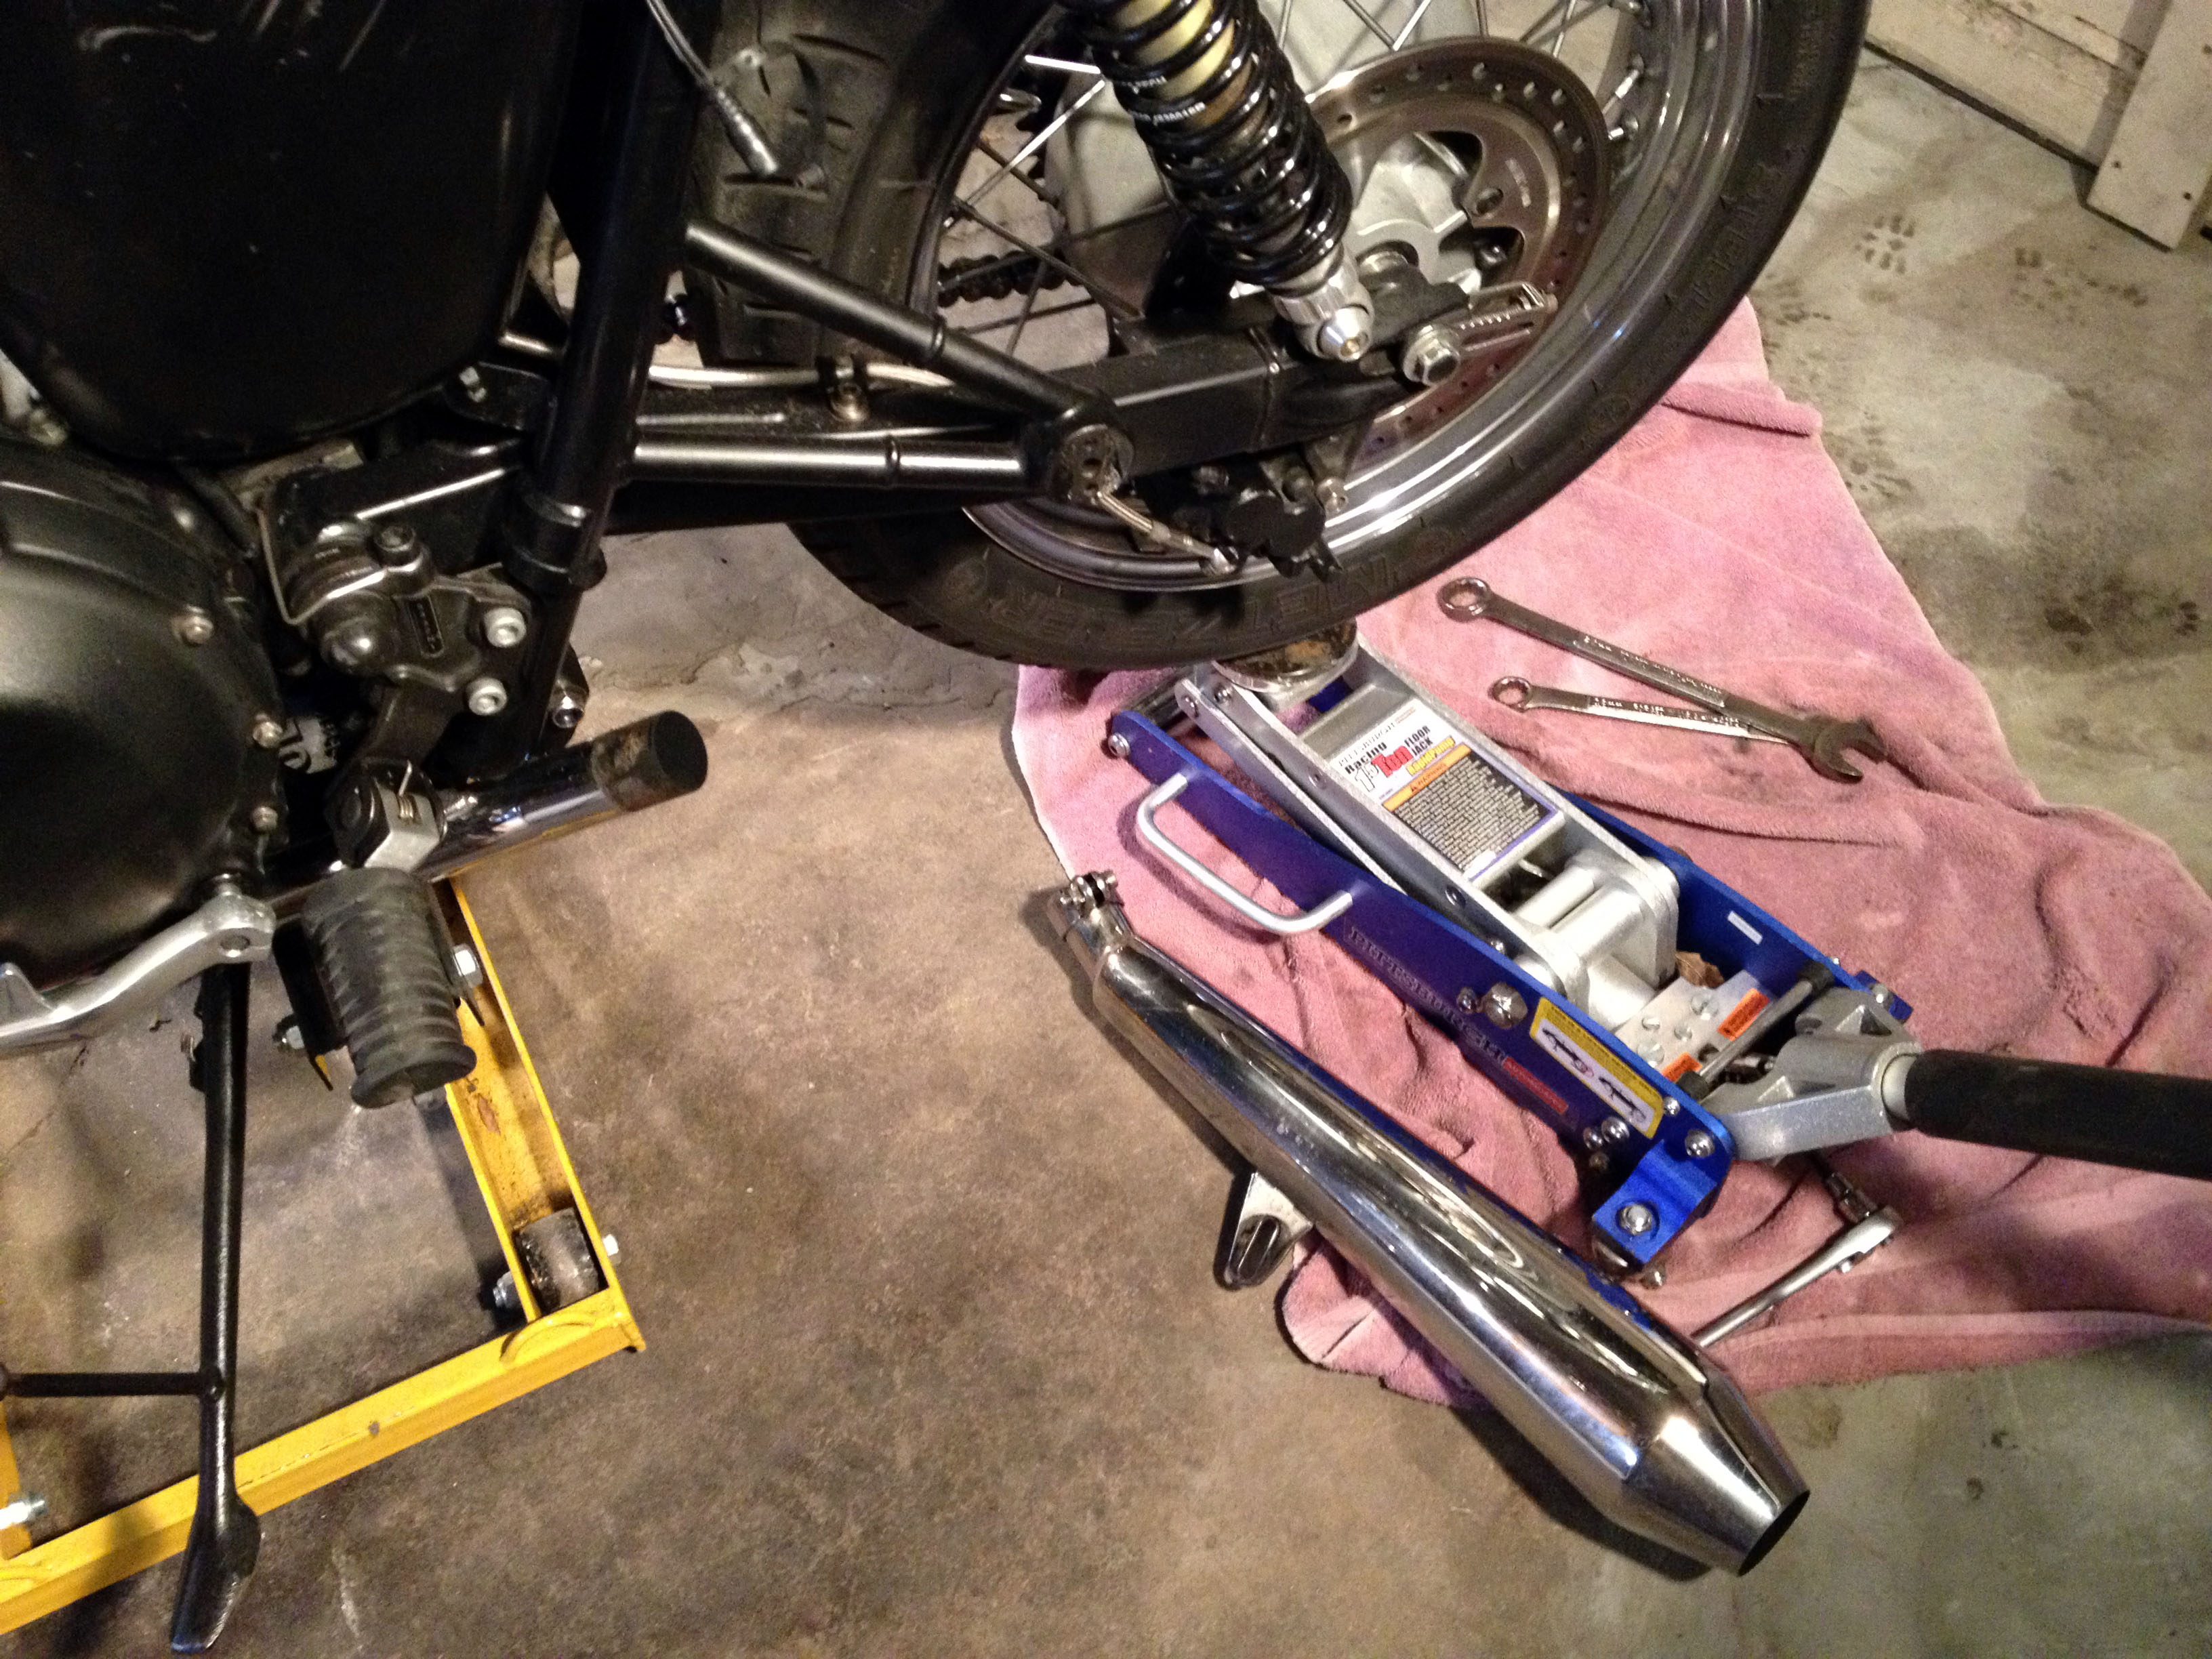
Once the wheel was free, I lowered it with the floor jack until I could easily remove the disc caliper on the left side, and the chain on the right side. I then wired the disc caliper up to the frame to take pressure off of the brake line.
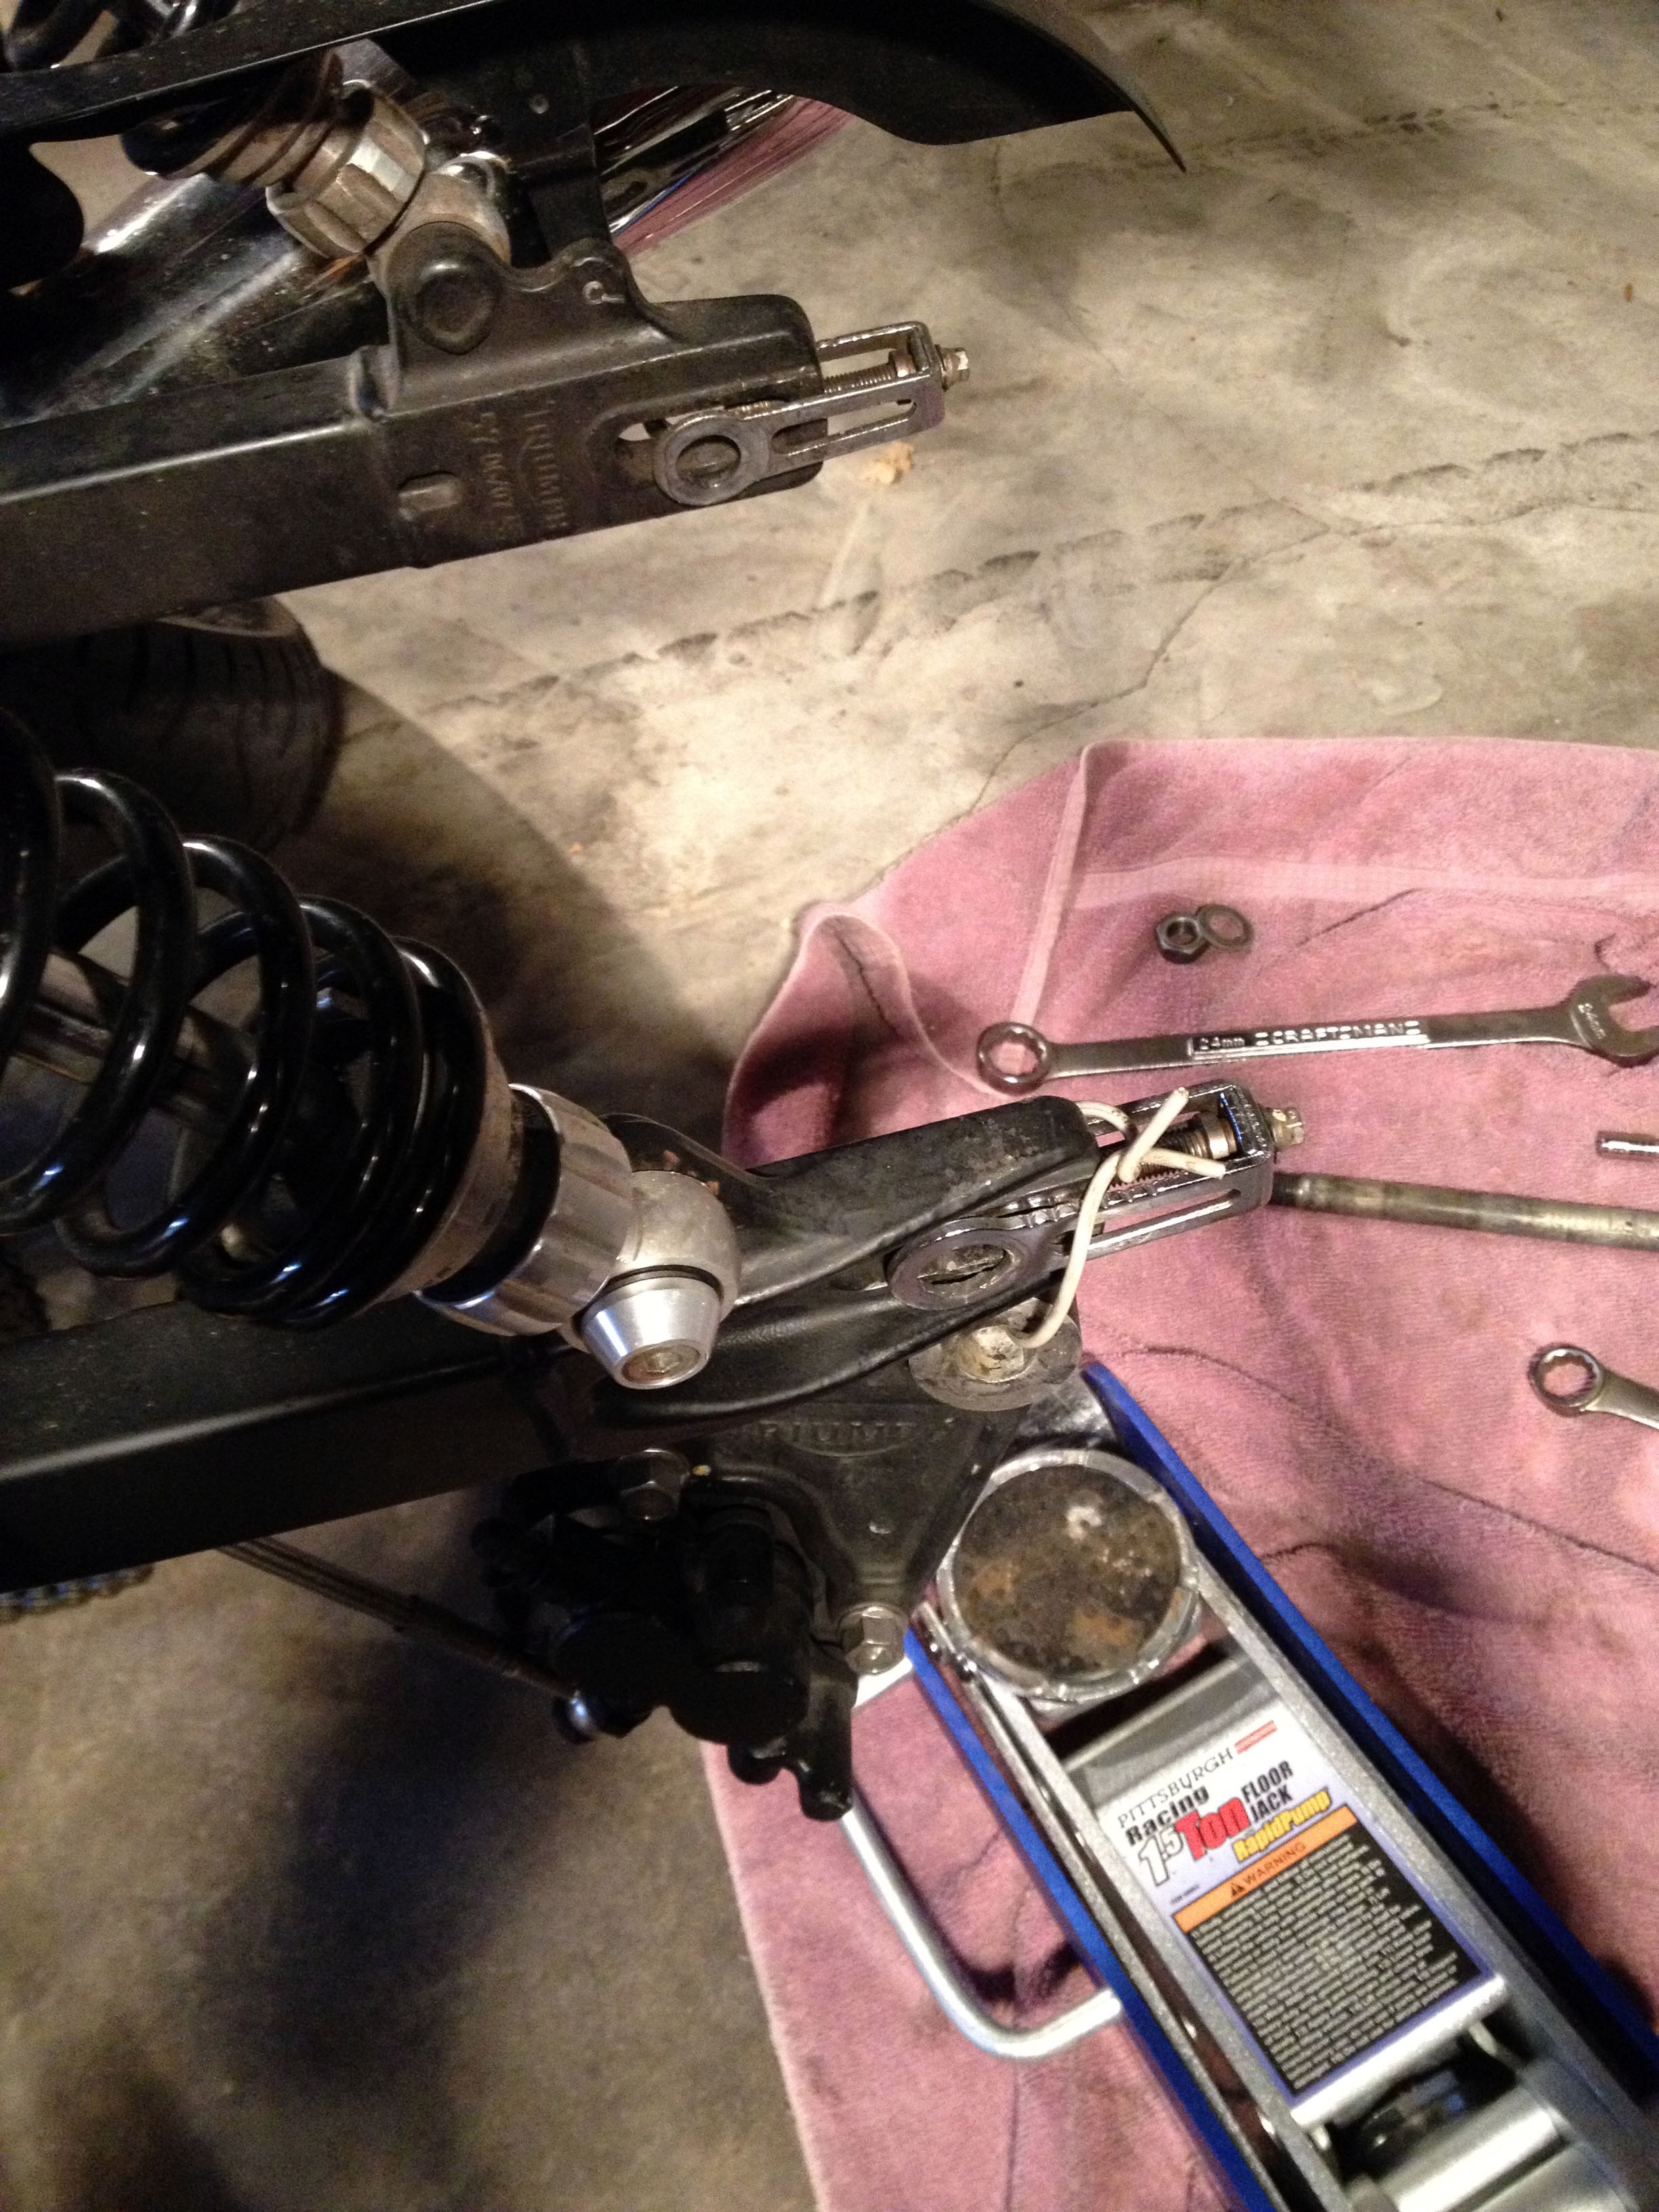
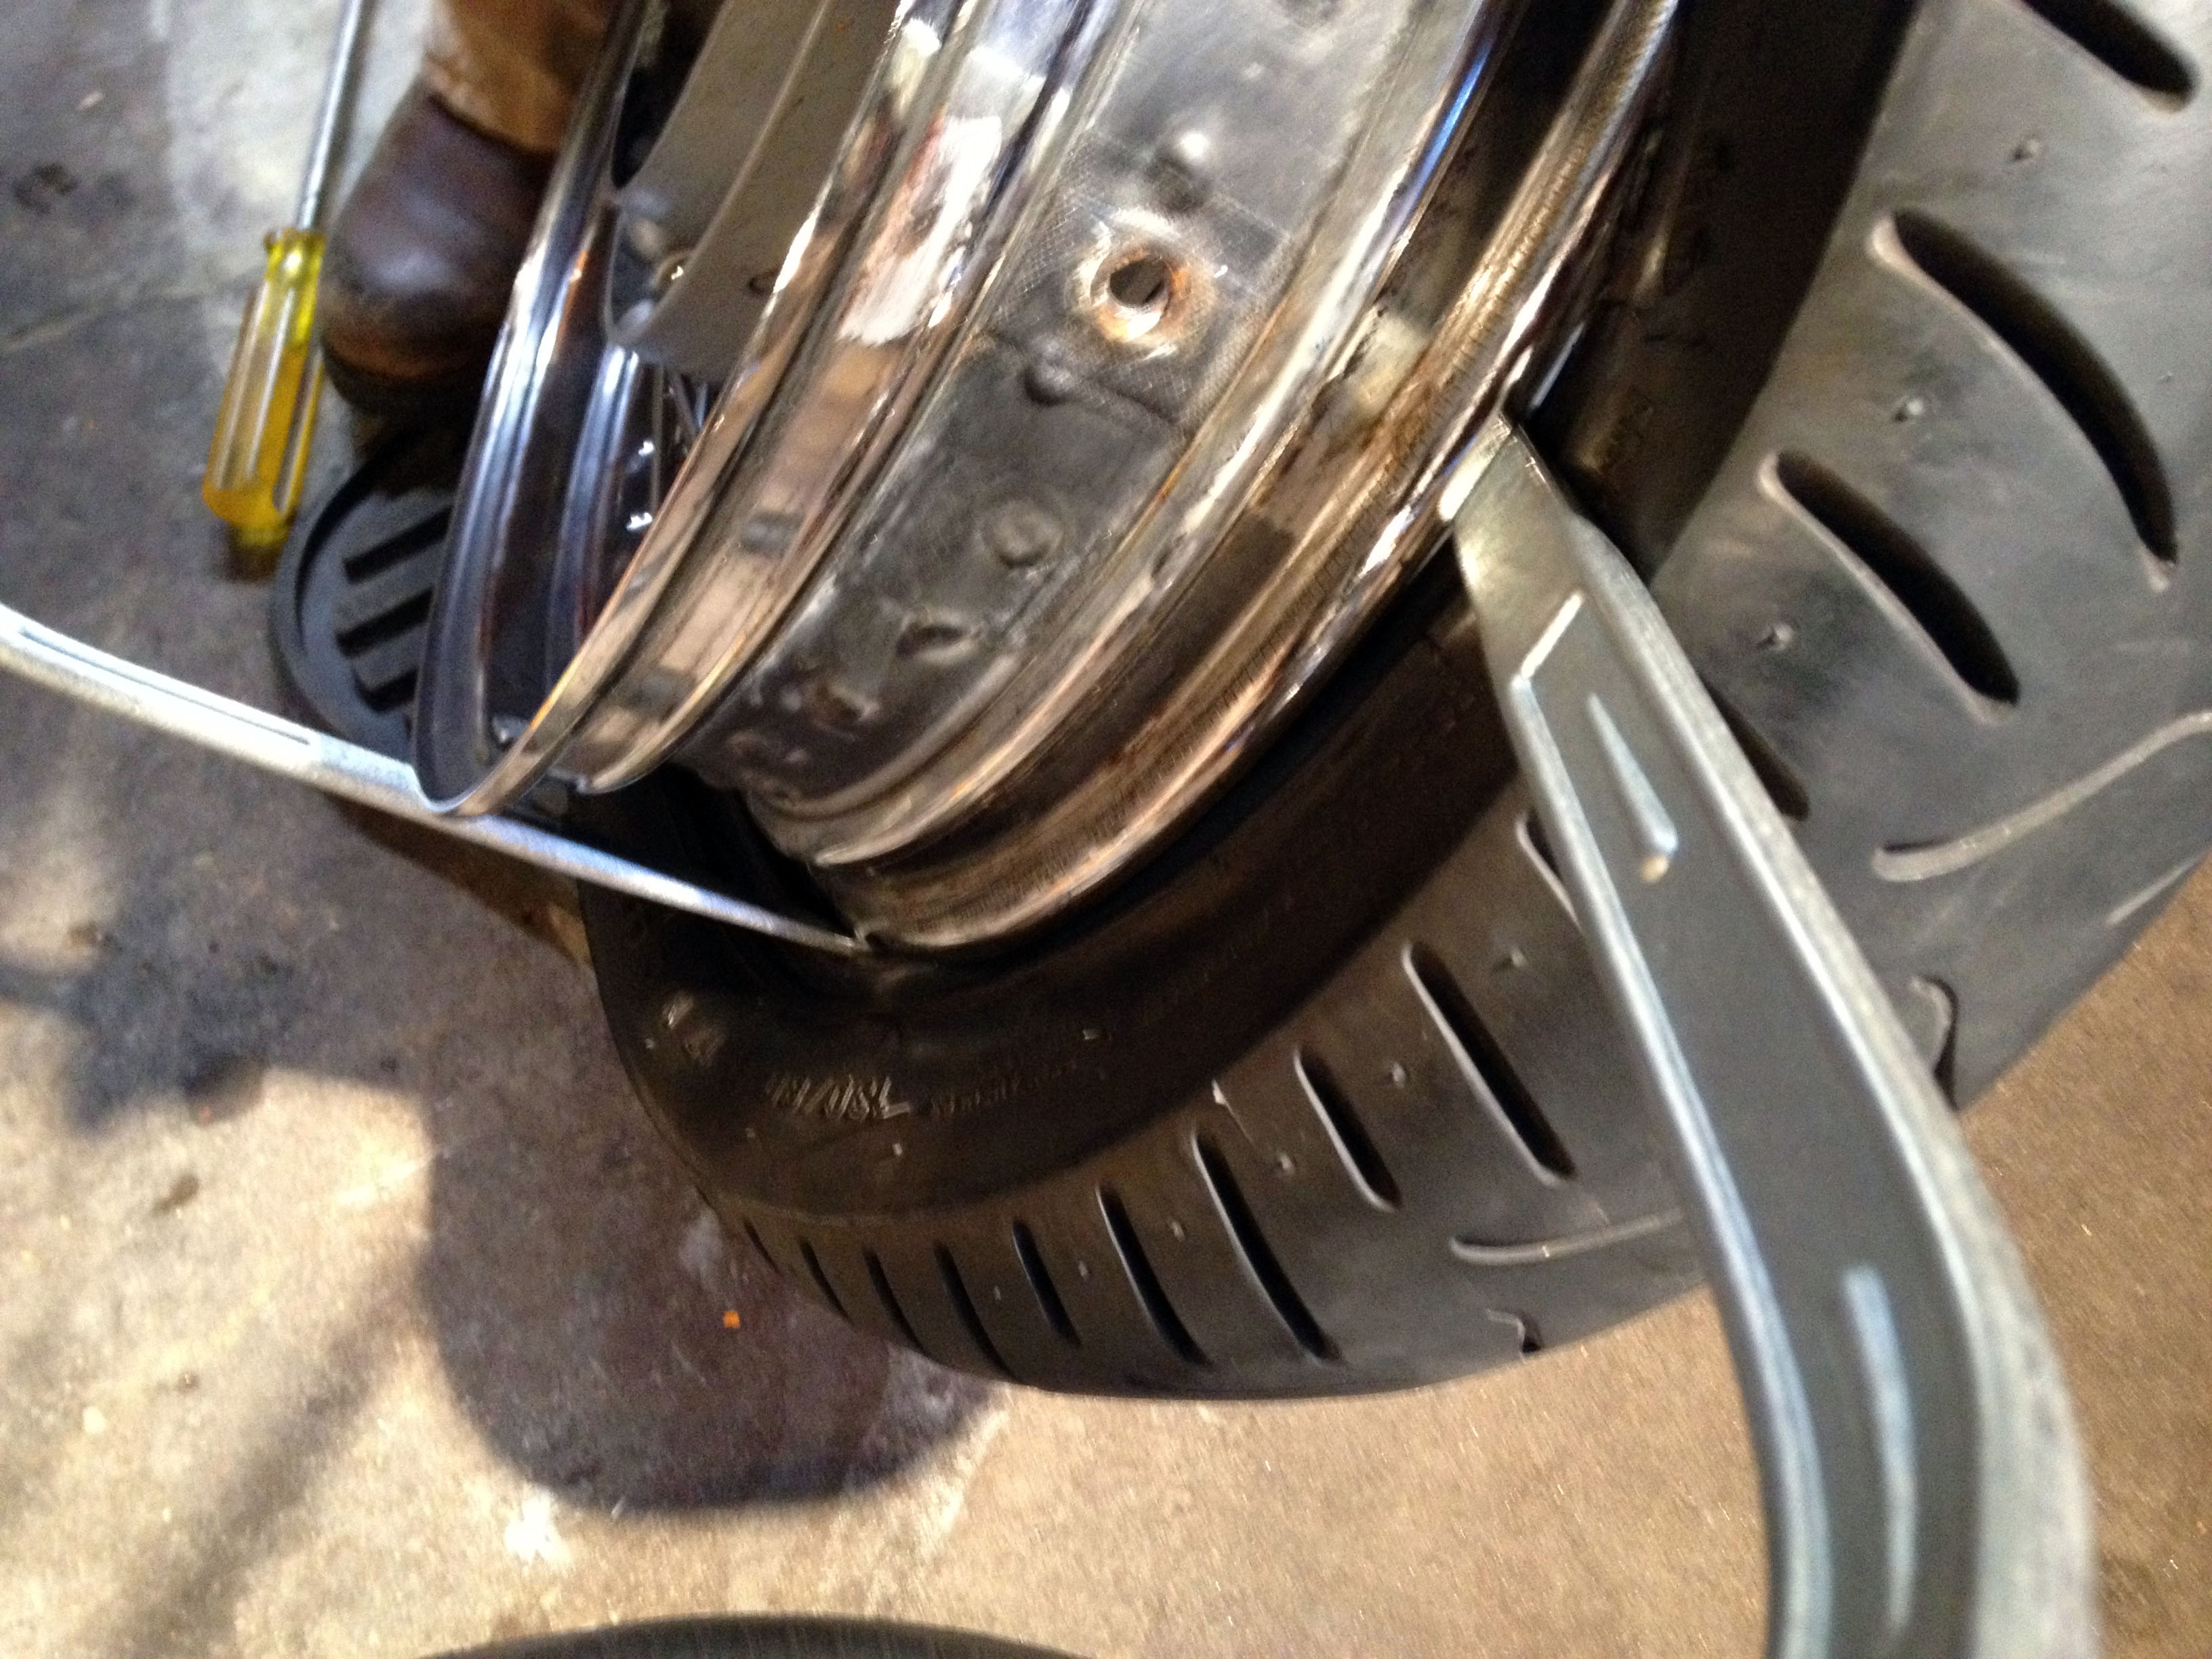
Next I removed the bushings and sprocket carrier from the wheel and set them aside. I used a bead breaker tool I had purchased at Harbor Freight Tools to break the tire bead from the rim.
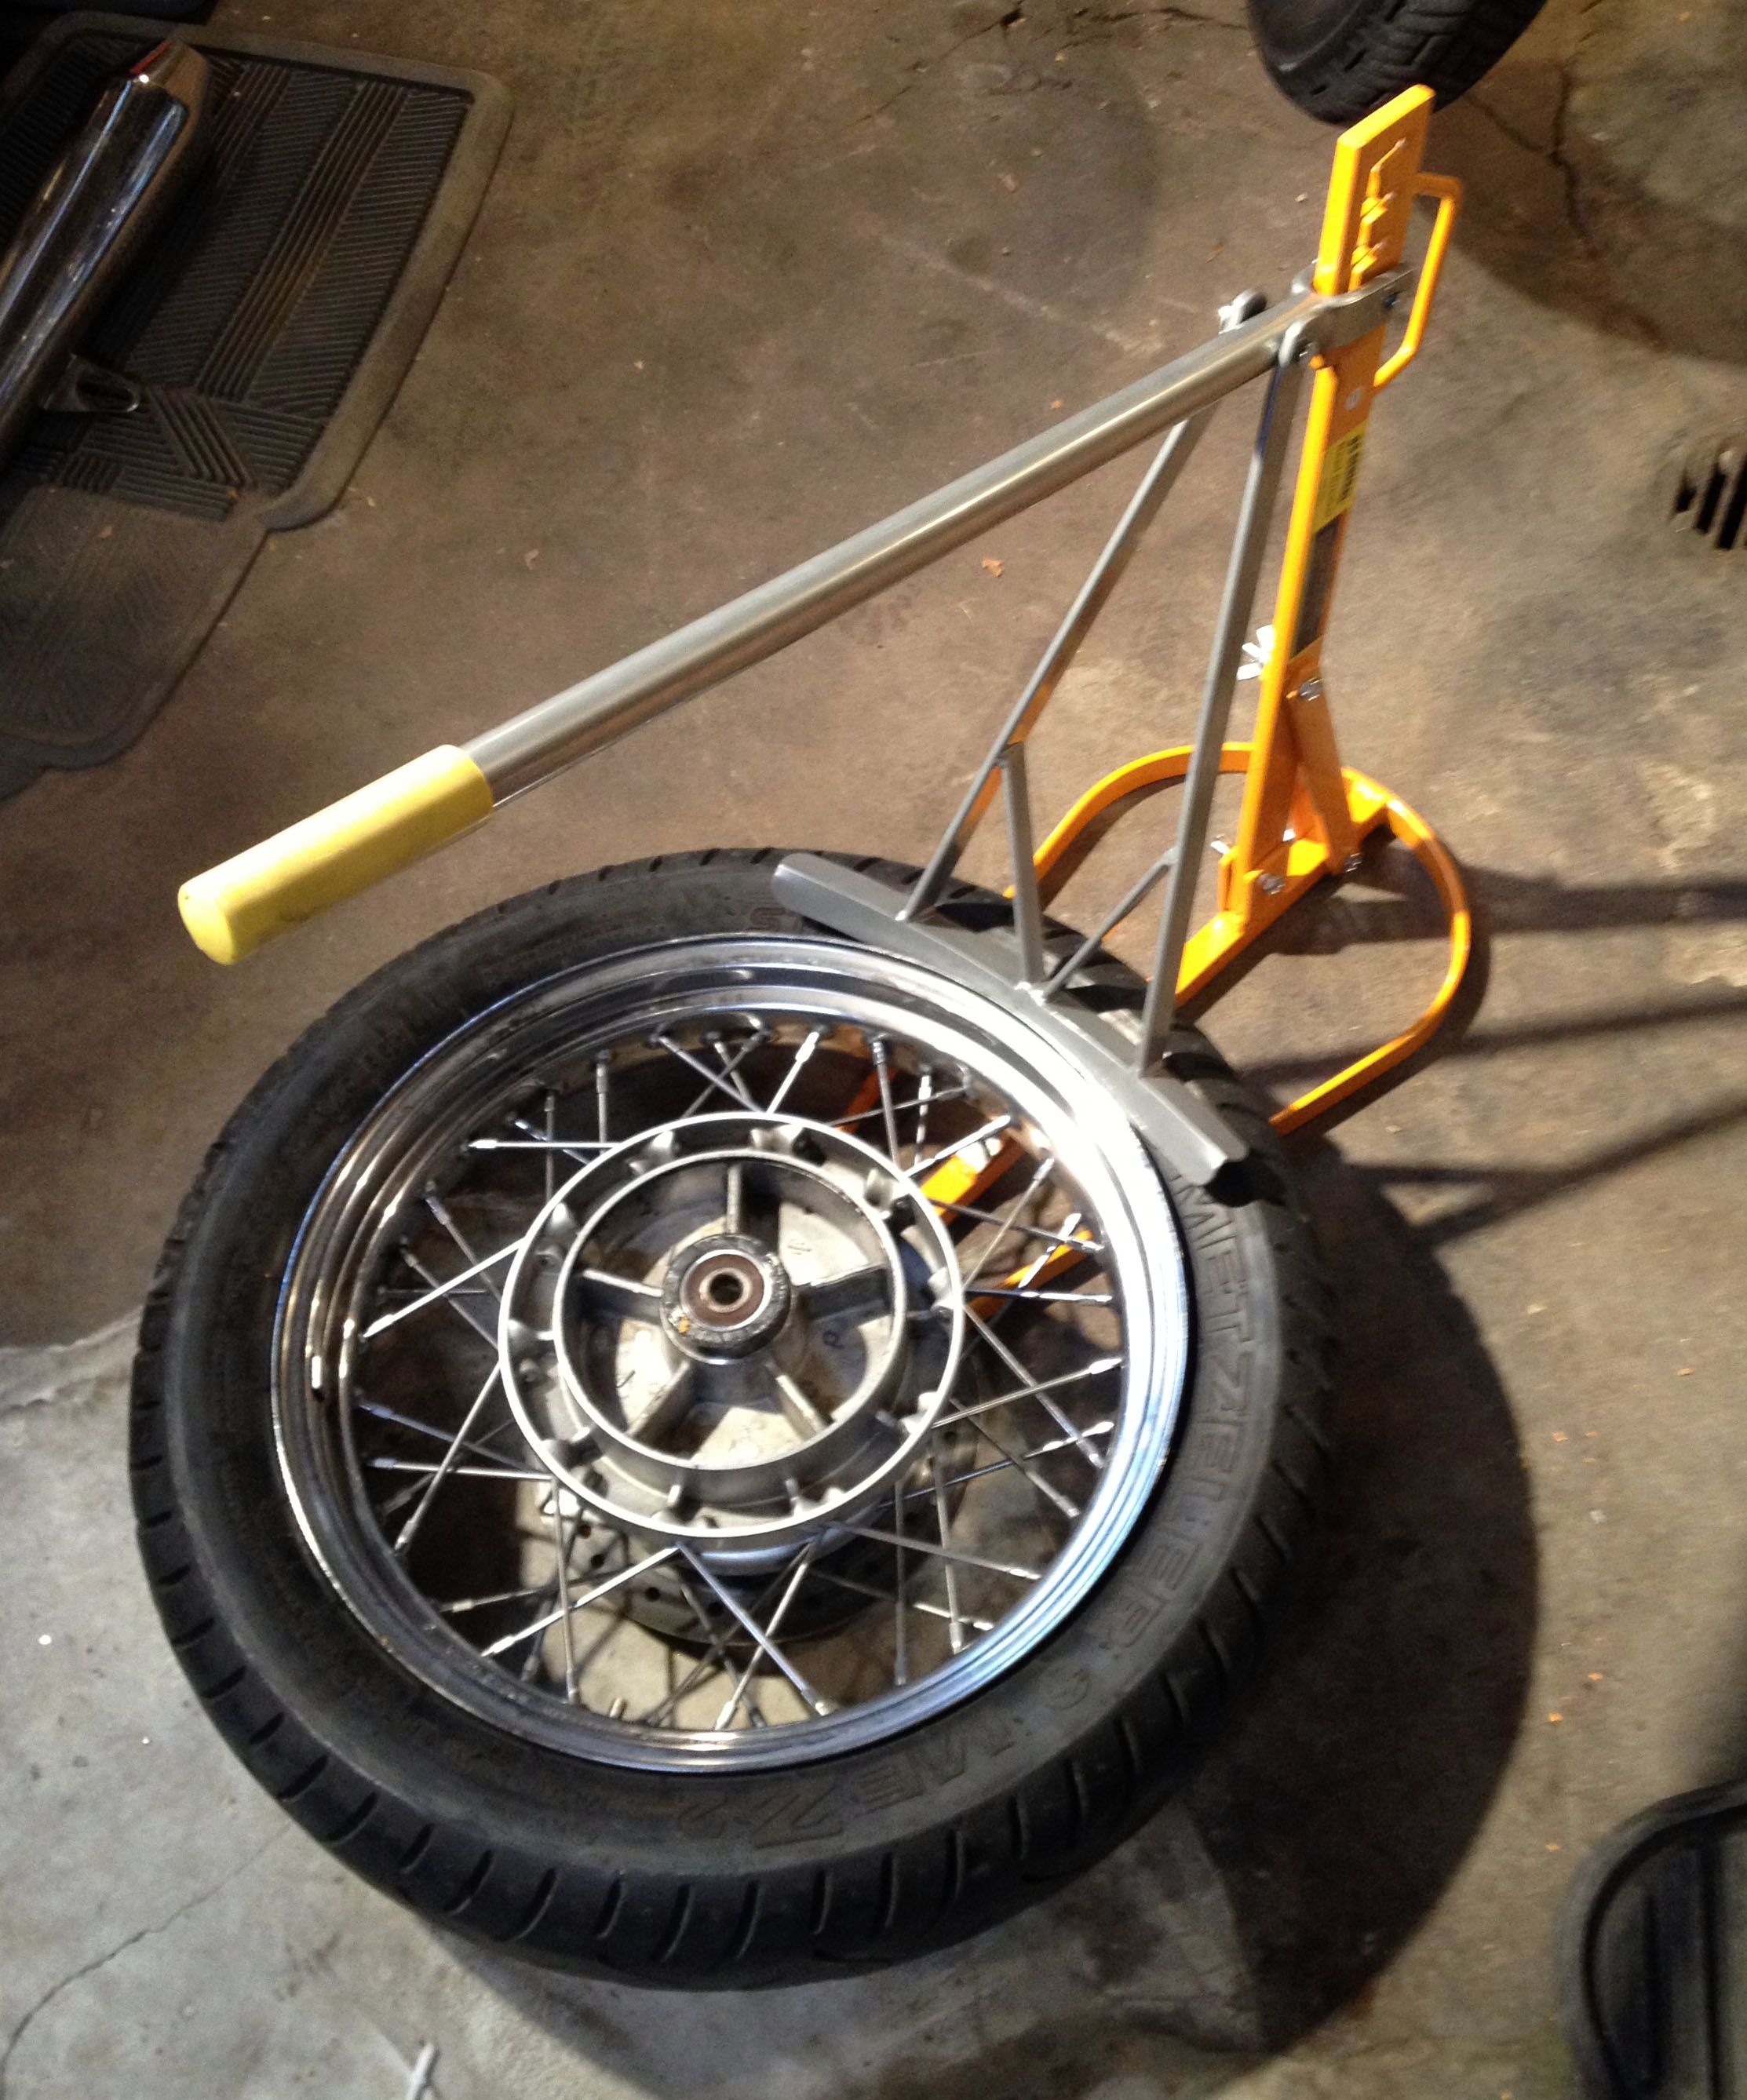
Once the beads were broken and the tire was free on the rim, I used a set of tire spoons to pry one side of the tire off of the rim.

With one side off the rim, I then removed the inner tube.

I pumped up the old inner tube to make sure that it was still good and would hold air. It was good, so I plan to keep it as a spare.

Next I worked the other side of the tire off the rim using the same tire spoons.
Success at last!

Next I determined the direction of rotation as stamped on the tire sidewall and made sure it aligned with the wheel correctly.

Again I used the spoons to work one side of the new tire onto the rim. Once on, I then get the new Michelin inner tube out and removed the cap, nuts and rings from the valve stem.

This is important because if you don’t remove these items, the valve stem will tend to collect moisture at the base and eventually rust away and cause a flat tire due to valve stem failure. I know because I had this happen to me!
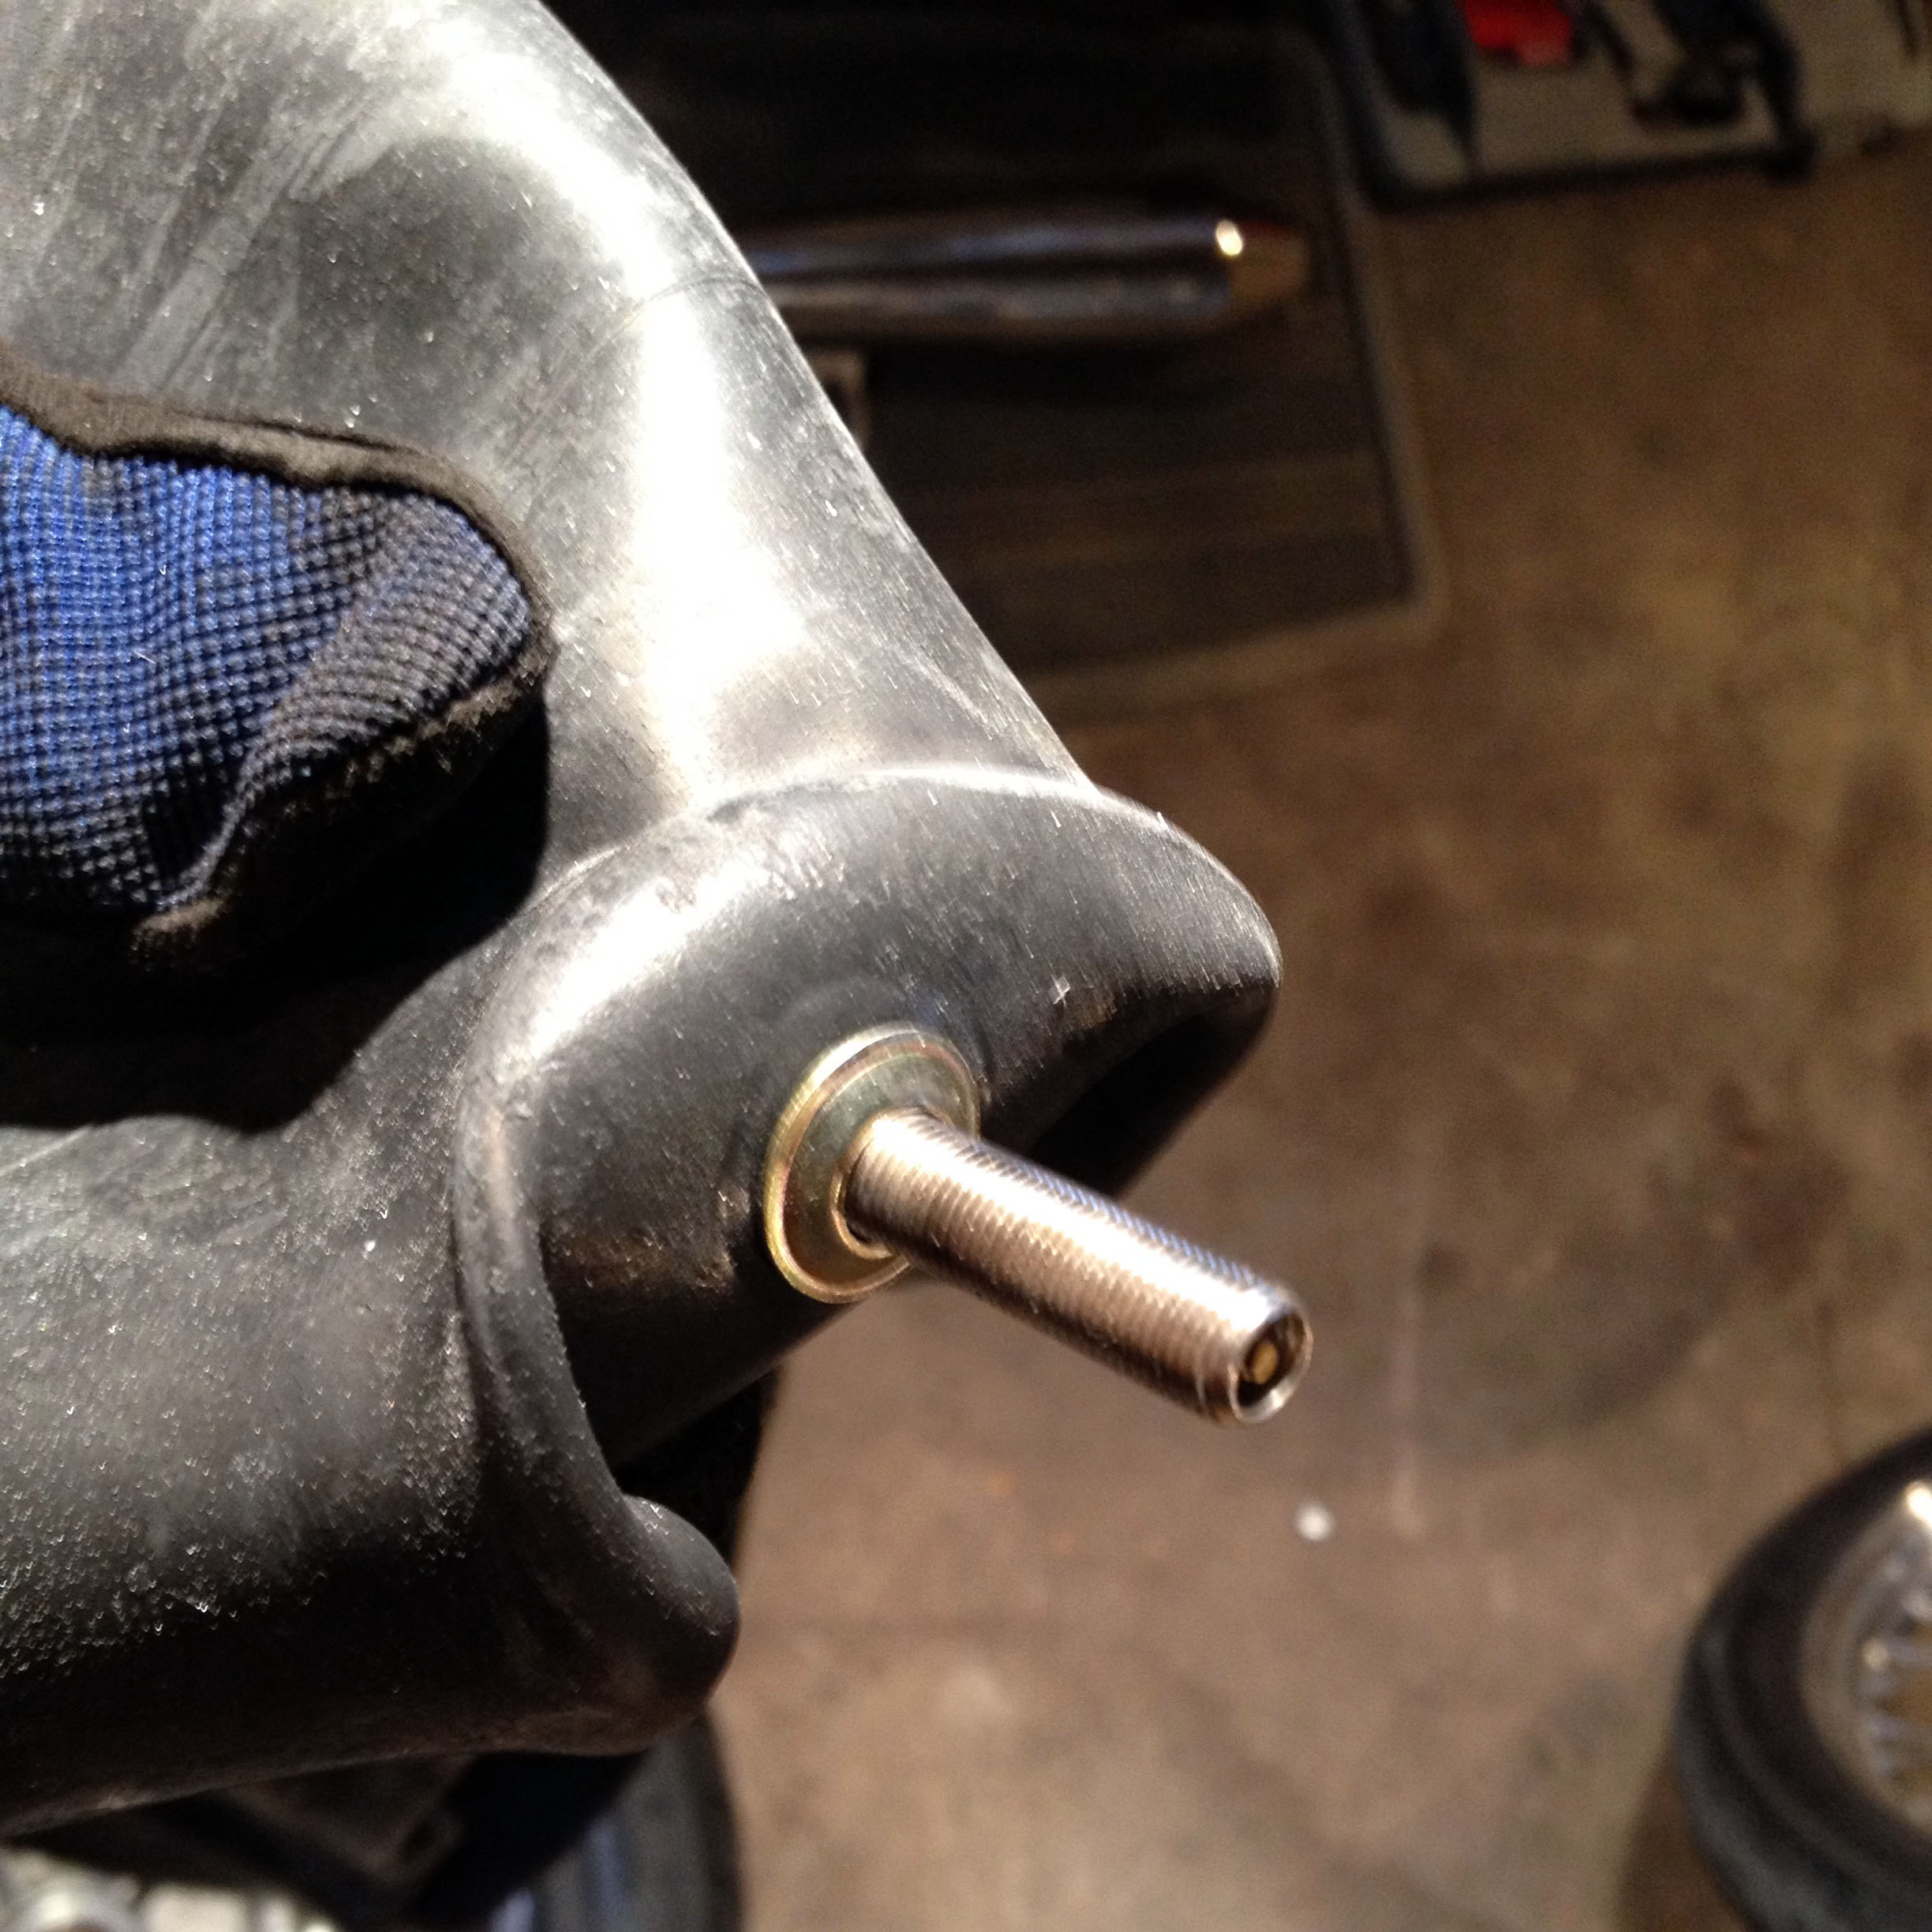
Next I carefully aligned the valve stem inside the tire and rim until I could get it through the valve stem hole. I put one of the nuts back on to retain the valve while continuing the tire installation. I inserted the inner tube inside the tire and pumped it up half way to work out any kinks and twists.
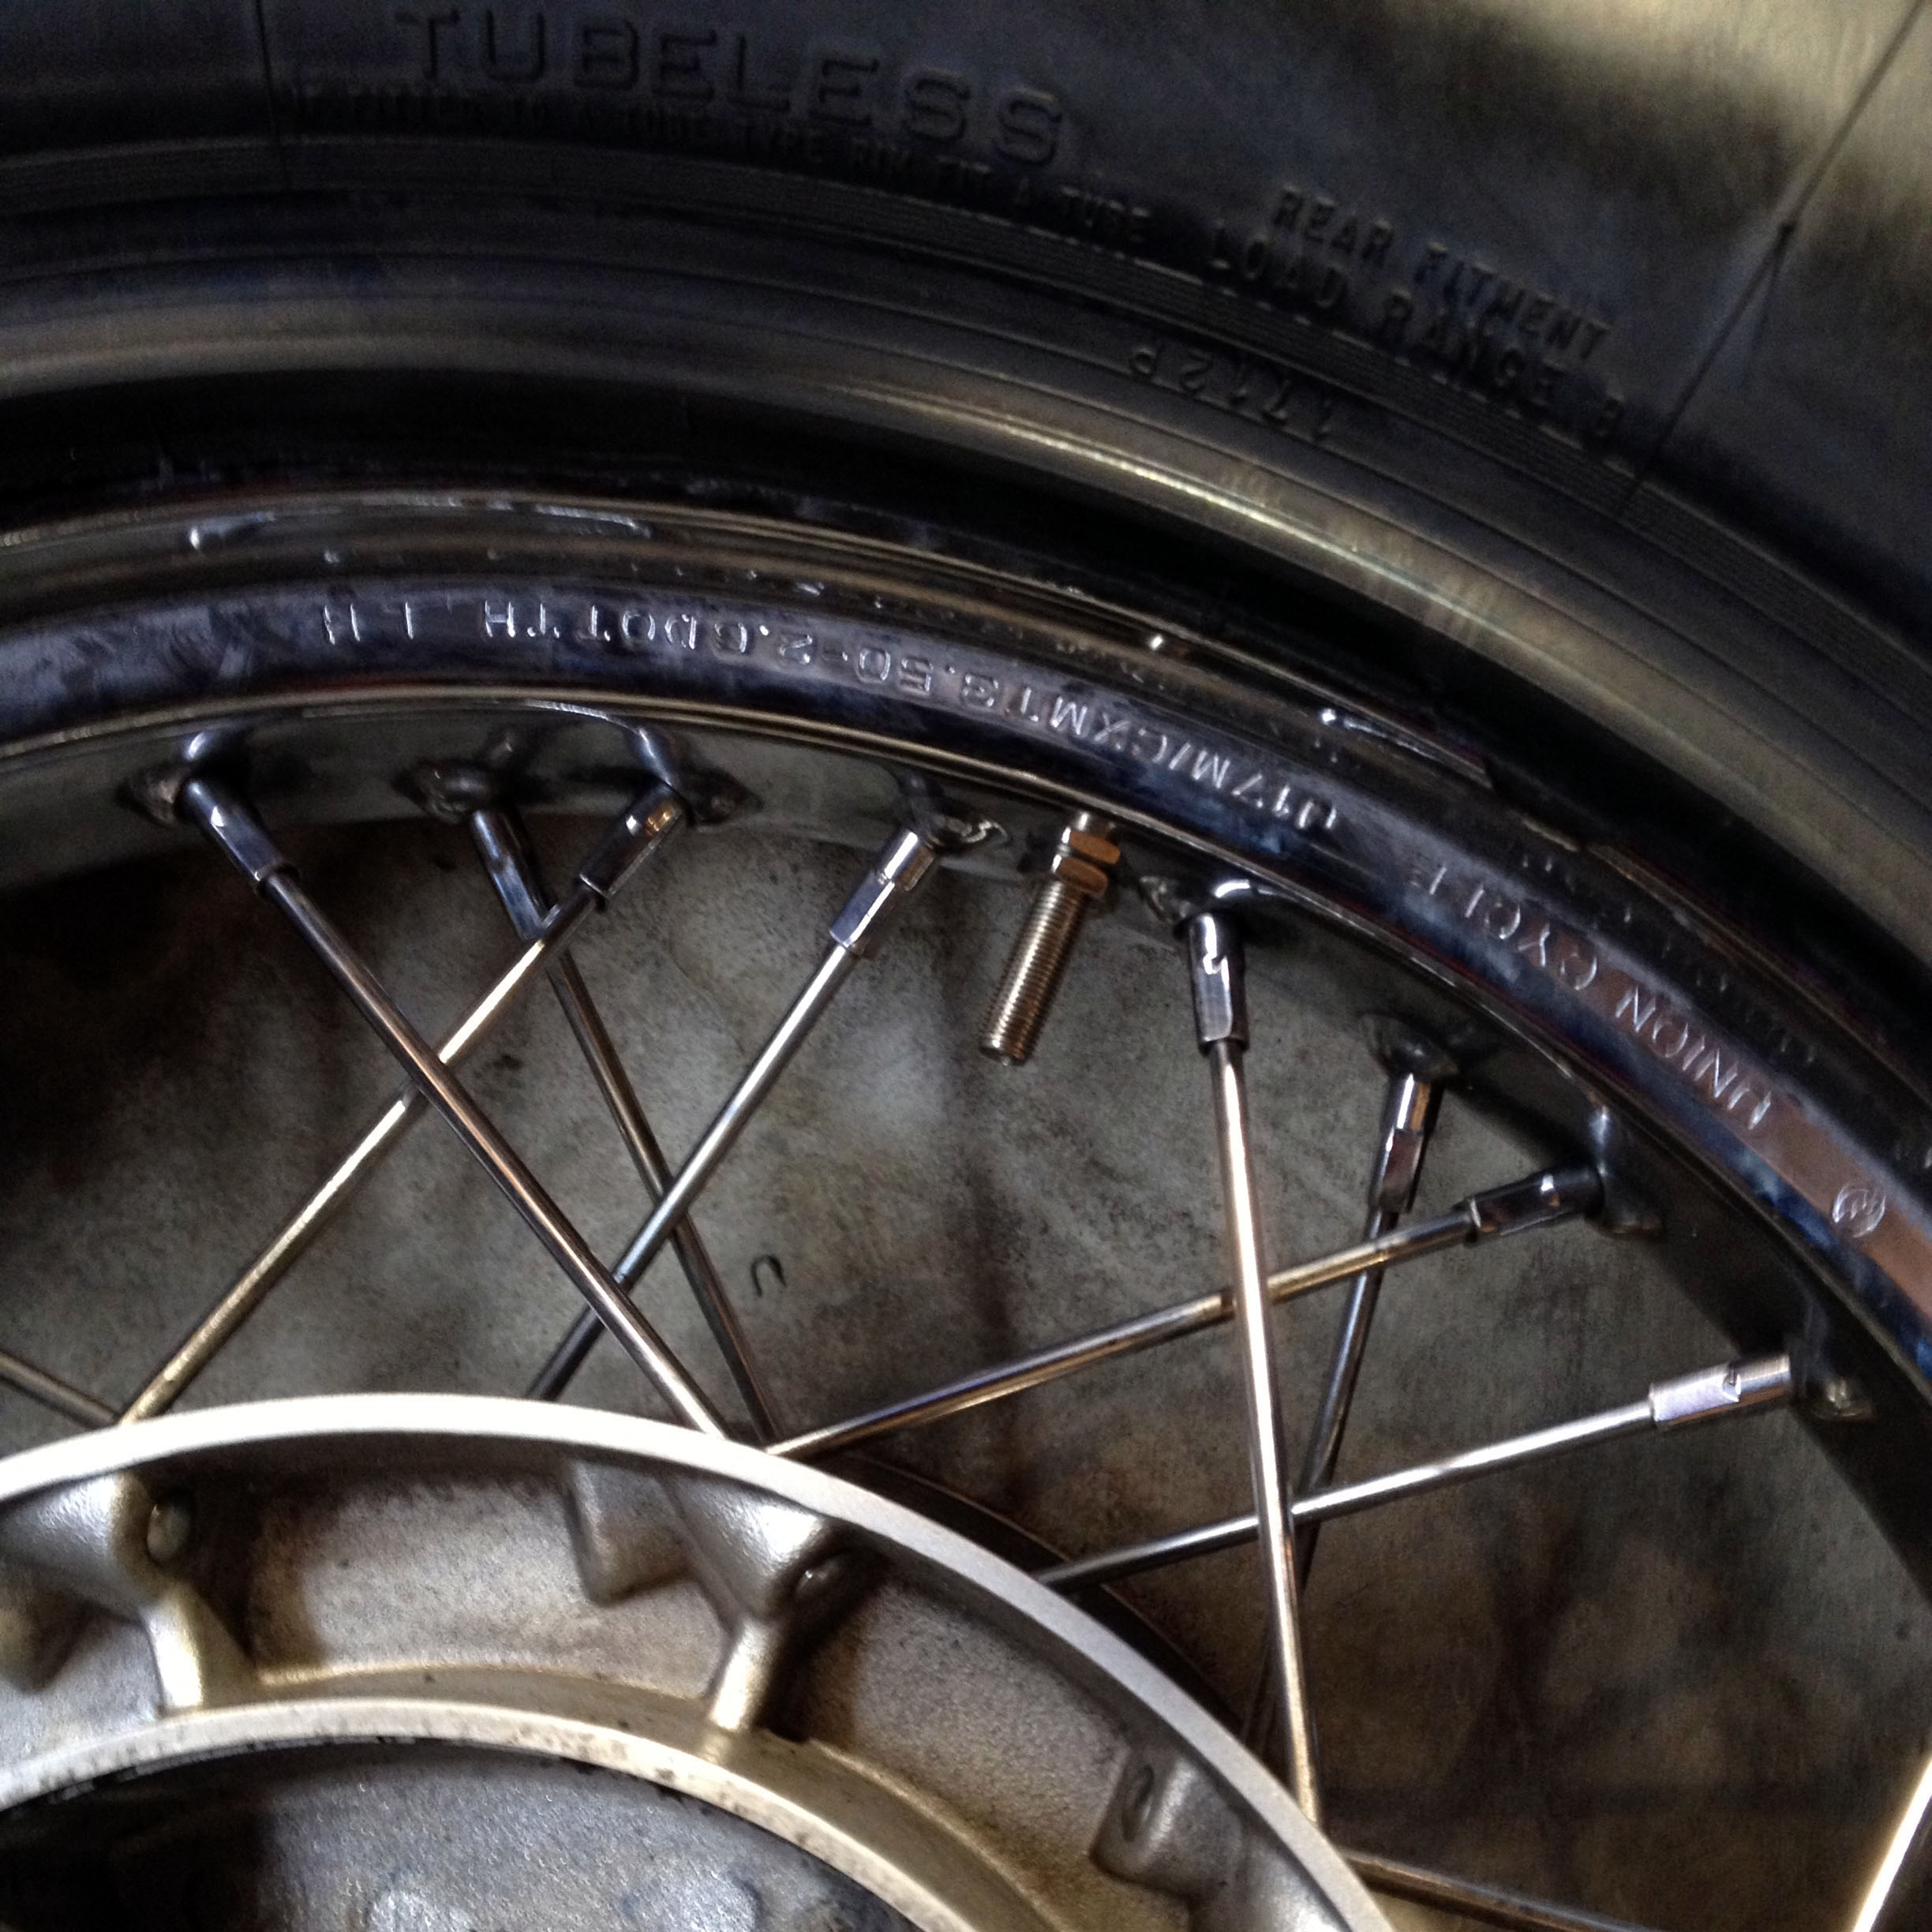
I used the spoons to leverage the final side of the tire onto the rim. I had to pump the tire up to about 50 lbs. until I heard the final “pop” sound caused by the tire fitting snugly in place all away around the rim. I then deflated it to 40 lbs.
Then I followed the static tire balancing process that I wrote and described in a former blog post.
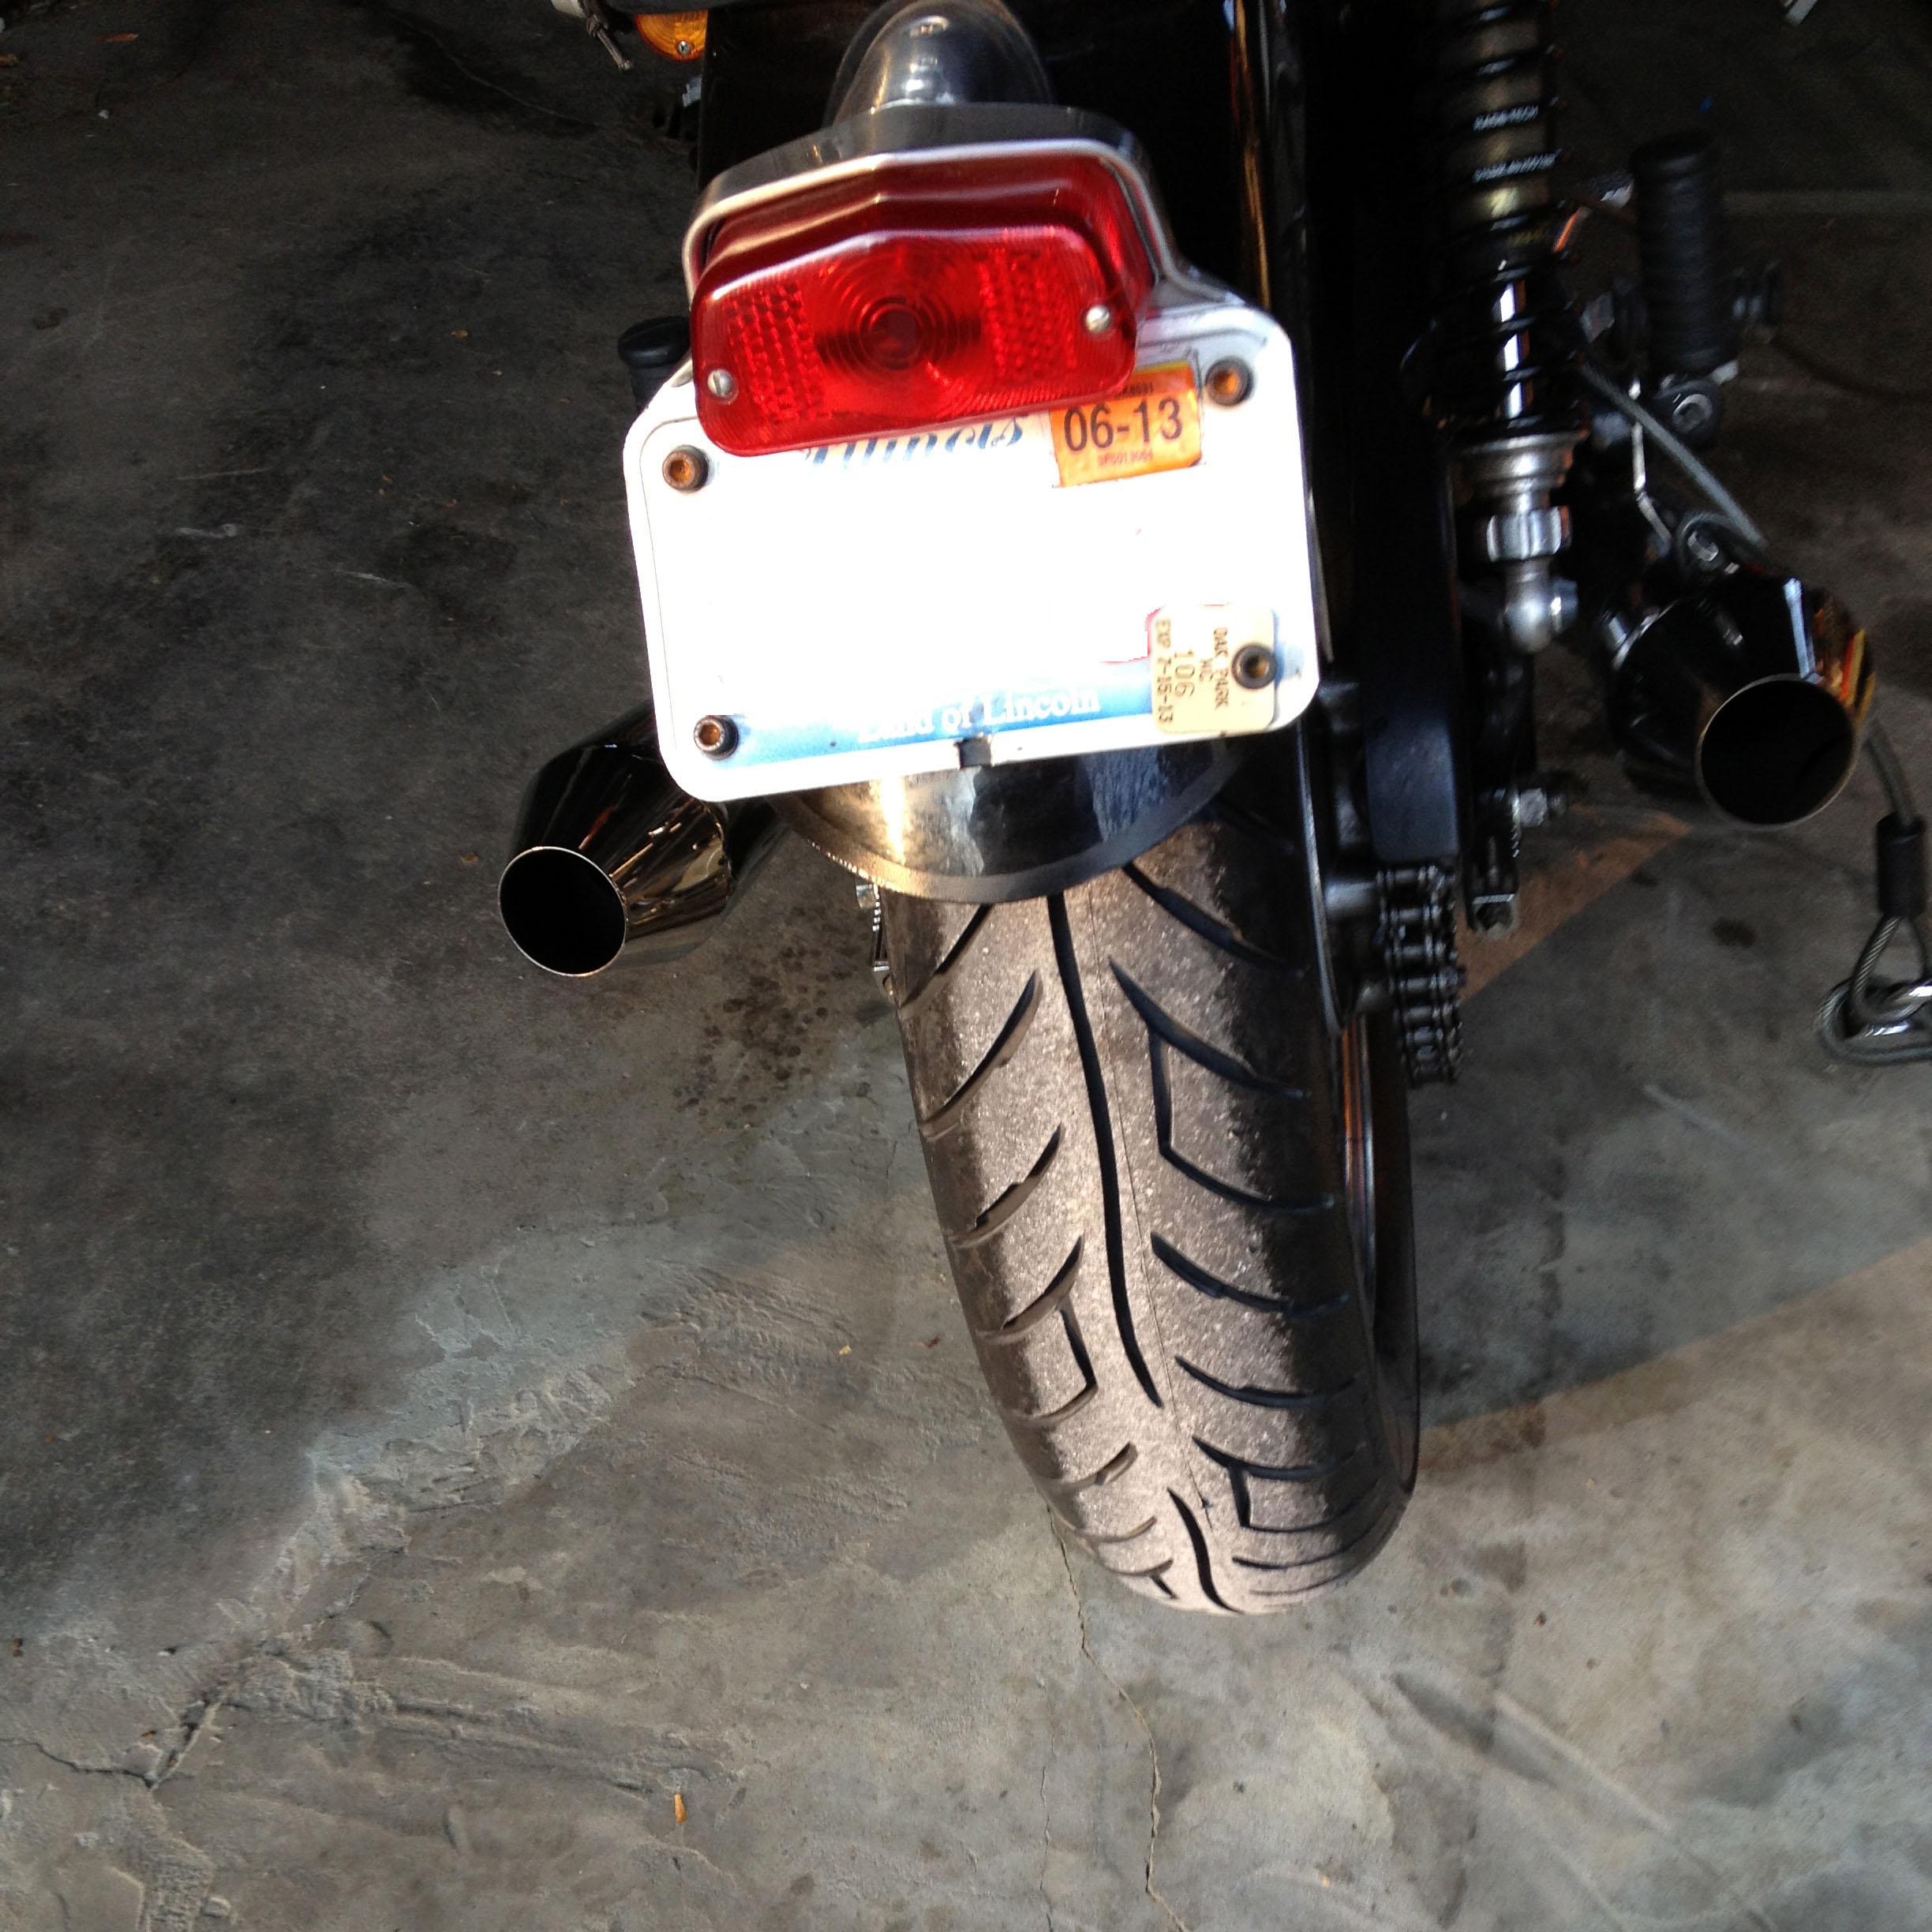
Finally, I cleaned the wheel, tire and rear frame, put some fresh wheel grease on the bushings, bearings and shaft, before remounting the tire/wheel assembly back on the Bonneville.
Once I had checked everything over, to make sure I hadn’t missed something, I took the Bonneville for a test ride. I am happy to report that everything went well and the new Avon Roadrider rear tire is performing better than the original Metzeler!
Finally, here is a promo photo supplied by Avon Motorcycle Tyres of North America showing the Avon Roadrider on a Triumph Thruxton.

Great pictures, comments. Would be interested in hearing if you had any rim scratching or marring effects using only the tire irons? I ask because I have seen plastic rim protector things to use when spooning tires on/off.
Thanks. Bart
Bart,
I have not had problems with scratching or marring my rims. Now, to be clear, my Bonnie is a 2008 Black with steel, chrome-plated rims made by Union. They are heavy and tough. I would be more concerned with the lighter Aluminum rims of a Thruxton, or the alloy wheels of the SE models. Even so, if one is careful, I think using the metal tire irons will be fine. Since this post, I’ve added one more tire iron to my mix. You can see it here. http://www.motosport.com/motorcycle/BIKEMASTER-HEAVY-DUTY-TIRE-IRON I purchased mine at a Cycle Gear retail store.
Randy
My stock Metzeler MEZ2 rear tire also looked flat after only 1,000 miles. Yes, I kept it inflated to 41psi. The Avons may be my next tire. I’m also having slipping problems in the turns. Terrible.
Interested in mileage, not hard like the Metzeler tires that must be hard and wash, dangerous, but something better than seven thousand miles, to a least get through summer~~~~
Larry,
I didn’t keep accurate records of how the Roadriders wore, but I did prefer them over the Metzelers. I am sure they will last you at least an entire summer!
Randy
I am putting new Roadriders on my 2013 mag wheel today. Going one profile size taller front and rear, i.e 80 to 90 rear, same on front. I have 6500 miles on the stock Metzlers, front is showing slight center flat and left shoulder wear and rear is pronounced flat spot down to wear bars. I have been ok with these tires, not bad for an oem tire IMO although too hard for high speed leans. I am looking forward to the Roadriders.
If I replace the standard 130/80-17 rear size with a 130/90-17 rear will it upset the handling or is this ok ? Any comments please will be appreciated
Ken, I’ve used the 130/90-17 rear tire size for years on a number of different Bonneville years and models with no noticeable difference in handling, performance or tread life, from the 130/80-17 size.
Hello. I have a 2001 Bonnie and have just discovered your various reports & posts Randy. Wonderful. I’ve recently retired and have some time finally to play with my bike. I will focus first on the sprockets for better highway comfort & then the suspension.
FWIW… I’ve been running Avon RoadRiders for several years now and just love them. I just moved to Victoria BC for the longer riding season 🙂 but was from Ontario where they like to paint tar snakes everywhere. (Illinois too perhaps). I originally bought RRs because reportedly they were better at not ‘tracking’ the tar snakes as badly. I found this to be true and noticed the difference right away. Especially upon spirited exits from the freeway to a circular off-ramp only to discover a den of snakes! It did solve that problem and I happen to love their overall performance as well. I don’t ride enough to really care about wear & related cost. I buy new rubber as often as is needed – I figure other folks have much more expensive hobbies or cottages or whatever. Good rubber is the most important accessory in our hobby.
Looking forward to reading your excellent reports and associated pics Randy – thanks for all this!!
Richard, I noticed that these Avon tires seemed to have been phased out and are becoming harder to find. So, I recently purchased the new replacements – Avon Roadrider MKII Sport Touring 130/90-17 (rear) and AVON ROADRIDER MKII 100/90-19 (front). I will mount these on my 2008 Bonneville here pretty soon in 2020 and then update everyone on how they perform.
Randy, how did you make out with the MKIIs? Do you like them?
Richard, thanks for the reminder that I needed to report on these! I did get a chance to put some miles in the tires last riding season before winter put an end to that! I have been impressed so far! The new version of the Road Riders seem to have that magical mix of rubber compounds that make them sticky enough and roadworthy. I’ve not yet noticed any sideways slipping in turns, or weird tracking issues – although I have not run across the “snakes” as bad as you describe them! I am likely to continue purchasing these tires for my other Bonneville projects! I hope you are able to get out on your Bonnie soon! I may get out some today as it will be sunny and in the 40’s here near Madison, WI.