Regular followers of this blog know that I have already written about replacing the airbox on a standard 2008 Triumph Bonneville using the British Customs Airbox Removal Kit ($295 with filters and brace, $189.95 with just the battery box). Now that I have added a 2012 Thruxton to my garage, I decided to see what would be involved in modifying the stock airbox to accommodate EFI throttle body pod style air filters for a more direct air-flow intake, and to save the expense of a new BC battery box.
Step 1 – Airbox Removal
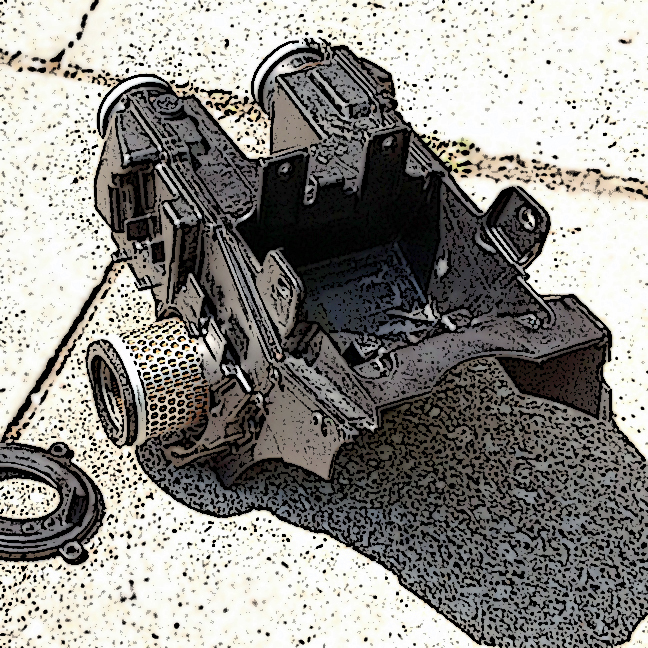
I started the process by removing the stock plastic airbox from the Thruxton. This requires removal of the seat, rear wheel and fender, battery, and disconnecting a number of electrical items attached to the airbox, and loosening the 2 clamps attached to the throttle bodies. You also need to disconnect the ambient air temp sensor.
The stock airbox also serves as the battery box and has a number of mounts on it for electrical system components. The goal here is to cut away all the plastic that was not needed except to serve these 2 functions.
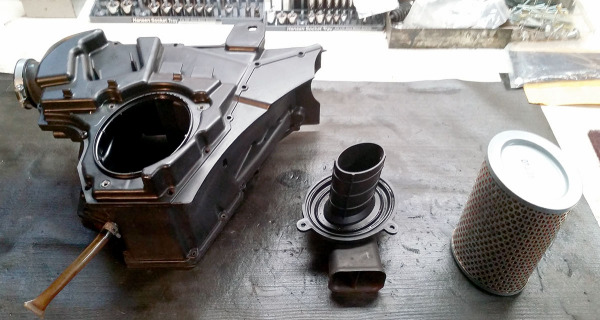
After the airbox was removed, I removed the air intake snorkel and air filter.
Step 2 – Airbox Disassembly
The airbox has three main sections. The side panels are removed with a number of phillips head screws. Once apart, there is a plastic baffle inside and the 2 intake ports that can be easily removed and discarded.
Step 3 – Airbox Cutting and Test Fitting
The final cutting work is done on just the center section and the 2 side panels.
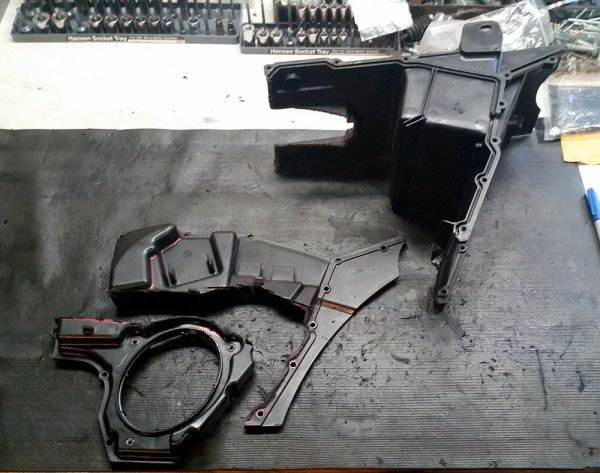
The process of marking and cutting away unnecessary parts of left (snorkel) side of the airbox.
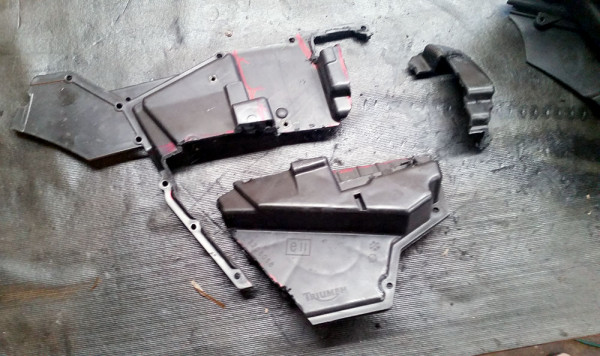
Showing areas of the right side being cut away.
Putting the box together temporarily to test fit on the Thruxton.
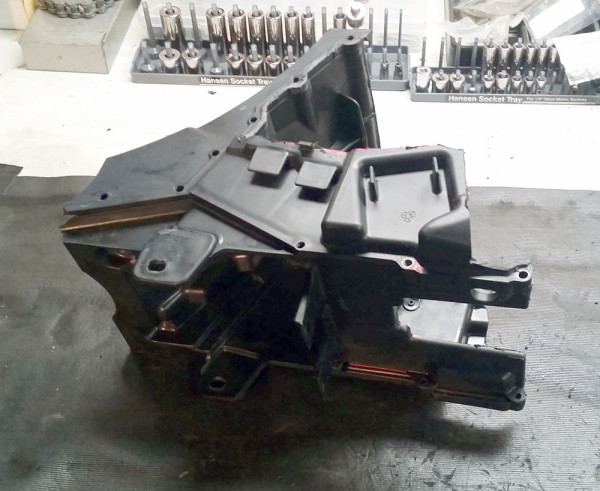
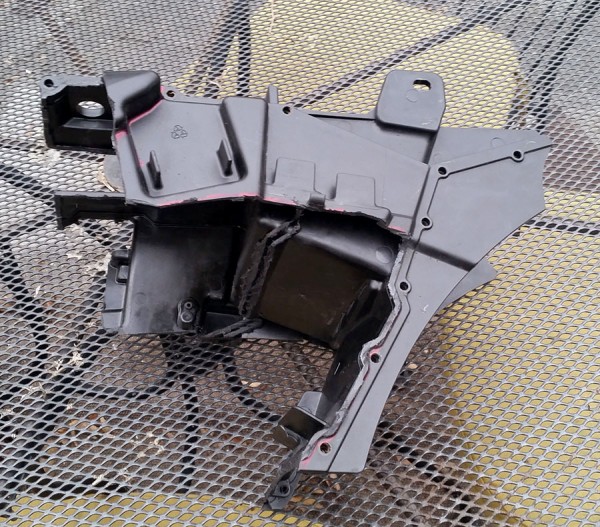
3/4 top view of stock OEM airbox with major sections removed after test fitting.

Another view from the opposite side of the cutaway airbox.
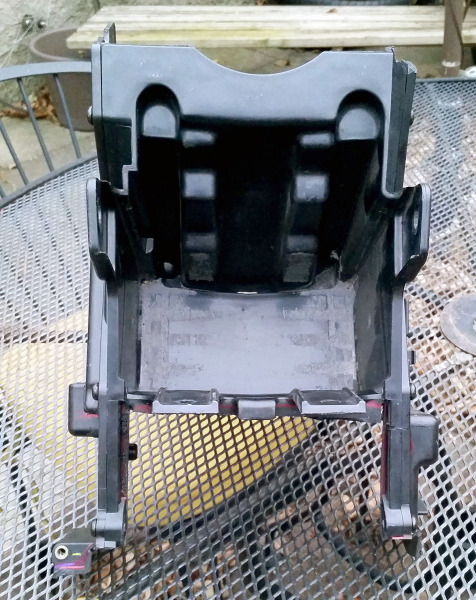
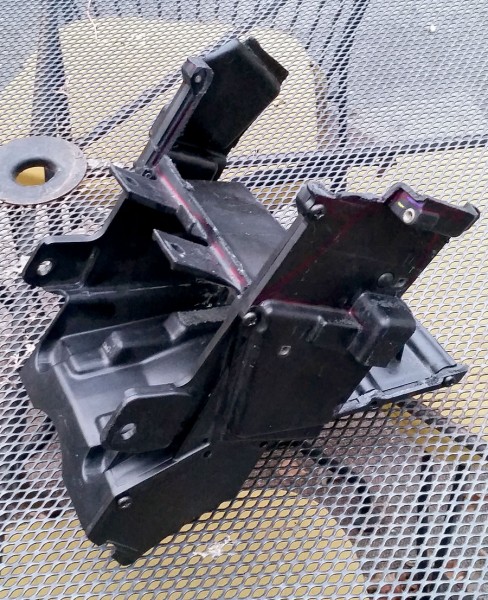
Top view of airbox with major sections removed. The battery compartment is shown with the section toward the bottom facing toward the front of the motorcycle.
Step 4 – Airbox (Battery Box) Installation
The modified airbox (now just a battery box) went back in the Thruxton without any trouble. I upgraded the battery to an EarthX Lithium (EXT18B) in the process.
I was able to mount 2 UNI pod filters on the throttle bodies, as well as all the electrical components. I installed a UNI breather filter on the end of the stock breather tube.
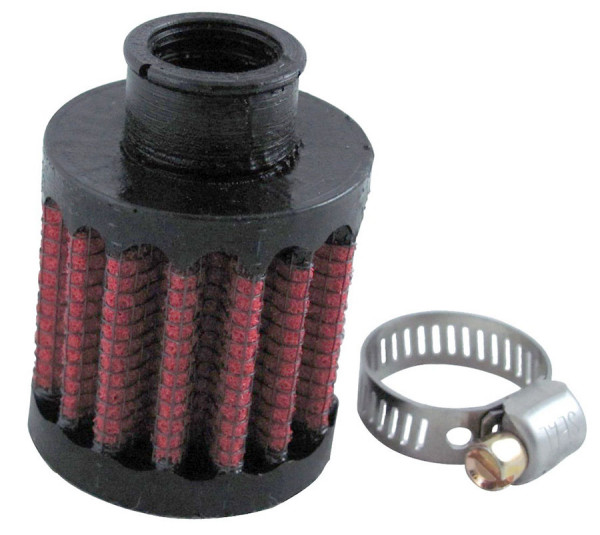
Uni Filter UP-104 5/8″ Clamp-On Breather
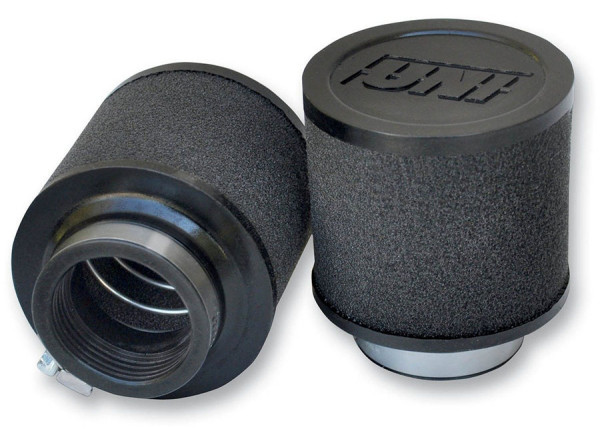
Uni Universal High-Flow Filter to fit 53-55mm
The side covers go back on just fine, and without close inspection, you can’t tell that any modifications have been made.
Summary
I would have to say that this is an easy way to increase performance on a lower budget. I spent a few hours doing this work using hand tools and a 3″ power cut off tool. The final result may not look quite as clean as a nice shiny new black battery box (when you remove the side covers), but you can’t beat the price!
More Photos
I’ve added a couple more shots of the final chopped airbox before putting it back on the Thruxton.
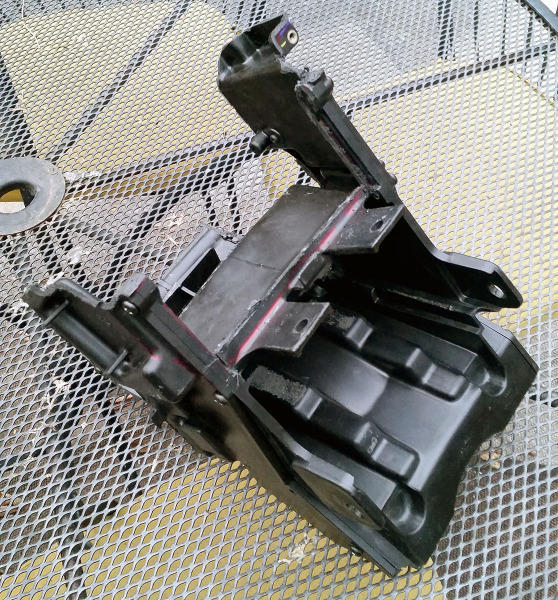
Left side view of chopped stock Thruxton airbox.
3/4 right side view or chopped stock Thruxton Airbox.
Do you have anymore pics of the chopped air box? I can’t even find videos on YouTube.
Cole,
I’ve added a couple more photos to the post that might be helpful.
Randy
Thanks. This is very helpful. Beats paying $300
Great idea. Did you need to change the existing jets? Thanks for info. Would make life easy when needing to maintain carbs.
Burt.
Thanks for your comment Burt. In this case, I was modifying a 2012 Thruxton airbox, so it was a fuel injected model (EFI). I did need to have the map re-programmed to make use of the increased air intake flow. I used a Dynojet Power Commander for this purpose and had my local Triumph dealer do the computer work on their dyno. You can read about that here: https://triumphbonneville.org/thruxton-dyno-tune-experience-at-mcc/ Basically, I added 2 HP at the rear wheel and an extra ft. lb. of torque.
If I were to repeat this airbox mod on a carbureted model, I would also re-jet the carbs for the same reason… to make better use of the increased air intake flow. Depending on the air intake and exhaust modifications, I would probably increase the Main jets to 140 and the Pilot jets to 42. I might also drill the slides to enable them to react quicker.