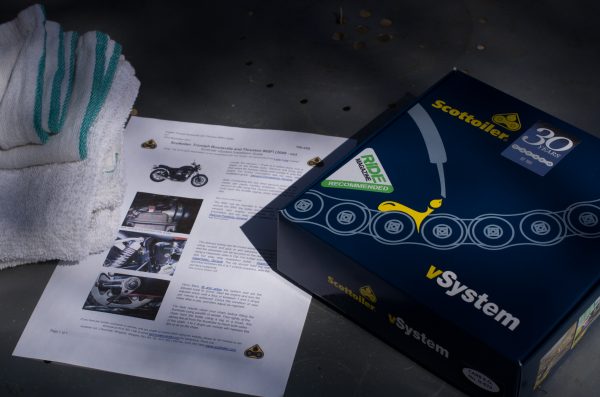
The Scottoiler vSystem, plus instructions.
What Is It?
The Scottoiler is a small reservoir that you attach to your bike’s frame, which continuously oils your drive chain. I had heard about these and, after reading many posts over on Triumphrat singing their praises, I decided to give one a try on my Bonnie. I had to figure out which one, though — Scottoiler makes two: the vSystem, and the eSystem.
vSystem
The Scottoiler is a small reservoir of oil, with a valve inside that is opened periodically to deliver oil to your drive chain. The difference between the two systems is the different methods of opening this valve. The vSystem is a vacuum system. When you install it, you splice a line (by means of a “T” join) into the vacuum line at the throttle bodies. You then dial in the calibration on the reservoir for how much vacuum is required to open the valve. From Scottoiler: “The oil is simply siphoned from the reservoir by gravity, the engine vacuum provides the power to open the valve and the dial at the top allows you to adjust the flow rate by opening/closing the valve aperture.”
eSystem
The eSystem is electronically controlled, instead of vacuum controlled. It comes with a control panel, where you can exercise more precise control over the oil flow. A lot more information about how it works can be found on the Scottoiler site (more than can reasonably be condensed in a summary, here).
I decided the eSystem had two shortcomings that I didn’t want to deal with:
- The additional control panel means finding a place to mount it, and my bike is already running low on places to mount things. (GPS, clock, triple-tree mounted oil pressure gauge, auxiliary fuse block, power outlet, etc have already claimed what limited accessory space there is on a mag wheel Bonneville.)
- It is more expensive. By about $150.00. ($289.95 vs $139.95.)
So, I bought the vSystem.
Installation
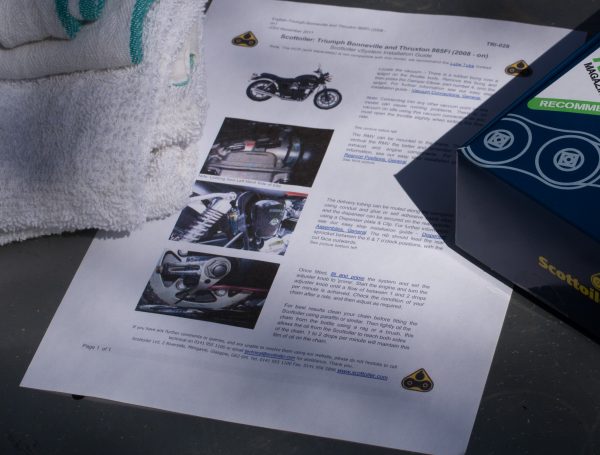
Instructions: Scottoiler provides instructions that are bike-specific — and really well written, too. You just have to download them.
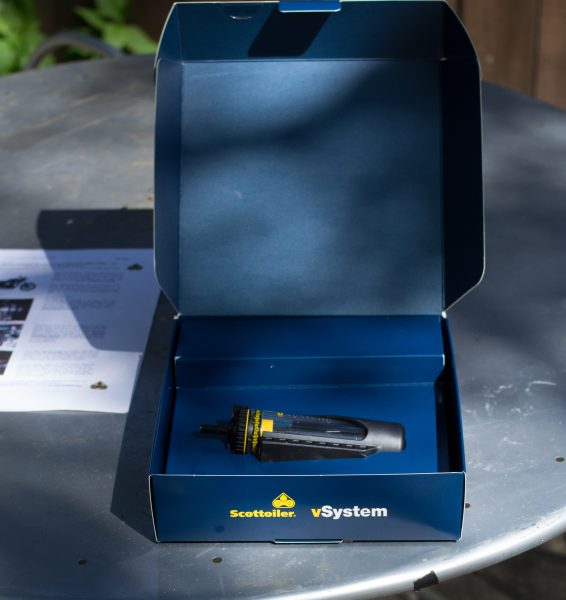
The package and contents are quite simple.
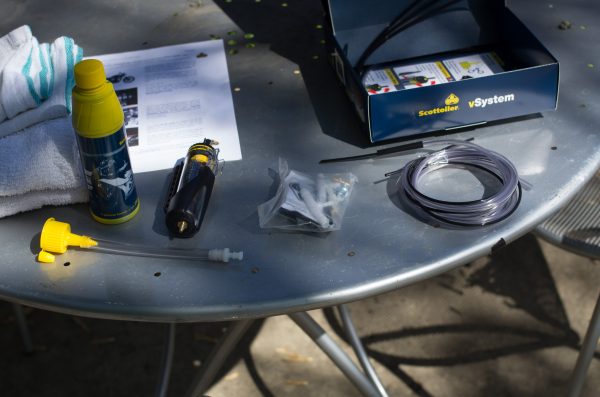
Package includes: reservoir, tubing, connectors, breather, dispenser tip and a bottle of oil.
Prep
To facilitate installing the Scottoiler system, you will need to do some initial prep work. I highly recommend going to their site and downloading the bike-specific instructions for setup on the Bonneville. They have a “Find My Bike” selector which, after you select your model (choose appropriately for EFI or carbs) will serve up the PDF you see printed out in the pictures above.
I also recommend either a center stand, or a lift, because you will need to remove the right side exhaust pipe and the right side rear axle nut, in order to run the tubing and attach the dispenser. (After you have mounted the dispenser tip, and before you torque down the axle nut, this would be a good time to check your chain tension.)
Finally, remove the side covers. This will give you a clear approach to the vacuum line from the left side, behind the throttle bodies, and will also make it easier to attach and run the lines to the reservoir on the right side.
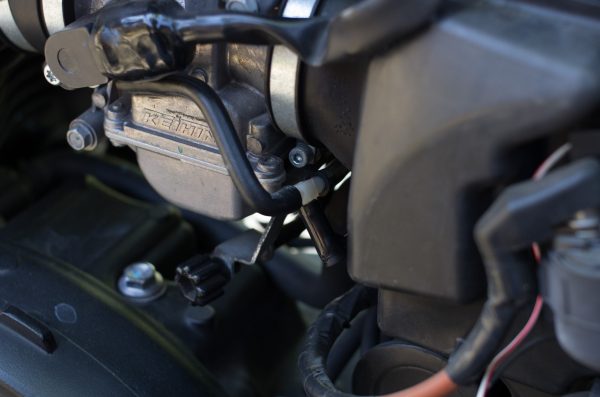
Step 1: Vacuum Splice
With the left side cover removed, I simply cut the vacuum line right at the halfway point between the two throttle bodies. I then inserted the provided “T” connector (Scottoiler provided two different kinds and I used the one pictured), as shown.
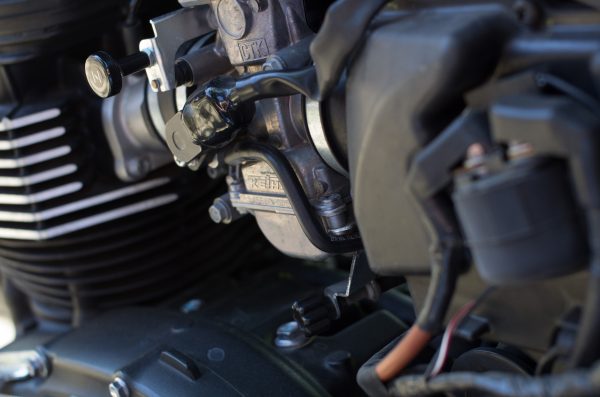
I located the vacuum line, behind the throttle bodies, and cut it at the halfway point.
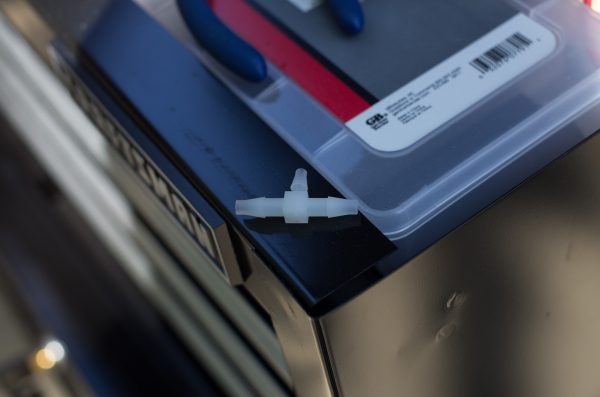
Scottoiler provides two different size “T” connectors. For my vacuum line, this size was the one that fit best.
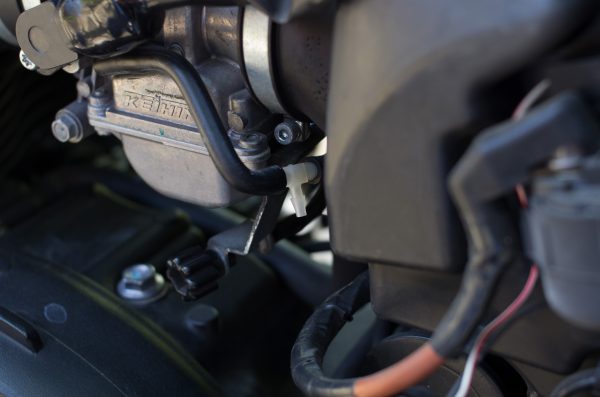
With the “T” inserted as shown, the next step is running the vacuum line to the reservoir.
I grabbed the vacuum line, fed its connecting end in from the right side of the bike and connected it to the “T”.

The Scottoiler vacuum line is joined to the bike’s vacuum line.
Step 2: Attaching the Reservoir and Running the Lines
Zip ties are your friend! Scottoiler provides double sided sticky tape to mount the reservoir and the lines to the bike frame. However, I don’t trust sticky tape alone to hold on through water and dust. So, I added zip ties to the mounting of the reservoir.
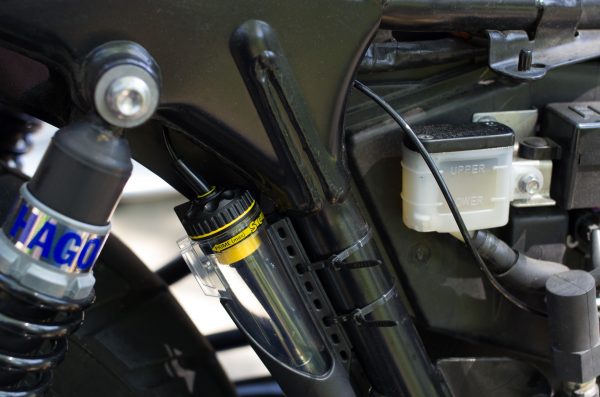
The vacuum line from the “T” join can be seen running into the top of the Scottoiler reservoir. This is what controls the opening of the valve.
Near the top of the reservoir, just even with the yellow arrow, is a hole that serves a dual purpose. It is the fill hole for adding oil to the reservoir and it is also the breather hole. When the bike is running, the breather hose is attached here.
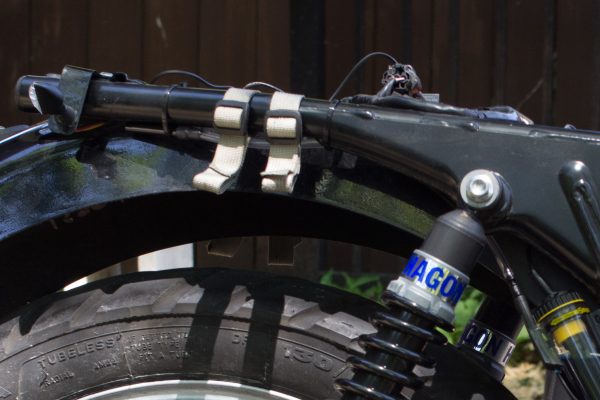
Breather hose connected to the reservoir and zip tie’d to the frame (along the top, just beneath where the seat usually sits).
Next: Connect the Oil Line
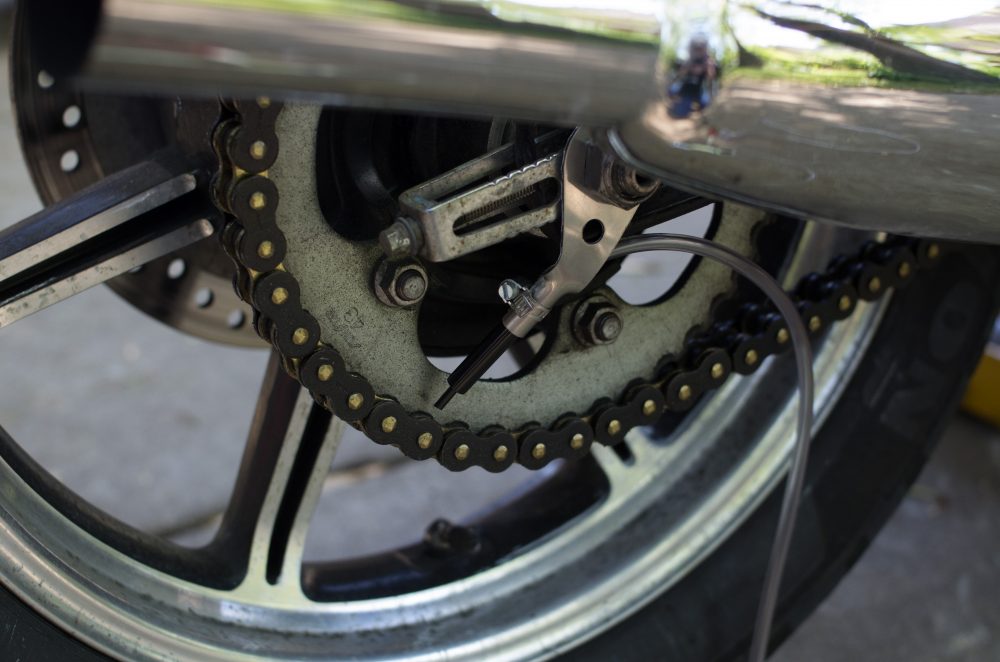
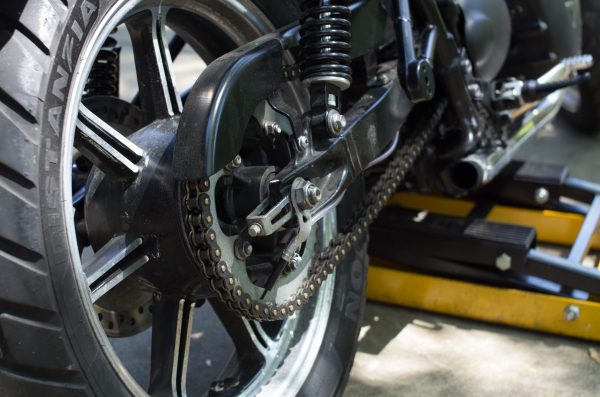
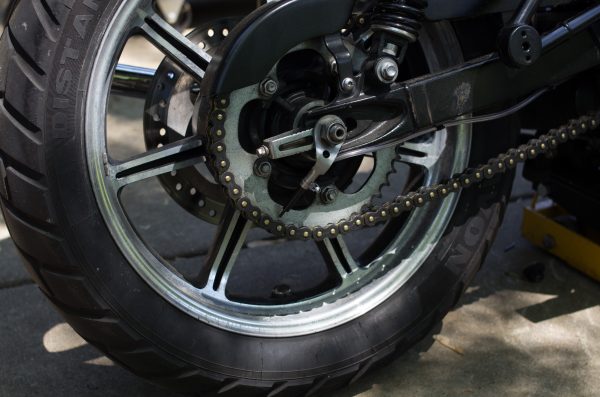
As I mentioned earlier, the Scottoiler kit contains some clips and some double-sided sticky tape. I used these to attach the oil line to the right underside of the swingarm, as shown below. I attached the dispenser tip at the axle, beneath the right axle nut, bent the metal dispenser clip to the proper angle and trimmed the dispenser tip to the proper length so that it just clears the surface of the rear sprocket.
Finishing Up
Last things to do:
- Fill the oil reservoir. There are two weights of oil: blue and red. Red is for high temperature use (68 – 104 degrees Fahrenheit) and blue is for most temperatures (32 – 86 degrees Fahrenheit). Despite the fact that it can frequently get above 86 where I live and ride, I still use blue since I often ride in temps below 68F.
- Prime the system. This involves turning the dial at the top to the “PRIME” position (basically all the way open), firing up the engine and twisting the throttle. I rev’d the engine until I saw the blue oil fill the tubing underneath the swingarm and just reach the dispenser tip. Then, I switched off the engine.
- Turn the regulator dial back until it is almost closed. You will be testing this setting over the course of your next few rides. More below.
- Reinstall the right side exhaust and the seat. It’s time for a test ride!

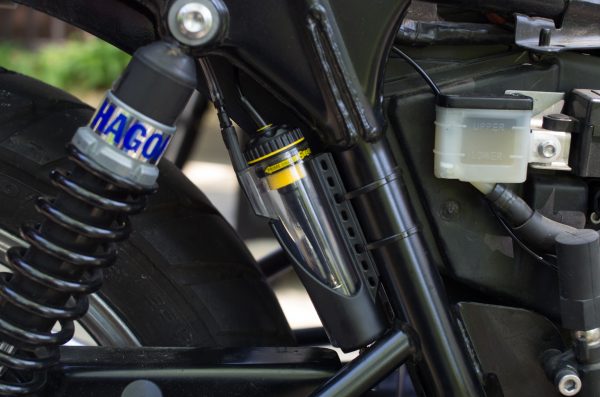
Final positioning and the oil reservoir filled.
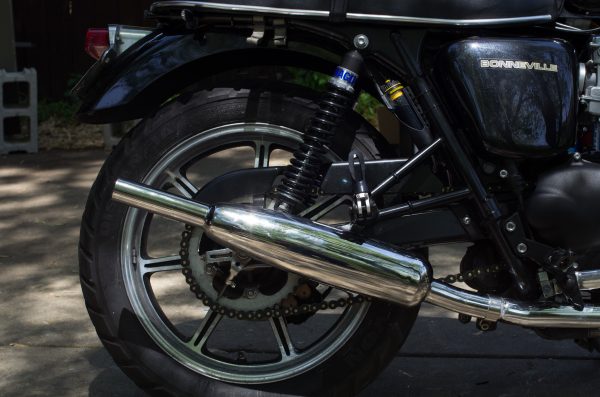
Everything back together — time for a test ride!
Final Impressions
Overall, I’m really pretty happy with the system. There are a few things I struggled with, as I got the system dialed in. There are also some things I would do differently and may still change, as time and money allow.
Some of the Tricky Bits
I had no idea how to evaluate the flow rate of the oil to the chain. I try not to annoy my neighbors, so I don’t like to fire up the bike in the driveway and rev the throttle for long periods of time. But, if you can do that, it might help you to see the flow rate and adjust it to your liking. After my first ride, it didn’t look like the dispenser was oiling anything. So, I opened up the flow control valve to about the halfway mark. After the next ride, the reservoir was almost empty and I had to refill it. It ended up taking several rides (really, is that a bad thing?…) to figure out the proper flow rate. Yours may differ, but mine ended up settling in at about the 2 mark, if the regulator dial were marked from 0 to 10, with “PRIME” being just beyond 10.
Also, since this system taps into your engine vacuum, you might notice a change in throttle response. I have and I plan to plug my bike into the computer and run TuneECU, to check the TPS and throttle balance (and correct if necessary). If I find anything noteworthy, I’ll add a note here.
What I’d Do Differently
Adjusting the chain messes up the placement of your dispenser tip. Because the dispenser tip is secured by the axle nut, any time you loosen or tighten this nut, you will spoil the positioning of the dispenser tip. This makes chain tension adjustment a little bit more of a pain, as you can’t just wrench the nut back into place and walk away when you’re done. You have to fuss with the dispenser tip, so that it moves back into its proper place when you torque down on the axle nut. The dispenser might move too far, or not far enough. In that case, you need to back off the nut, move the dispenser one direction or the other and then tighten the nut again. After a few times of doing this, it can get pretty fiddly.
For this reason, I may swap out the stock dispenser tip for a different configuration, from Scottoiler: the Dual Injector. The Dual Injector places two dispensers onto the chain guard, rather than putting anything at the axle. This would make reassembly after doing chain tension adjustment a lot easier. So, I will probably give it a try and would suggest others do so as well.
Still and all, having seen it in action and having learned a few things along the way, I’d recommend the vSystem. It may be a little more complicated than the eSystem. But, a little elbow grease and noggin work never hurt anybody.
Ride on.